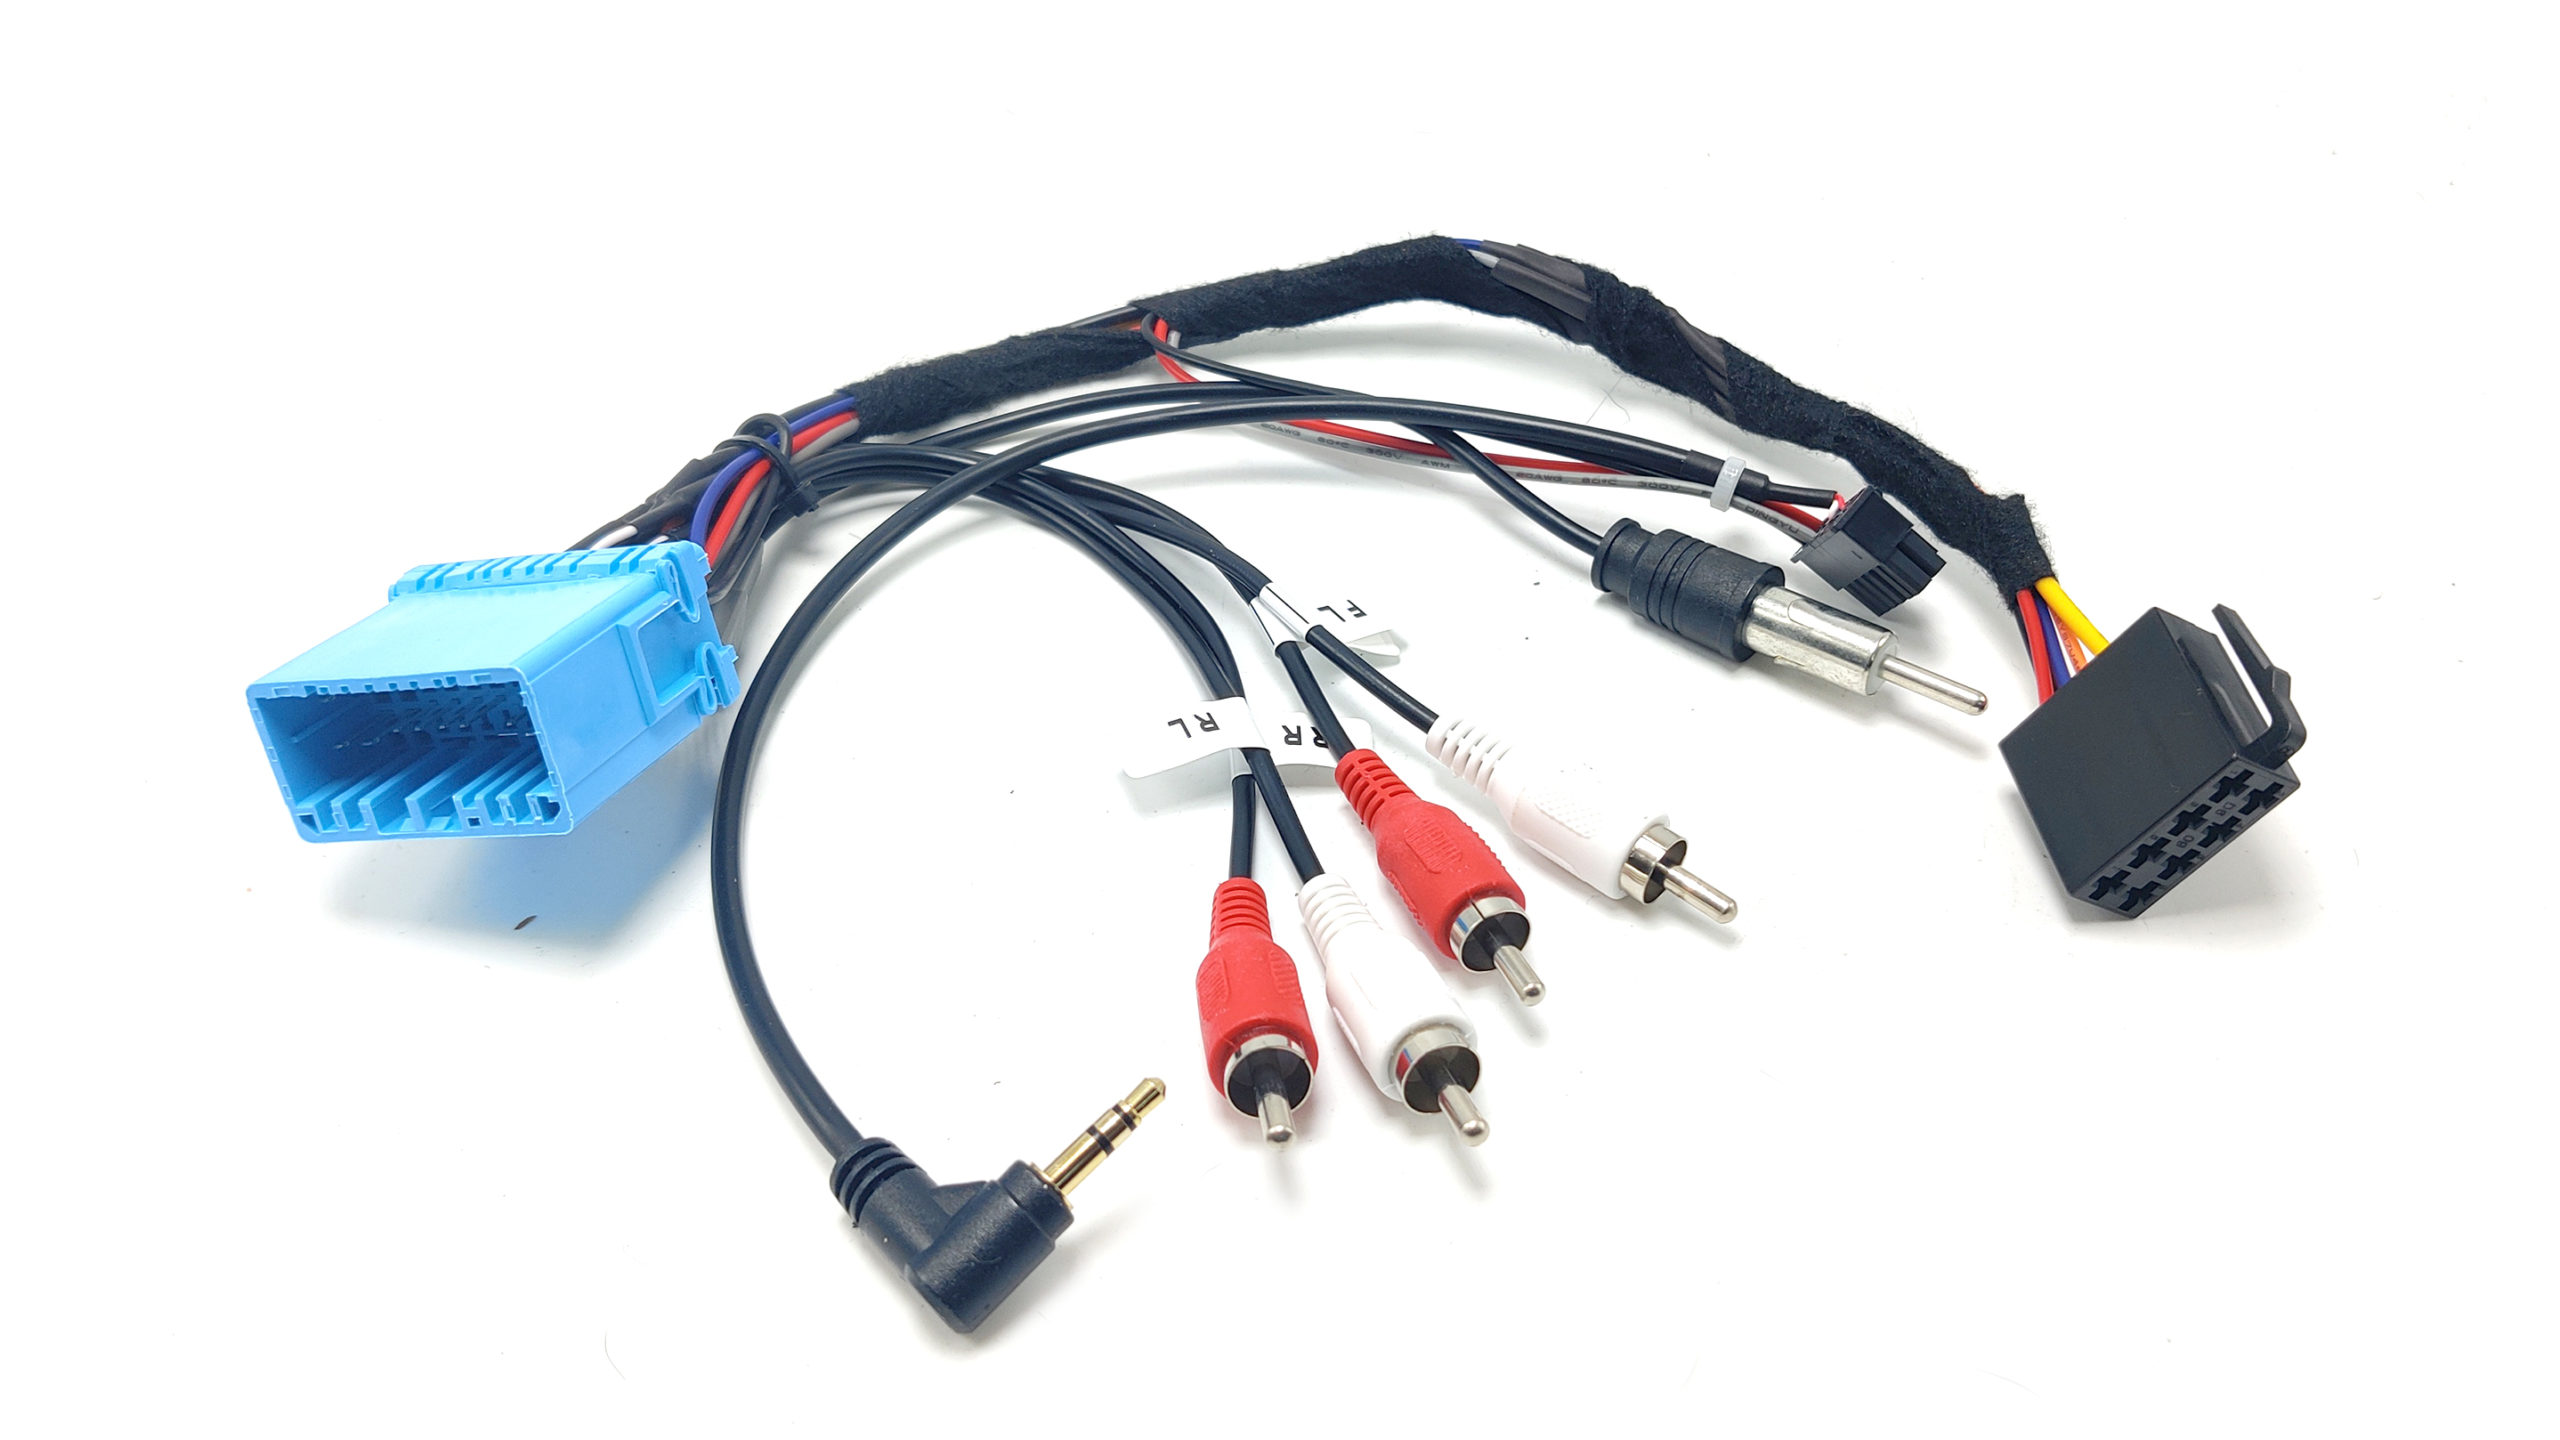
2007 08 09 10 11 2012 Acura RDX PNP Aftermarket Radio Receiver Wiring Harness

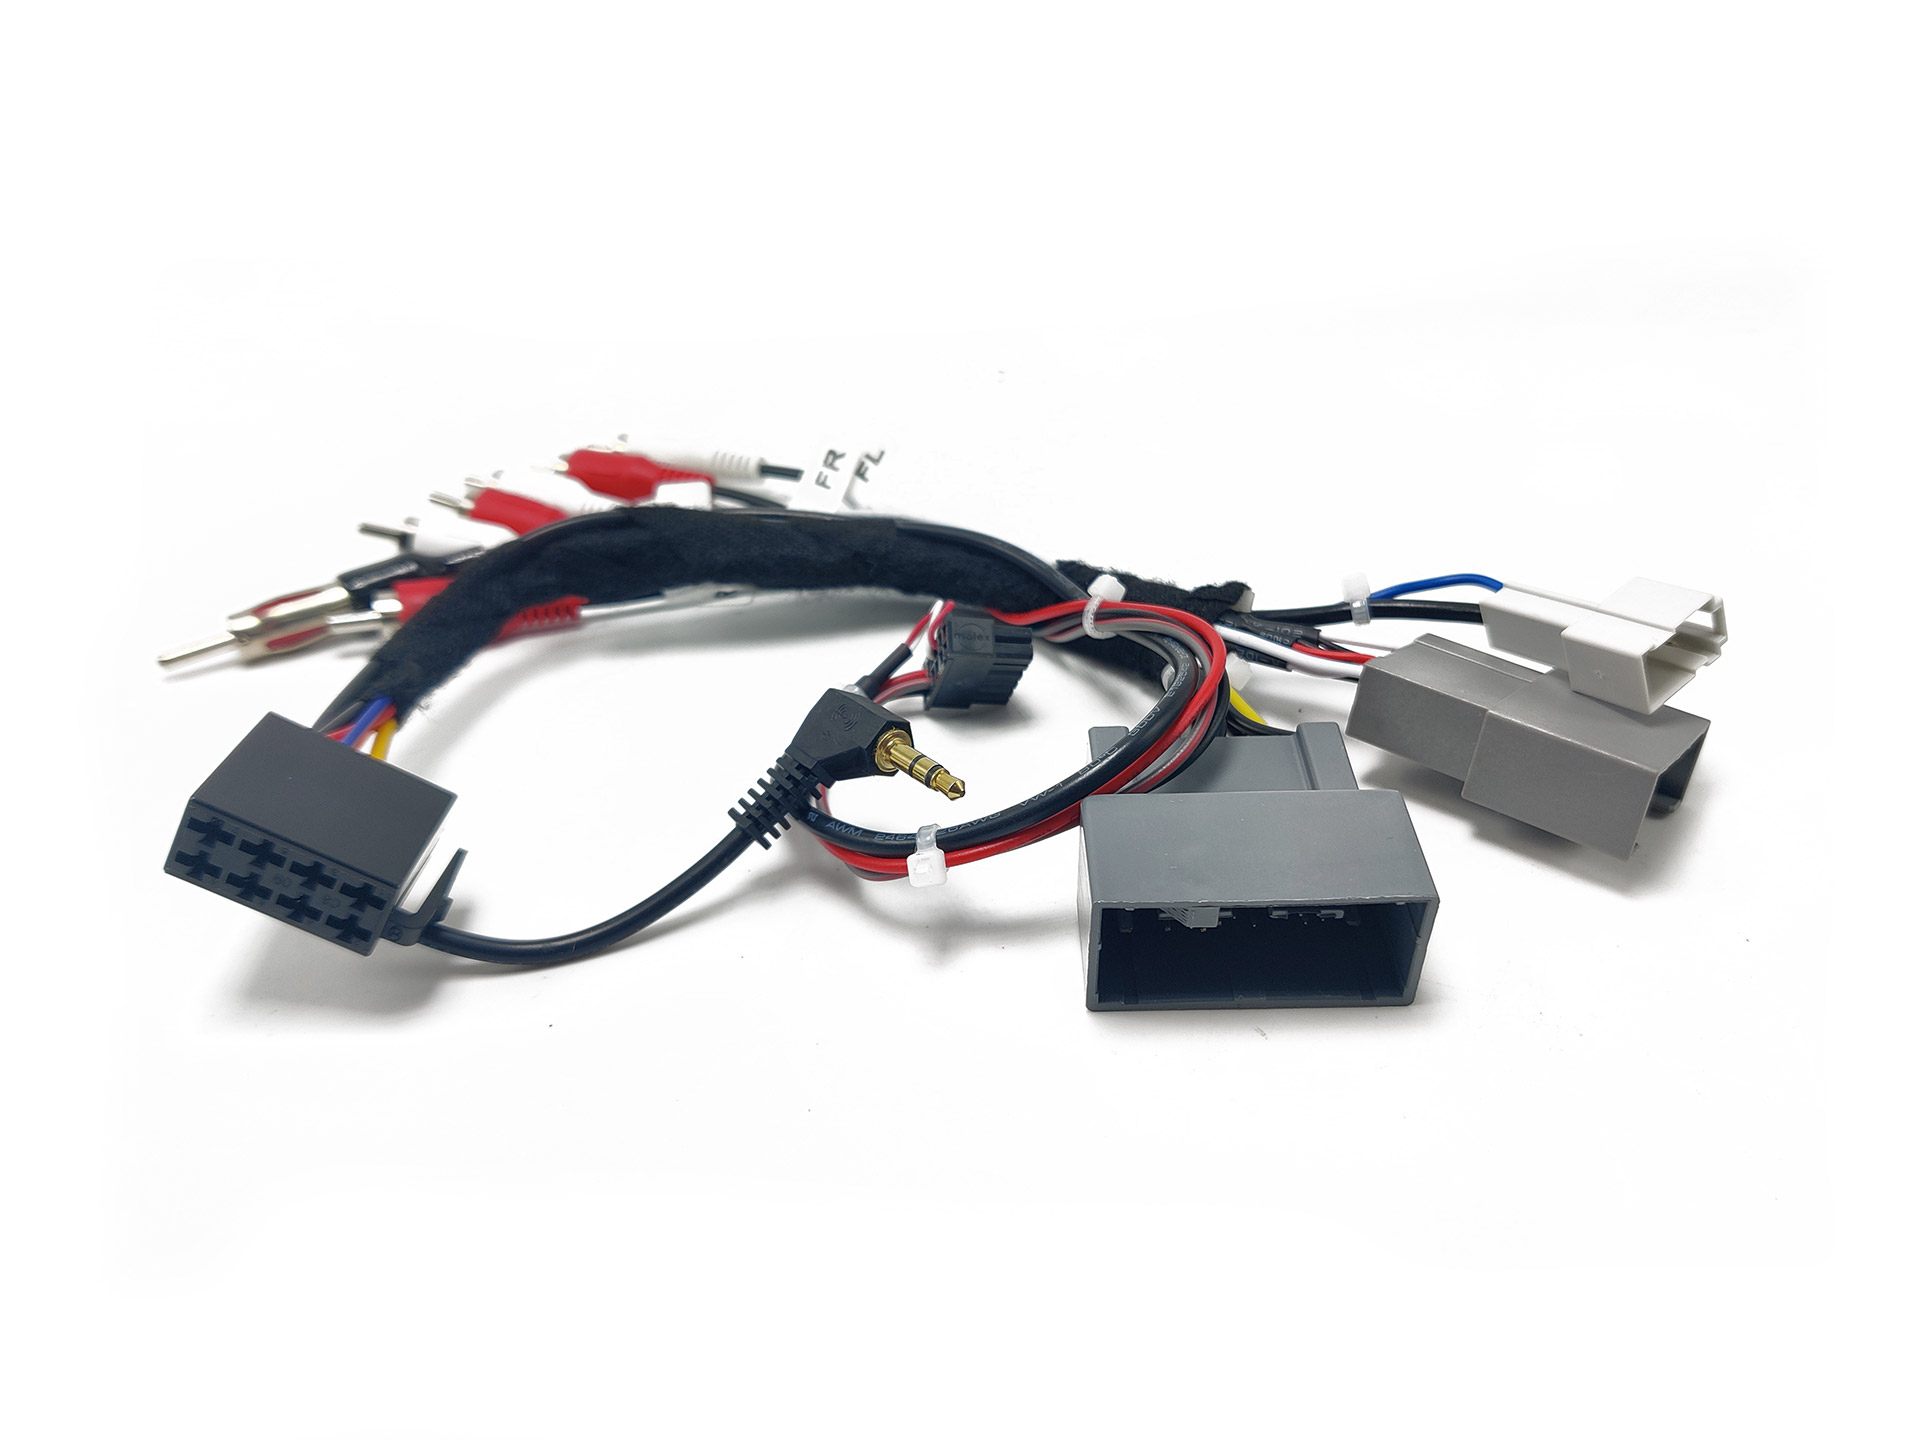
If you are having trouble installing a new aftermarket radio in your 1st Generation Acura RDX spanning years 2007 2008 2009 2010 2011 2012 or if you want an easy plug-and-play installation, this custom-made wiring harness removes the need for you to do any wiring. After placing your order, our team will create a custom wire harness for your exact aftermarket radio installation. The custom harness we create will allow you to install a new aftermarket car stereo receiver without the need for any wire splicing or wire tapping. This wiring harness, when used with a compatible aftermarket radio, will result in a plug-and-play installation for your Acura. A parking bypass is highly recommended with your order if your radio brand is Pioneer, Kenwood, or Alpine. You can learn more about the bypass and what it does by using this link.

If you replace the audio unit in your Acura RDX you will lose the ability to see the climate control information. You can still control the climate but you will not be able to see the current temperature or blower speed/direction.

On your Acura RDX with the premium audio system our plug-and-play harness integrates with the factory amplifier to retain your front door speakers and tweeters, the rear door speakers, and the factory subwoofer. Our harness uses RCAs to feed a low-level signal from the aftermarket radio to the factory amplifier. Please verify your factory amplifier is working and you aren’t having any volume issues before replacing the factory radio. If you are having volume issues, they are most often caused by the factory amplifier.

On your RDX technology package with the ELS audio system and navigation our ELS Amplifier Interface allows you to retain all the speakers including the center dash speaker, front tweeters, front door speakers, rear door speakers, satellite speakers and the factory subwoofer. Our harness uses RCAs to feed a low-level signal from the aftermarket radio to the factory amplifier while also sending the proper commands to get your audio to full volume via the amplifier interface. Please verify your factory amplifier is working and you aren’t having any volume issues before replacing the factory radio. If you are having volume issues, they are most often caused by the factory amplifier.

If you want to replace your factory amplifier, please check out our plug-and-play amplifier. If you wish to bypass the factory amplifier in your Acura and power your speakers directly from your aftermarket radio, check out the amplifier bypass. If you want to add amplifiers to the factory radio then check out our amplifier integration harness.

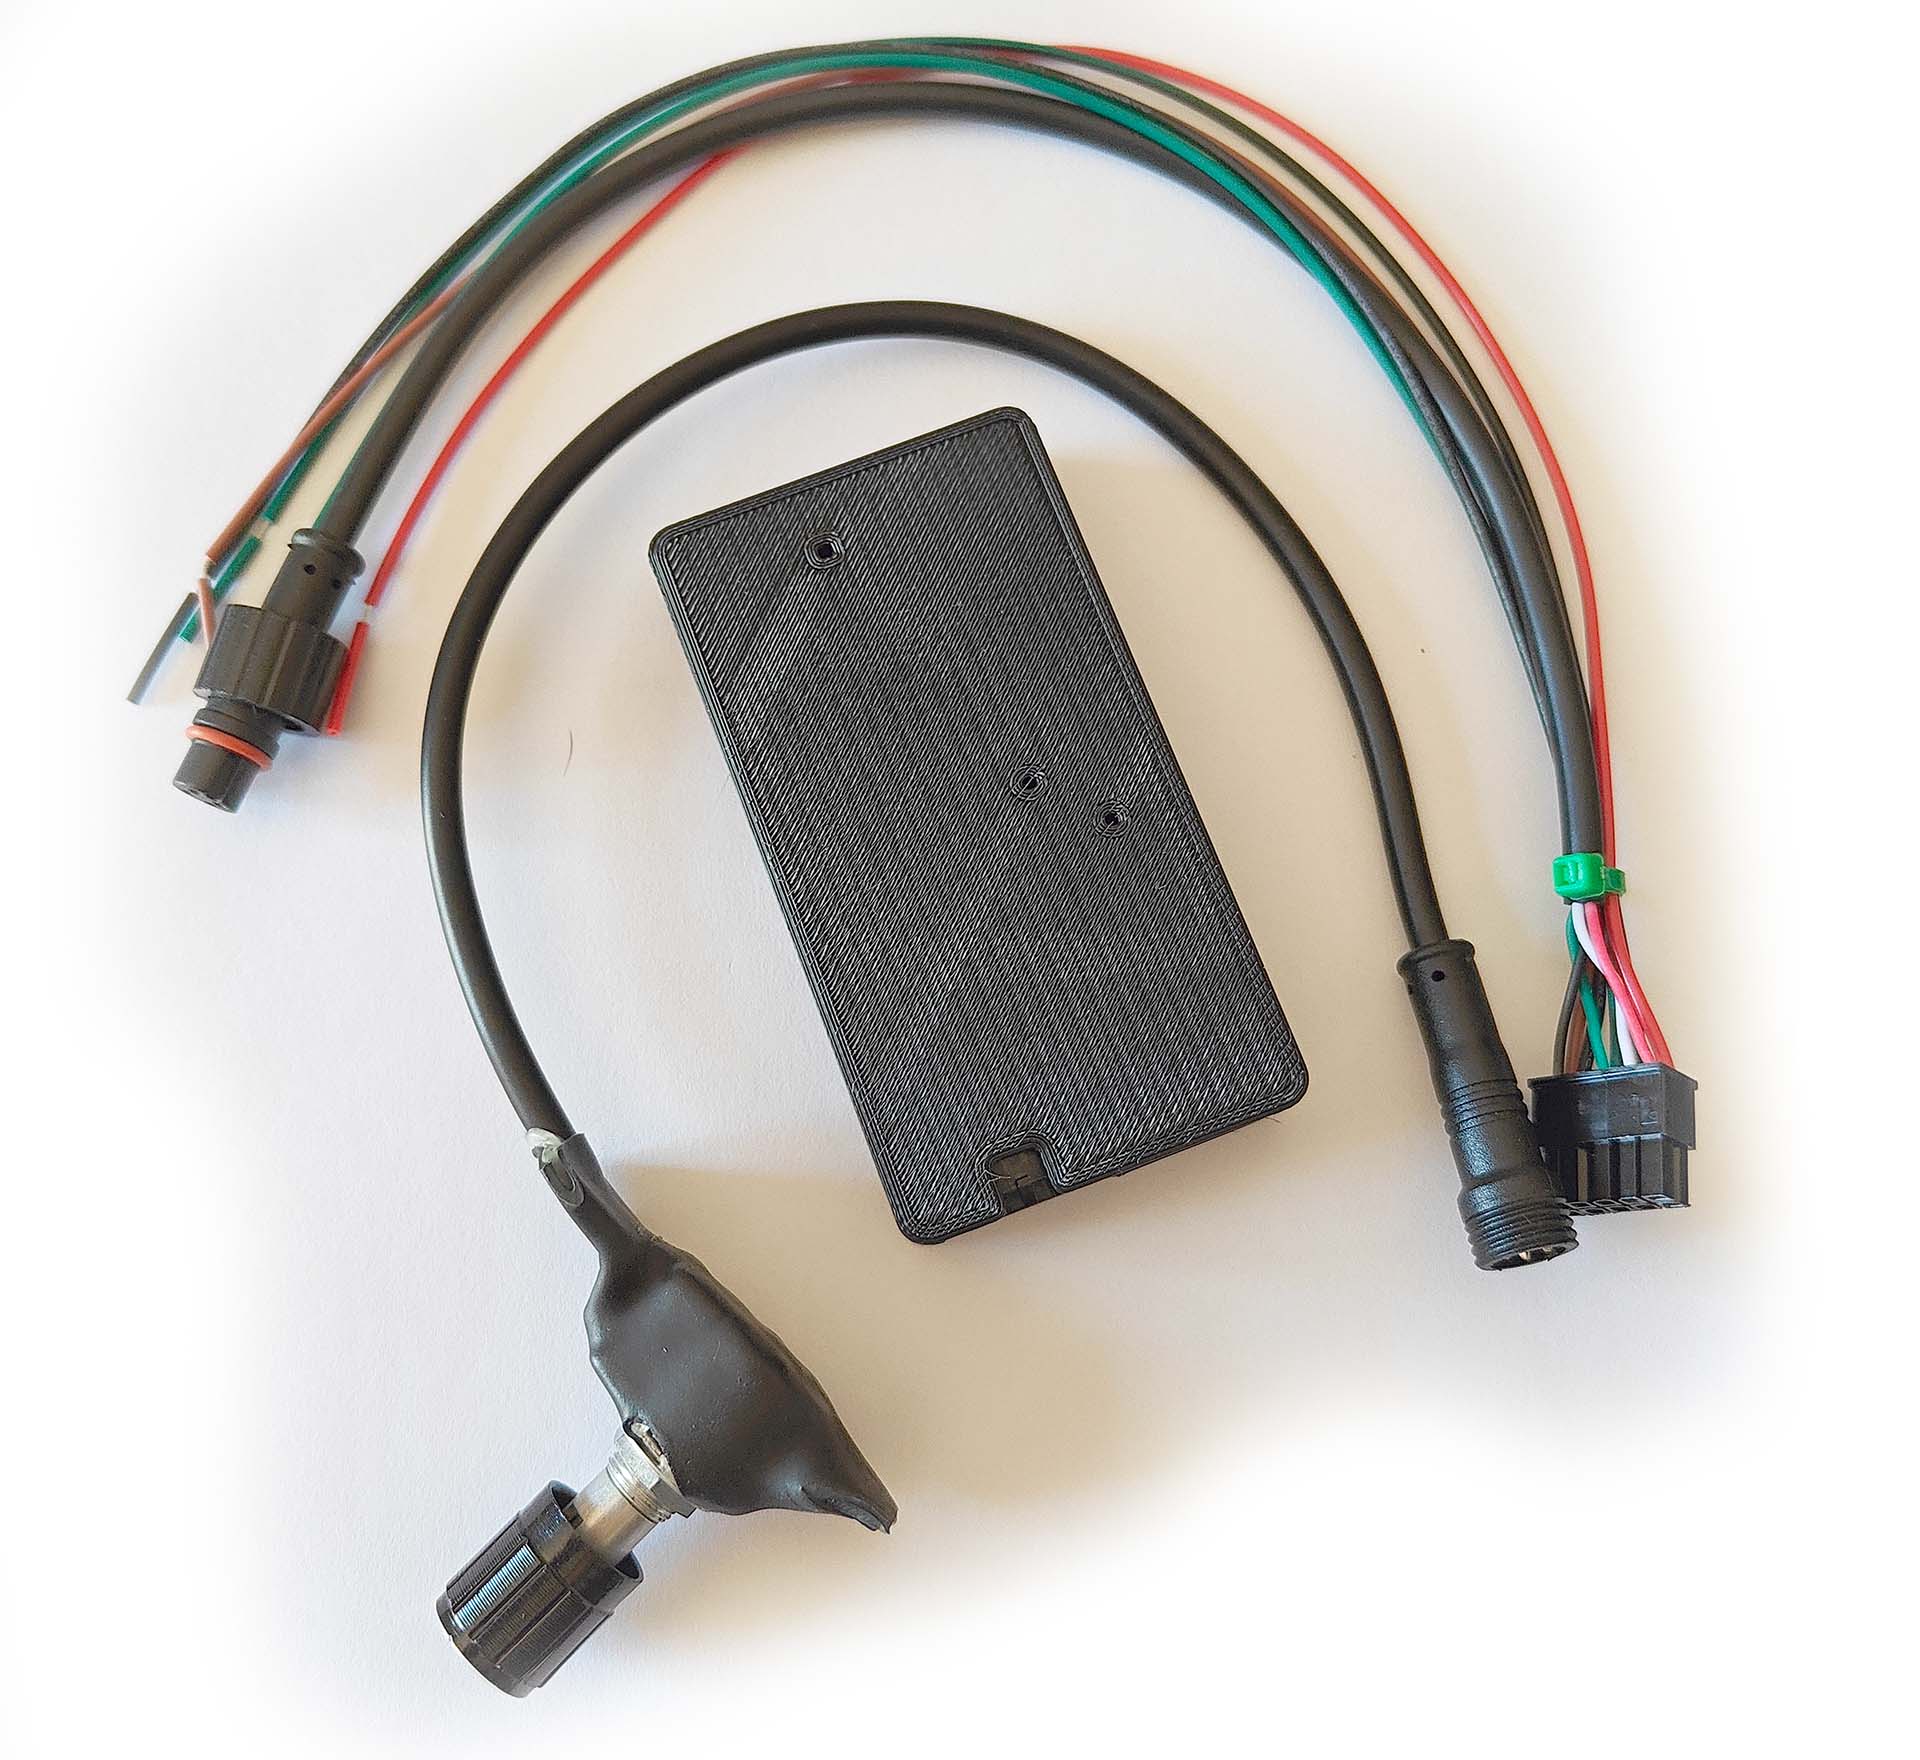
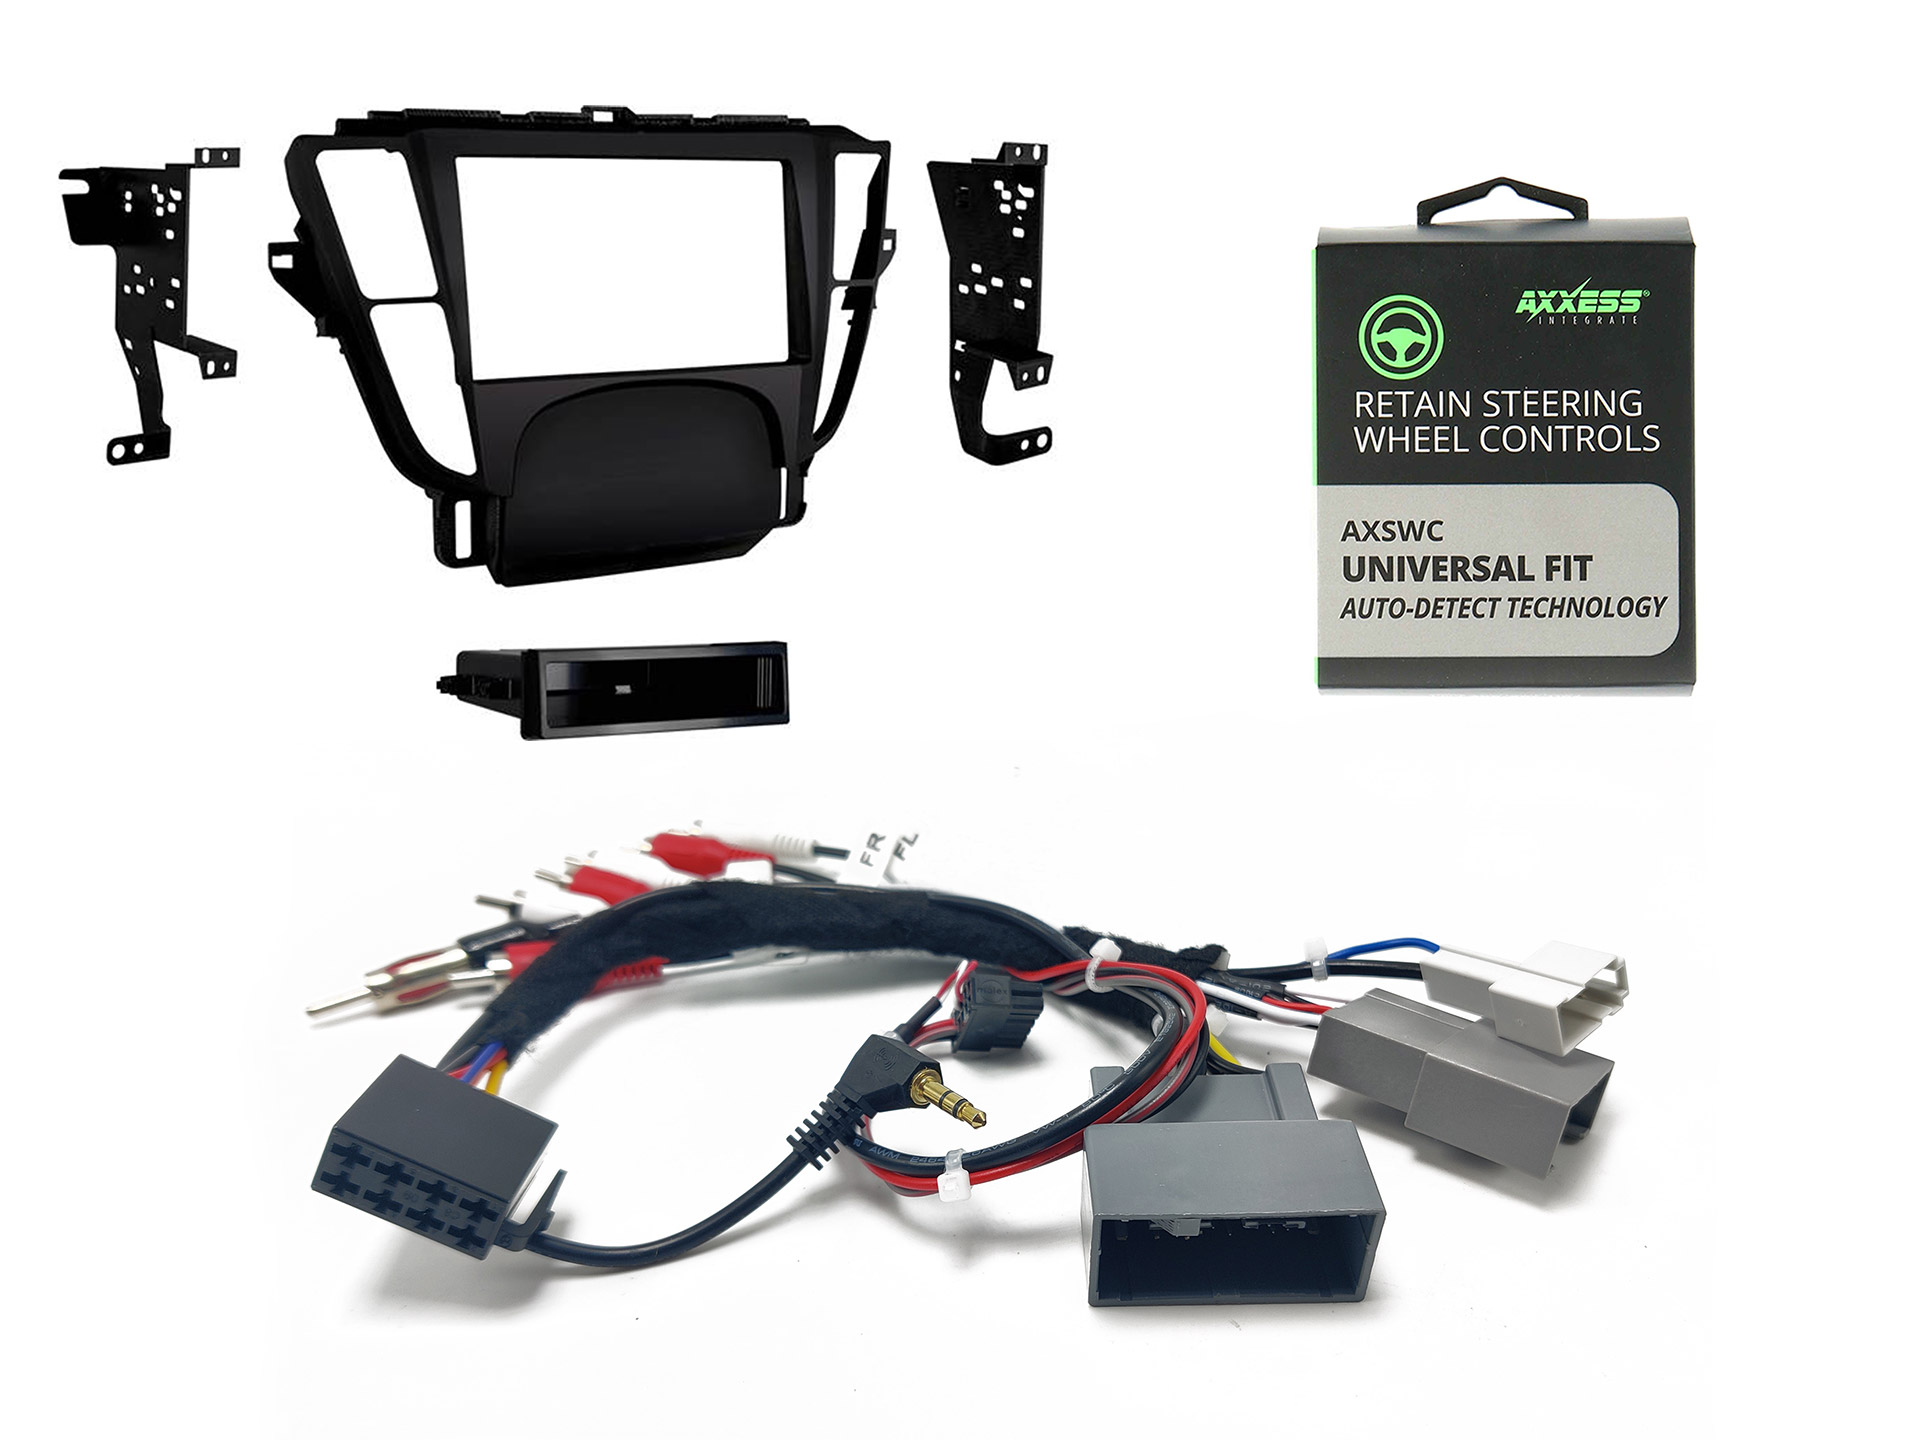
This wire harness is comprised of five or six different connectors. There are three connectors that plug into the factory radio wiring harnesses, and then there is one connector that plugs into your specific aftermarket radio. The aftermarket radio-specific connector changes depending on what radio brand or model you are going to install. The three primary connectors that plug into the car remain the same regardless of what radio is being installed. The last two connectors are for the AXSWC steering wheel control interface and the ELS Amplifier Interface. The AXSWC is an additional purchase; it is not included with your wire harness. The wire harness is also color-coded and labeled, so you can easily add a backup camera, an aftermarket amplifier, or a parking bypass yourself.

If you plan to retain your steering wheel controls, you will only be able to keep volume up, volume down, next, previous, and mode. You will not be able to keep the call control buttons. When you replace the radio, you will lose the factory hands-free functionality and the factory XM radio, along with your factory navigation’s audio prompts. The factory navigation will continue to work as long as the factory navigation was working originally.

The new aftermarket radio you choose must have 5/6 RCA ports on the back labeled FL, FR, RR, RL,SUB if your radio does not have these outputs you will need a line out converter.The brands in the selection menu below have been verified by our staff to work with our harness. If you are unsure if your radio will work with our harness, please call us at 877-542-2872. Other radio brands may work with our harness, but they have not been verified by our staff, so they are not listed in the dropdown.

In order to complete your order, we will need your aftermarket radio model number. Please include it in the billing checkout notes, or if you forget, please include a valid phone number at checkout where we may reach you in case of any questions.

If you have questions regarding shipping or product availability, please check out our FAQ Section. If you are having issues with your radio after installation, check out this article.

FAQ.

  1. How Come I Can’t see my Climate Control Information?
    – When you replace the audio unit you lose the ability to see the current climate control settings.
  2. Will this allow me to keep my factory navigation working with a new aftermarket radio?
    – Yes, your factory navigation will continue to work, but there will be no audio prompts.
  3. Can I add an amplifier and subwoofers to your harness?
    – Yes, you can. You will just need to run your RCAs to the back of the radio and wire tap the blue or blue/white wire of the harness.
  4. Do I get to keep the factory backup camera your harness?
    – Yes, our harness does not effect the backup camera circuit.
  5. Can I use a random radio I found on Amazon or eBay that has an unknown brand?
    Most likely not. If the radio you purchased on Amazon is less than $100, it most likely won’t have all the features and ports needed for you to complete the installation.
  6. Do I get to keep all my speakers?
    – Yes, all speakers are retained.
  7. Do I get to keep my steering wheel controls?
    -Yes, but an additional part is required. The AXSWC can be found here. You will get to keep volume up, volume down, next, prev, and mode. The call control buttons will not be retained.

2007 08 09 2010 2011 2012 Acura RDX DIY Wire Harness Combo (Non Navigation Only)

If you want to upgrade the audio unit in your Acura RDX from years 2007 to 2012 this DIY Wire Harness Combo comes with all the wiring harnesses necessary to do so. There is no need to cut or splice any of the factory wiring. Instead to install your aftermarket radio simply color match the colors on this harness to the wires on your aftermarket radio harness. This harness combo allows you to retain your factory amplifier, subwoofer, door speakers and tweeters. The new aftermarket radio you choose must have 5/6 RCA ports on the back labeled FL, FR, RR, RL,SUB if your radio does not have these outputs you will need a line out converter.

If you are looking for a wired plug and play solution click here.

Our harness combo utilizes RCA connections to send a low level (0v-4v) audio signal from the back of your new aftermarket radio to the factory amplifier in your Acura RDX. Our harness combo integrates with the factory amplifier to keep all of your speakers working. If you wish to keep the factory steering wheel controls with your new aftermarket radio you may also need the AXSWC steering wheel control interface. If you do plan to retain your steering wheel controls, you will only be able to keep volume up, volume down, next, previous and mode. You will not be able to keep the call control buttons. When you replace the radio you will lose the factory hands free functionality and the factory XM radio along with the factory compass. The factory audio-HVAC display shows the audio and climate control information, if you replace the audio unit you will still be able to control the climate but you will not be able to see the information. You can still change the temperature and the settings but can’t see the current temperature or blower location/speed.

Please verify your factory amplifier is working and you aren’t having any volume issues before replacing the factory radio. If you are having volume issues please check out our plug and play amplifier. If you wish to bypass the factory amplifier in your Acura and power your speakers directly from your aftermarket radio check out the amplifier bypass.

The 17 Pin Grey connector in this combo is used to provide:
– Constant Power = Yellow
– Ground = Black
– Accessory Power = Red
– Illumination = Orange

The 32 Pin Dark Grey connector in this combo is used to:
– Amp Turn On for Factory AMP = Blue
– Retain Amplifier = RCAs
– Steering Wheel Control Leads = Gray & Gray/Black

The 2 Pin Grey connector in this combo is used to provide:
– Antenna Booster Switch Signal = Blue
– AM/FM Antenna = Black

If you have questions regarding shipping or product availability please check out our FAQ Section. If you are having issues with your radio after installation check out this article.

FAQ.

  1. Where do these harnesses connect?
    – These harness connect to the Audio Unit harness, the audio unit in your RDX sit below the climate control buttons right in front of the shifter. (see image)
  2. Can I add an amplifier and subwoofers with your harness?
    – Yes you can. You will just need run your RCAs to the back of the radio and wire tap the blue or blue/white wire of the harness.
  3. Can I add a backup camera with your harness?
    – Yes just follow the instructions provided in the radios owners manual or the cameras manual to complete the installation.
  4. Can I use a random radio I found on Amazon or eBay that has an unknown brand?
    – Most likely not. If the radio you purchased on Amazon is less than $100 it most likely won’t have all the features and ports needed for you to complete the installation.
  5. Do I get to keep all my speakers?
    – Yes all speakers are retained, except for the center dash speaker.
  6. Do I get to keep my steering wheel controls?
    -Yes but an additional part is required. The AXSWC you can find it here. You will get to keep volume up, volume down, next, previous and mode. The call control buttons will not be retained.

2009 2010 2011 2012 2013 2014 Acura TL Subwoofer Upgrade Instructions

  1. Have an assistant help you when removing and installing the rear seat-back.

    Take care not to scratch the body or tear the seat covers.

    While pushing down on the rear seat cushion (A), pull the seat hook handles (B) to release the hooks (C).

  2. Remove the seat cushion (A), and release the center seat belt buckles (B) from the slits (C)

  3. Release the seat belts (A) from their guides (B).
  4. Remove the bolts from the base of the seat-back (A)
  5. Remove the rear seat-back (A).

    Lift up the bottom of the seat-back.

    Push on the seat-back while lifting it up to release the wire loops (B) from the hooks (C) on the body.

  6. Remove rear door weather stripping as needed

  7. Hit the upper clip (A) in the C-pillar trim (B) with a rubber mallet. Hitting the clip breaks the projections (C) on the pin (D) and pushes it into the grommet (E) on the body (F).

    NOTE: The upper clip must be replaced with a new one when the C-pillar trim is reinstalled.


    NOTE: The upper clip must be replaced with a new one when the A-pillar trim is reinstalled. If you don’t replace the clip the C-Pillar will still lock in place. Also you can repair the existing clip by heating it and then separating it from each other.
    Link to clips if you rather replace them – https://www.amazon.com/dp/B0B4B9FCKK

  8. Pull back the top of the C-pillar trim (A) by hand to remove the upper clip (B) from the body (C).

  9. Remove the rear bulkhead cover (A).
    Detach the clips with a clip remover.
    Lift the rear shelf upward and forward to release the rear hook (B).
    Slightly warp the rear shelf to release both side edges from the side curtain airbag inflators, then pull it forward.
    NOTE: Be careful not to damage the speakers.

  10. Remove the four bolts securing the subwoofer.
  11. Disconnect the factory subwoofer by pinching the connector at the sides and pulling down until it releases. You will need to pull with moderate force.

  12. Secure the new mounting bracket to the rear deck using the factory screws you just removed.

  13. Connect the new subwoofer to the factory connection using the provided harness.

  14. Mount the new subwoofer to the mounting bracket with the supplied mounting screws.
    NOTE: It is recommended to apply sound treatment material to the rear deck metal and rear deck cover to reduce unwanted rattles and noise

  15. Reinstall the covers you removed in the reverse order.
    NOTE: If the rear deck touches your new subwoofer, trim the rear deck panel so the surround of the subwoofer does not touch or buy longer retaining clips to ensure the rear deck does not touch the subwoofer.
    You can use the ones found at this link. https://www.amazon.com/Rexka-Panel-Retainer-Chrysler-6503709/dp/B07CJP3X5H/

2009 2010 2011 2012 2013 2014 Acura TL Factory Radio Removal | Aftermarket Radio Installation Procedure

Your Acura TL has a total of 6 speakers that are powered by the factory amplifier. When replacing the factory radio using our radio kit you are able to keep all of the speakers except the center channel. The front door speakers, tweeters, rear deck speakers and the factory subwoofer will all continue to work; the center dash speaker will not work. Our harness integrates with the factory amplifier to keep all your speakers working. You will also get to keep your steering wheel controls including volume up, volume down, next, prev and mode. The call control buttons will not work. The climate control display will continue to work and show the climate information but won’t show any audio information. The factory XM, HFL and AUX features will no longer work. If you want to retain XM or AUX you will need your new aftermarket radio to have these features.

Your Acura TL with navigation has a total of 10 speakers that are powered by the factory amplifier. When replacing the factory radio using our radio kit you are able to keep all of the speakers. The ELS Amplifier Interface allows you to install the aftermarket radio and keep the factory amplifier. The front door speakers, tweeters, rear door speakers, rear pillar speakers and the factory subwoofer will all continue to work. Our harness integrates with the factory amplifier to keep all your speakers working. You will lose Sirius XM, USB, AUX, OEM Navigation(screen will be black), and the factory backup camera. The factory backup camera can be rerouted to show up on the aftermarket radio(requires additional purchase). The steering wheel controls including volume up, volume down, next, previous and mode will work. The call control buttons are not retained. The factory hands free Bluetooth is disabled and you will need to use the aftermarket radios Bluetooth features. The call control buttons are not retained. The navigation control buttons are not retained.

FAQ.

  1. In my premium audio system, will the display above the radio continue to show climate control information.
    – Yes your climate control will continue to function as normal.
  2. In my tech package, will I lose the climate control information?
    – Yes the climate information will be lost unless you convert your navigation screen to the audio HVAC display with our harness.
  3. In my tech package, will I lose the factory backup camera?
    – Yes the factory backup camera is lost. You can use our camera retention harness to keep it on your aftermarket radio.
  4. Can I use this complete kit on a TL with navigation?
    – Yes. But you will need additional parts to convert the climate control display and to keep the factory backup camera.
  5. Can I add an amplifier and subwoofers with your harness?
    – Yes you can. You will just need run your RCAs to the back of the radio and wire tap the blue or blue/white wire of the harness.
  6. Can I add a backup camera with your harness?
    – Yes just follow the instructions provided in the radios owners manual or the cameras manual to complete the installation.
  7. Can I use a random radio I found on Amazon or eBay that has an unknown brand?
    – Most likely not. If the radio you purchased on Amazon is less than $100 it most likely won’t have all the features and ports needed for you to complete the installation.
  8. Do I get to keep all my speakers?
    – Yes all speakers are retained on the navigation equipped Acuras, on the base you lose the center dash speaker.
  9. Do I get to keep my steering wheel controls?
    – Yes but an additional part is required. The AXSWC in included in this kit. You will get to keep volume up, volume down, next, prev and mode. The call control buttons will not be retained. The navigation control buttons are not retained.

2007 2008 09 10 2011 2012 2013 2014 2015 Acura ELS Audio Amplifier Retention Interface

If you have any of the following Acura’s including the Acura ILX, Acura TL, Acura MDX, Acura RDX, and Acura TSX from years 2007 to 2014 with the ELS system you can now replace the factory radio and keep the factory amplifier in place to power all of your speakers. The factory amplifier requires digital volume control which is achieved with our interface and a dedicated external volume knob. Instructions

This interface will come with proper connector for your vehicle and you will have to connect two additional wires. You will have to connect the red wire to accessory power and the black wire to ground. This interface will plug in behind the radio. We will reach out via text to confirm all the details so please use a valid phone number when ordering.

This integration does not keep the factory navigation working. You can retain your navigation if your car has a DVD based navigation unit somewhere in the car. The 2010 and up Acuras all have Hard Drive based navigation so you will not be able to retain it. You can only retain the navigation in some 2007-2009 Acuras. You can not retain the navigation in any 2009-2013 Acura TL.

This interface allows you to control the volume of the factory amplifier. This interface does not allow you to control balance and fader. You can change the EQ on the radio for the desired sound but the factory amplifier will still keep the factory crossovers in place. The factory amplifier only uses the FL and FR audio outputs of the aftermarket radio and expects the voltage of the RCAs to be between 0v- 1.3v. This means this interface can work with almost any aftermarket radio. Along with this interface you will still need the other necessary harnesses to install you aftermarket radio. You will not have the ability to fade the audio between the front and back but you can balance between left and right.

Posted on Leave a comment

Acura Speaker Installation Instructions – DIY How To

Here is the pdf version

  1. Open the door all the way to ensure you have enough room to work with and the door won’t hit anything. If you rather follow video instructions checkout our YouTube channel @acurauadiogarage.
  2. Roll up the window and find a comfortable seat.
  3. Remove any items from the door panel storage areas.
  4. Use a pry tool or small flat head screwdriver to expose screws hidden behind covers and removal panels. Screws are often hidden behind the door handle or arm rest.
  5. Depending on the Acura you will also have screws on the edges of the door panel to check for any hidden screws or screws with covers on them.
  6. After locating all the screws in your Acura remove them and begin prying the door panel from the bottom with a pry tool.
  7. The pry tool goes between the door panel and the metal of the door. The door panel is held on with plastic clips that are pressed into the metal of the door when they release they will make a loud noise. The noise is normal, you have not broken anything.If your door panel does not release easily you might have missed a screw.
  8. Stand up and lift the door panel towards your head no not yank or pull it harshly. Attached to the door panels are different cables you will need to remove. You might need a buddy to hold the panel while you disconnect
  9. Disconnect the door latch and lock cables from the door panel. These cables are made of metal so be careful as they will easily break the plastic they are attached to. On most Acura’s made after 2009 you can unclip the entire door handle from the door panel. On older Acuras you will need to unclip the cables from the door panel.
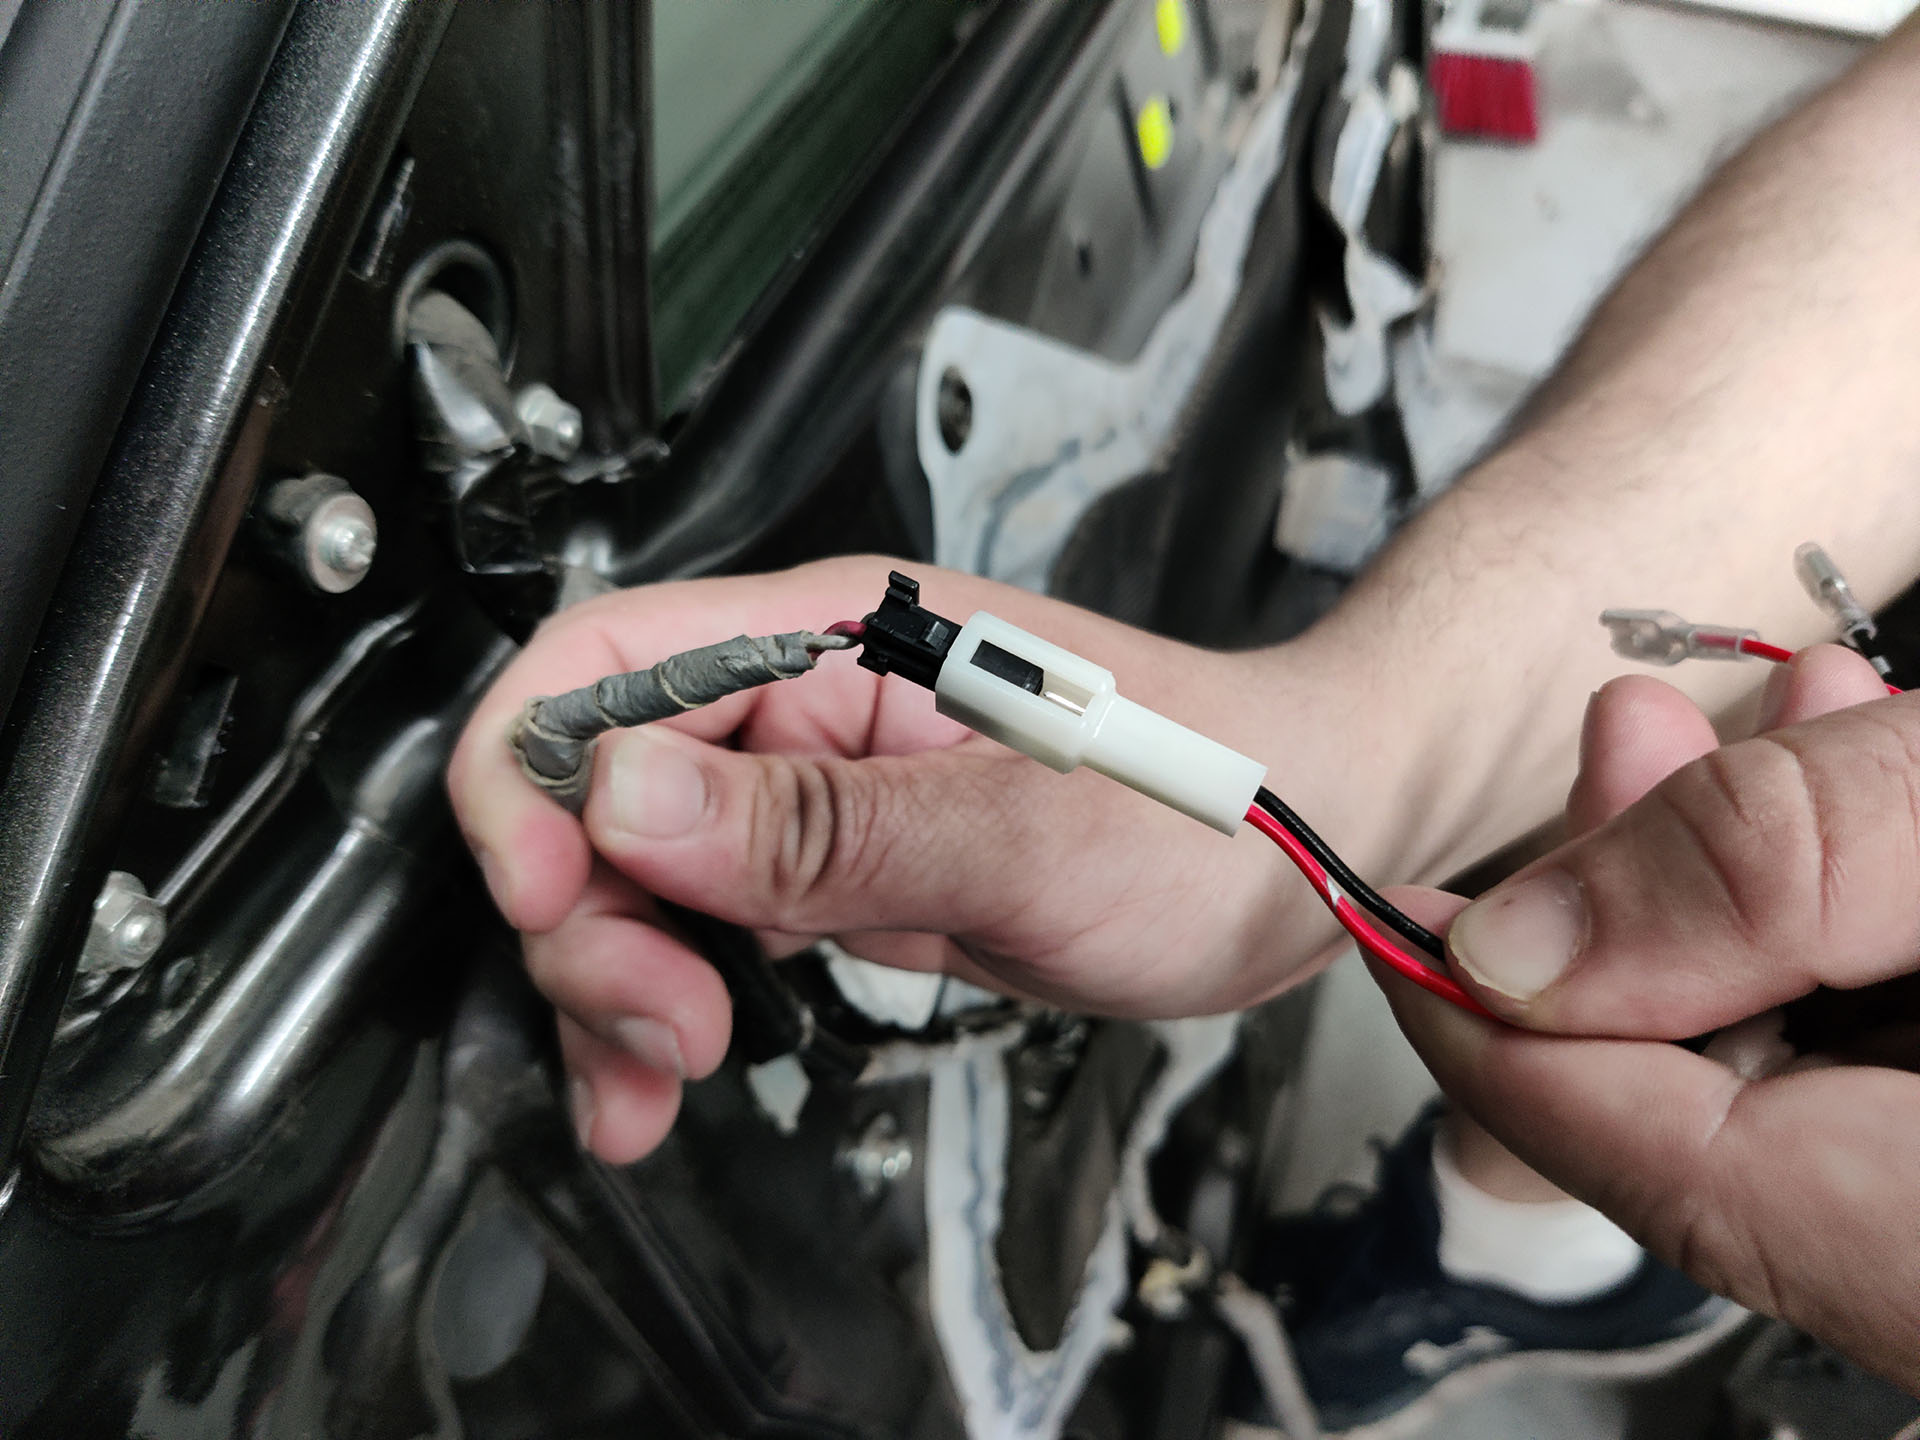
  10. Next Disconnect the electrical cable connectors from the door panel. Almost all of the electrical connectors will have triggers or tabs that you must press down on to release them from the mating connection.
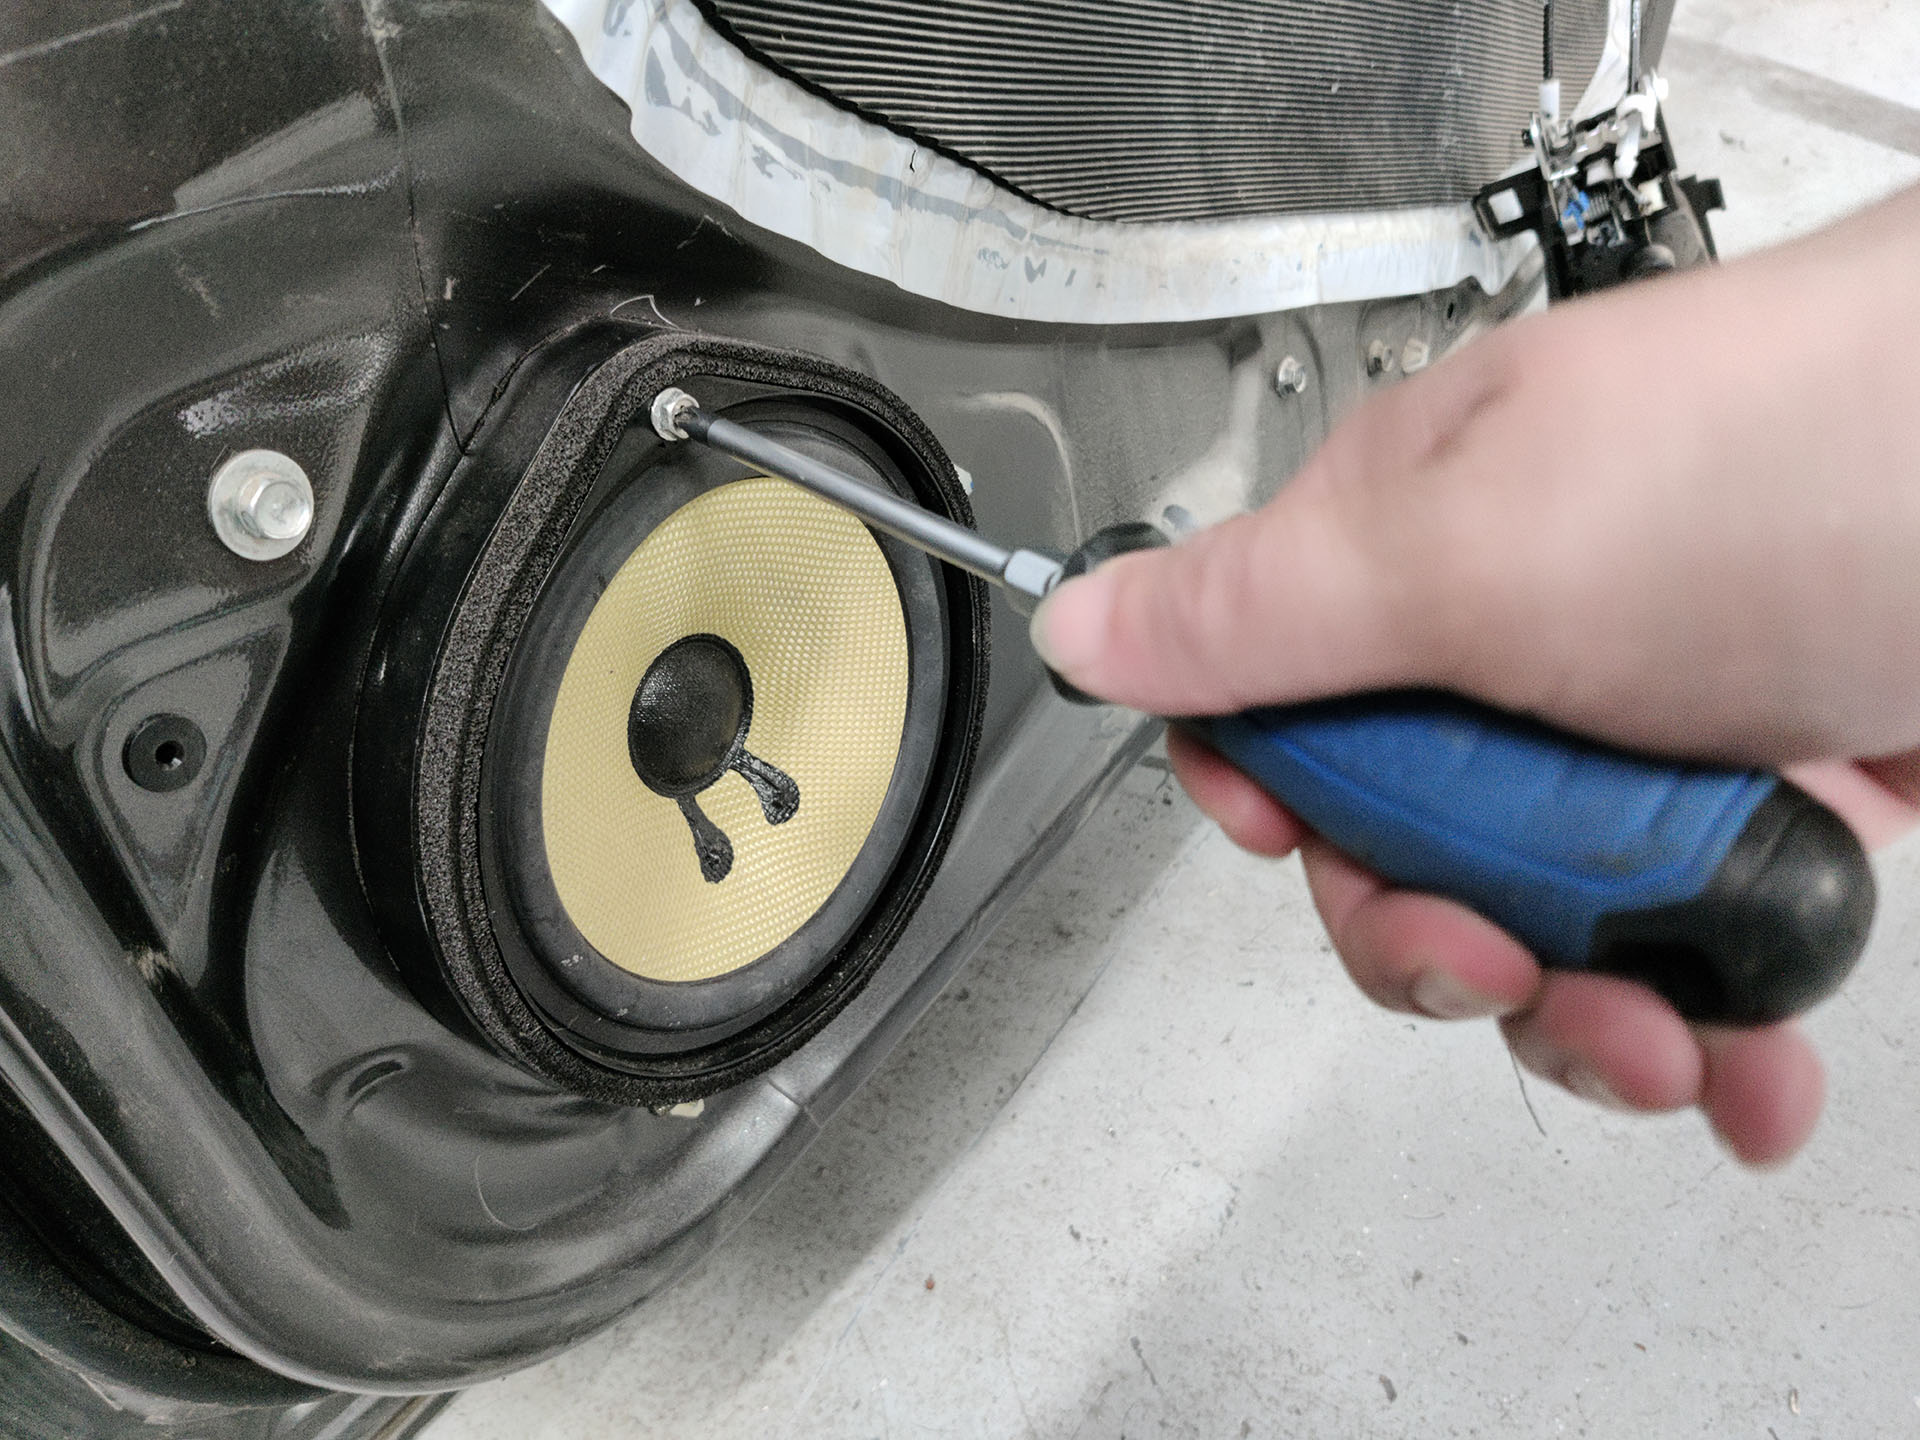
  11. Now with all cables disconnected you can set the door panel to the side and start the removal of the speaker. There are 1 to 3 visible screws holding on your factory speaker.
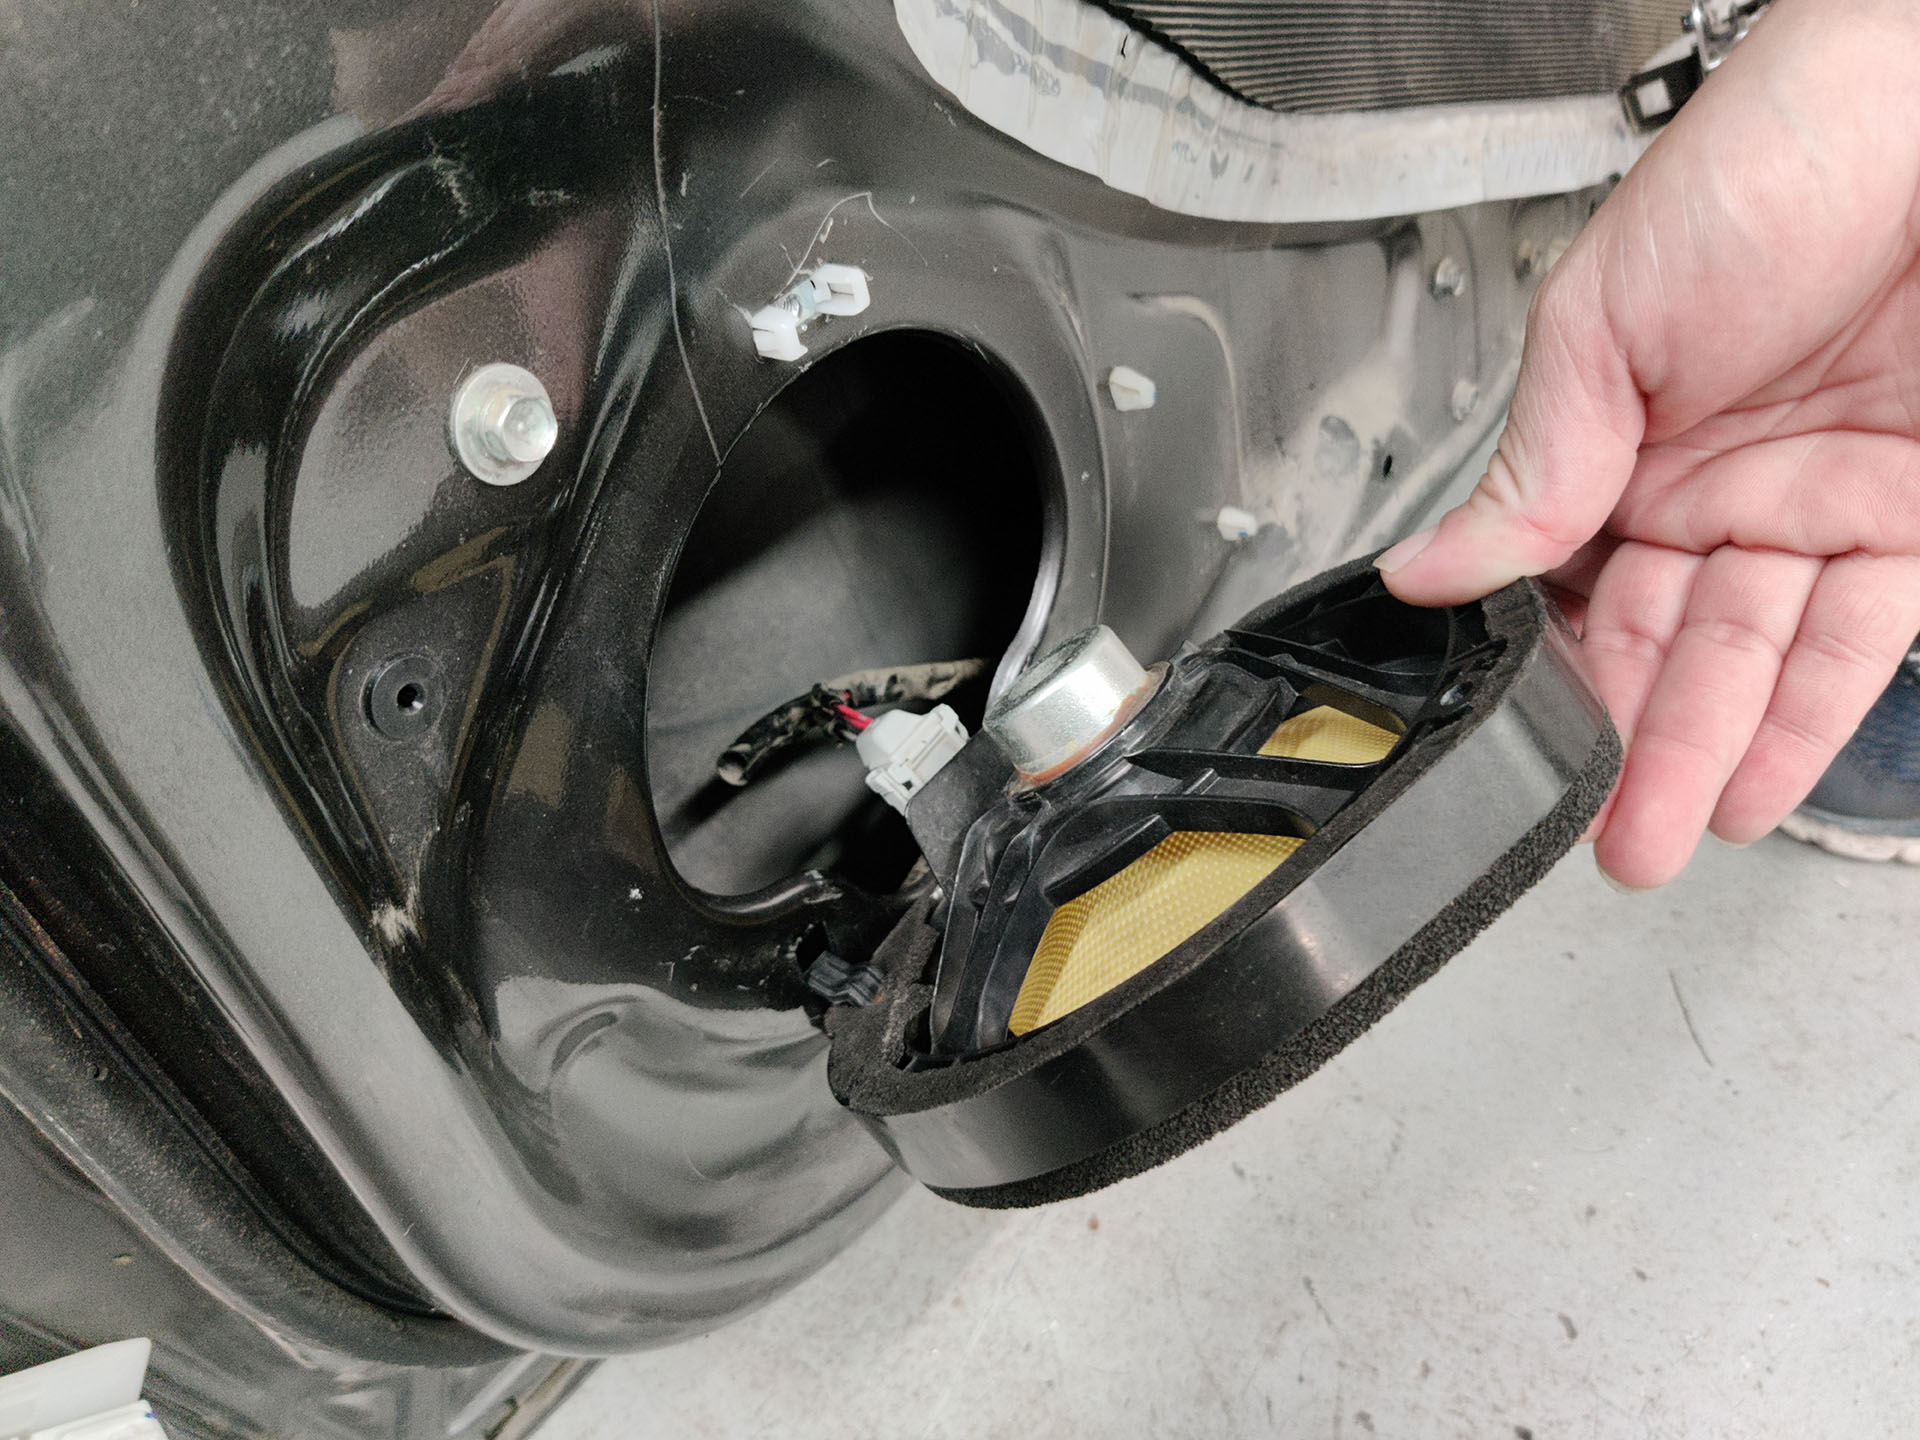
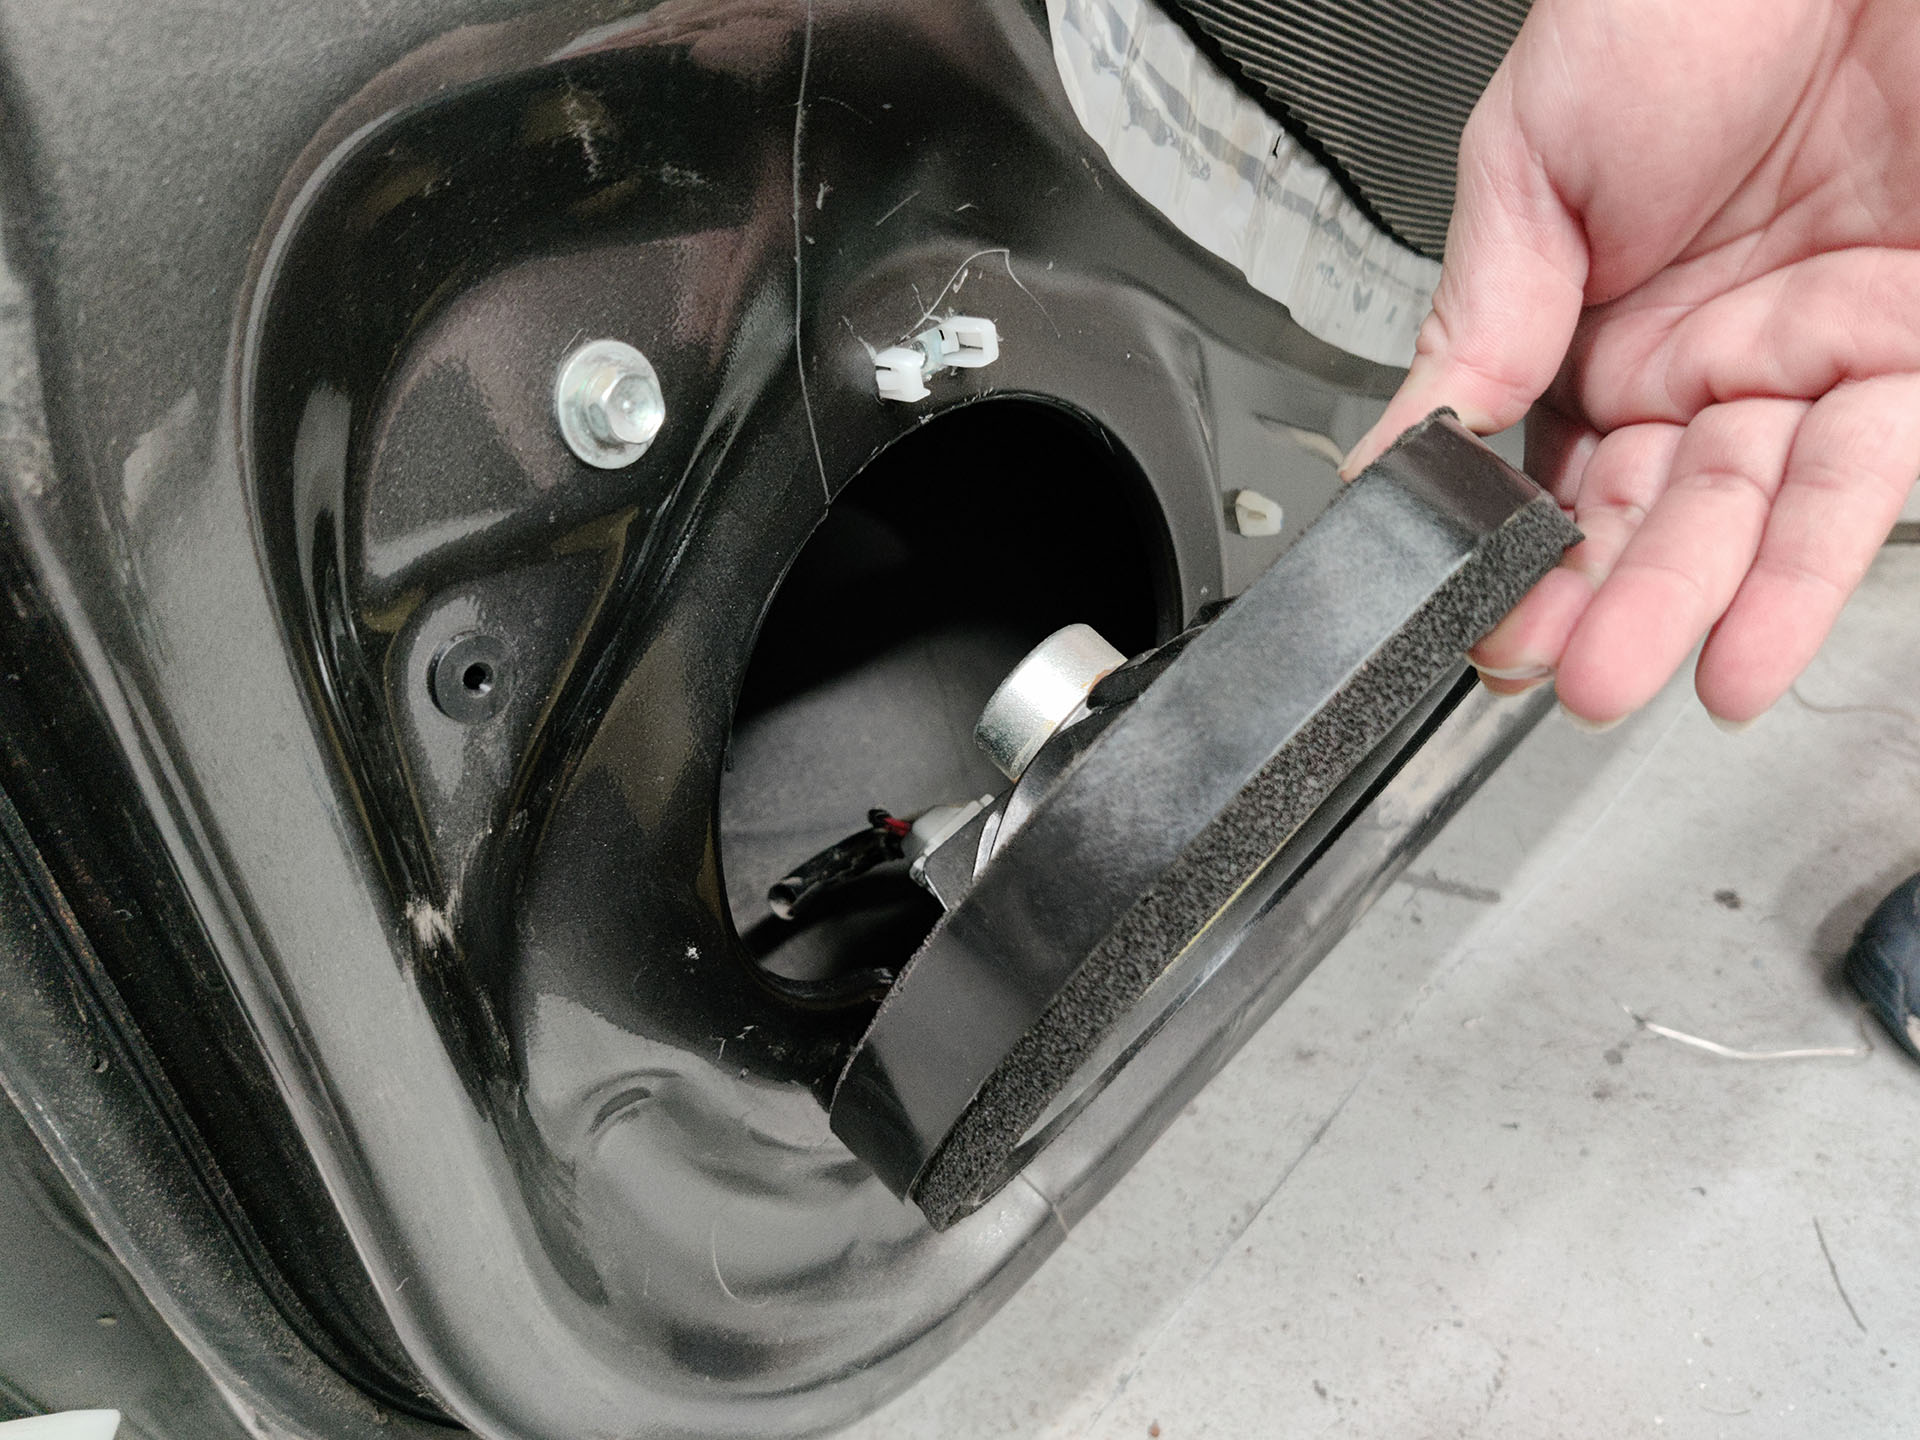

  12. Remove all the screws and then pry the speaker from the top. If your speaker does not have any screws you must just pry against it from the top with a flathead screwdriver. After prying the top of the speaker the speaker will separate from the door panel but it might not come all the way out. Next you will need to lift the speaker towards you to release the holding tabs from the door.
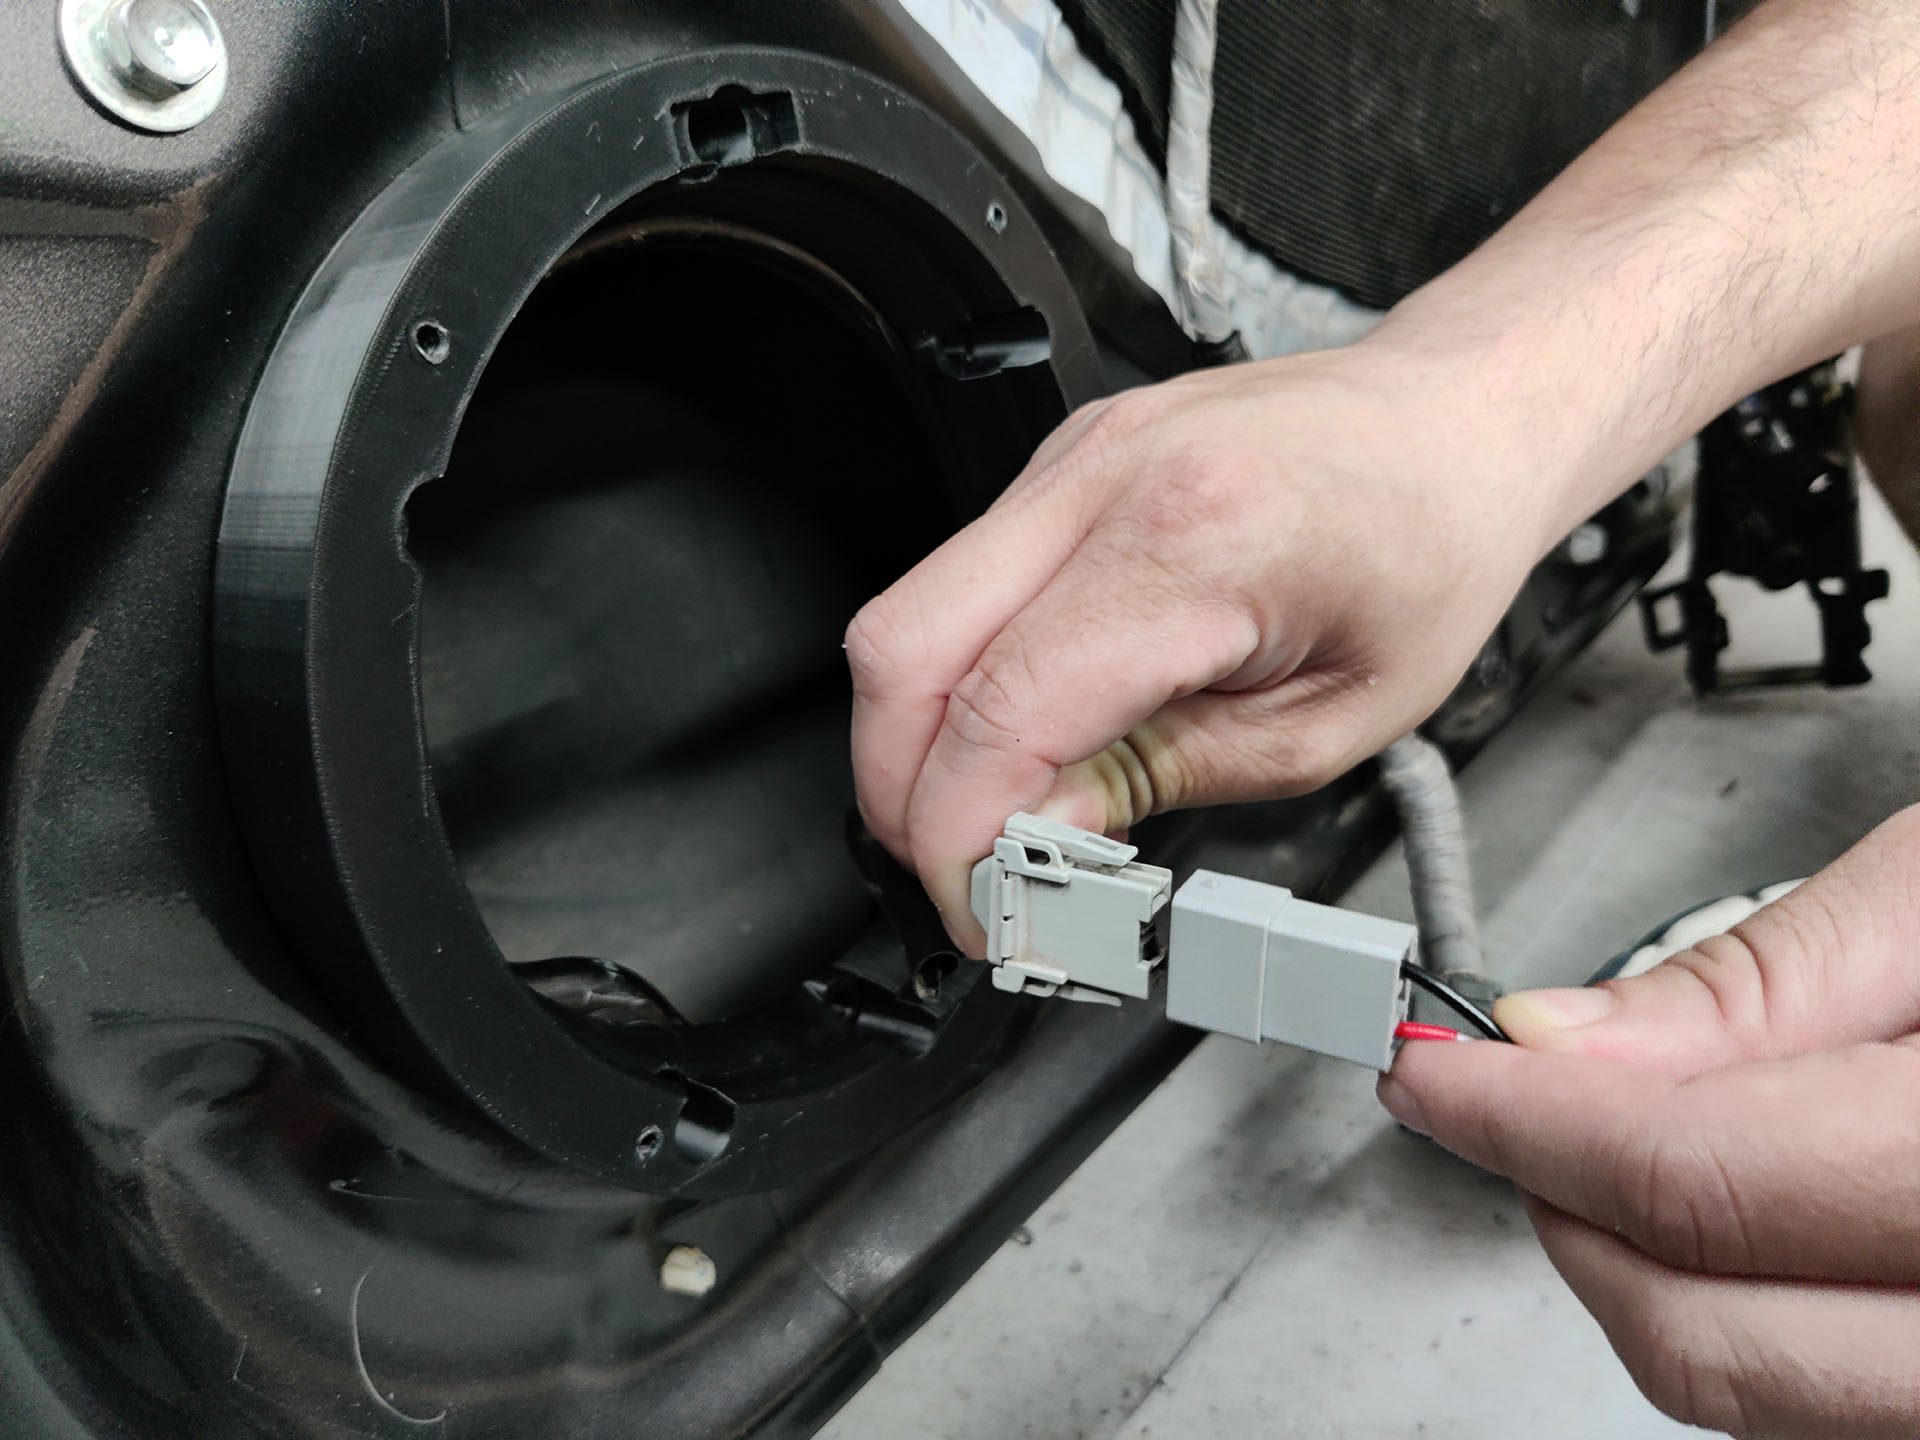
  13. Disconnect the speaker from the factory connector. This connector has two triggers or tabs on the side that you must squeeze to release the speaker. These sometimes are hard to come off and you will need to wiggle them out. Remove the speaker and place it to the side.
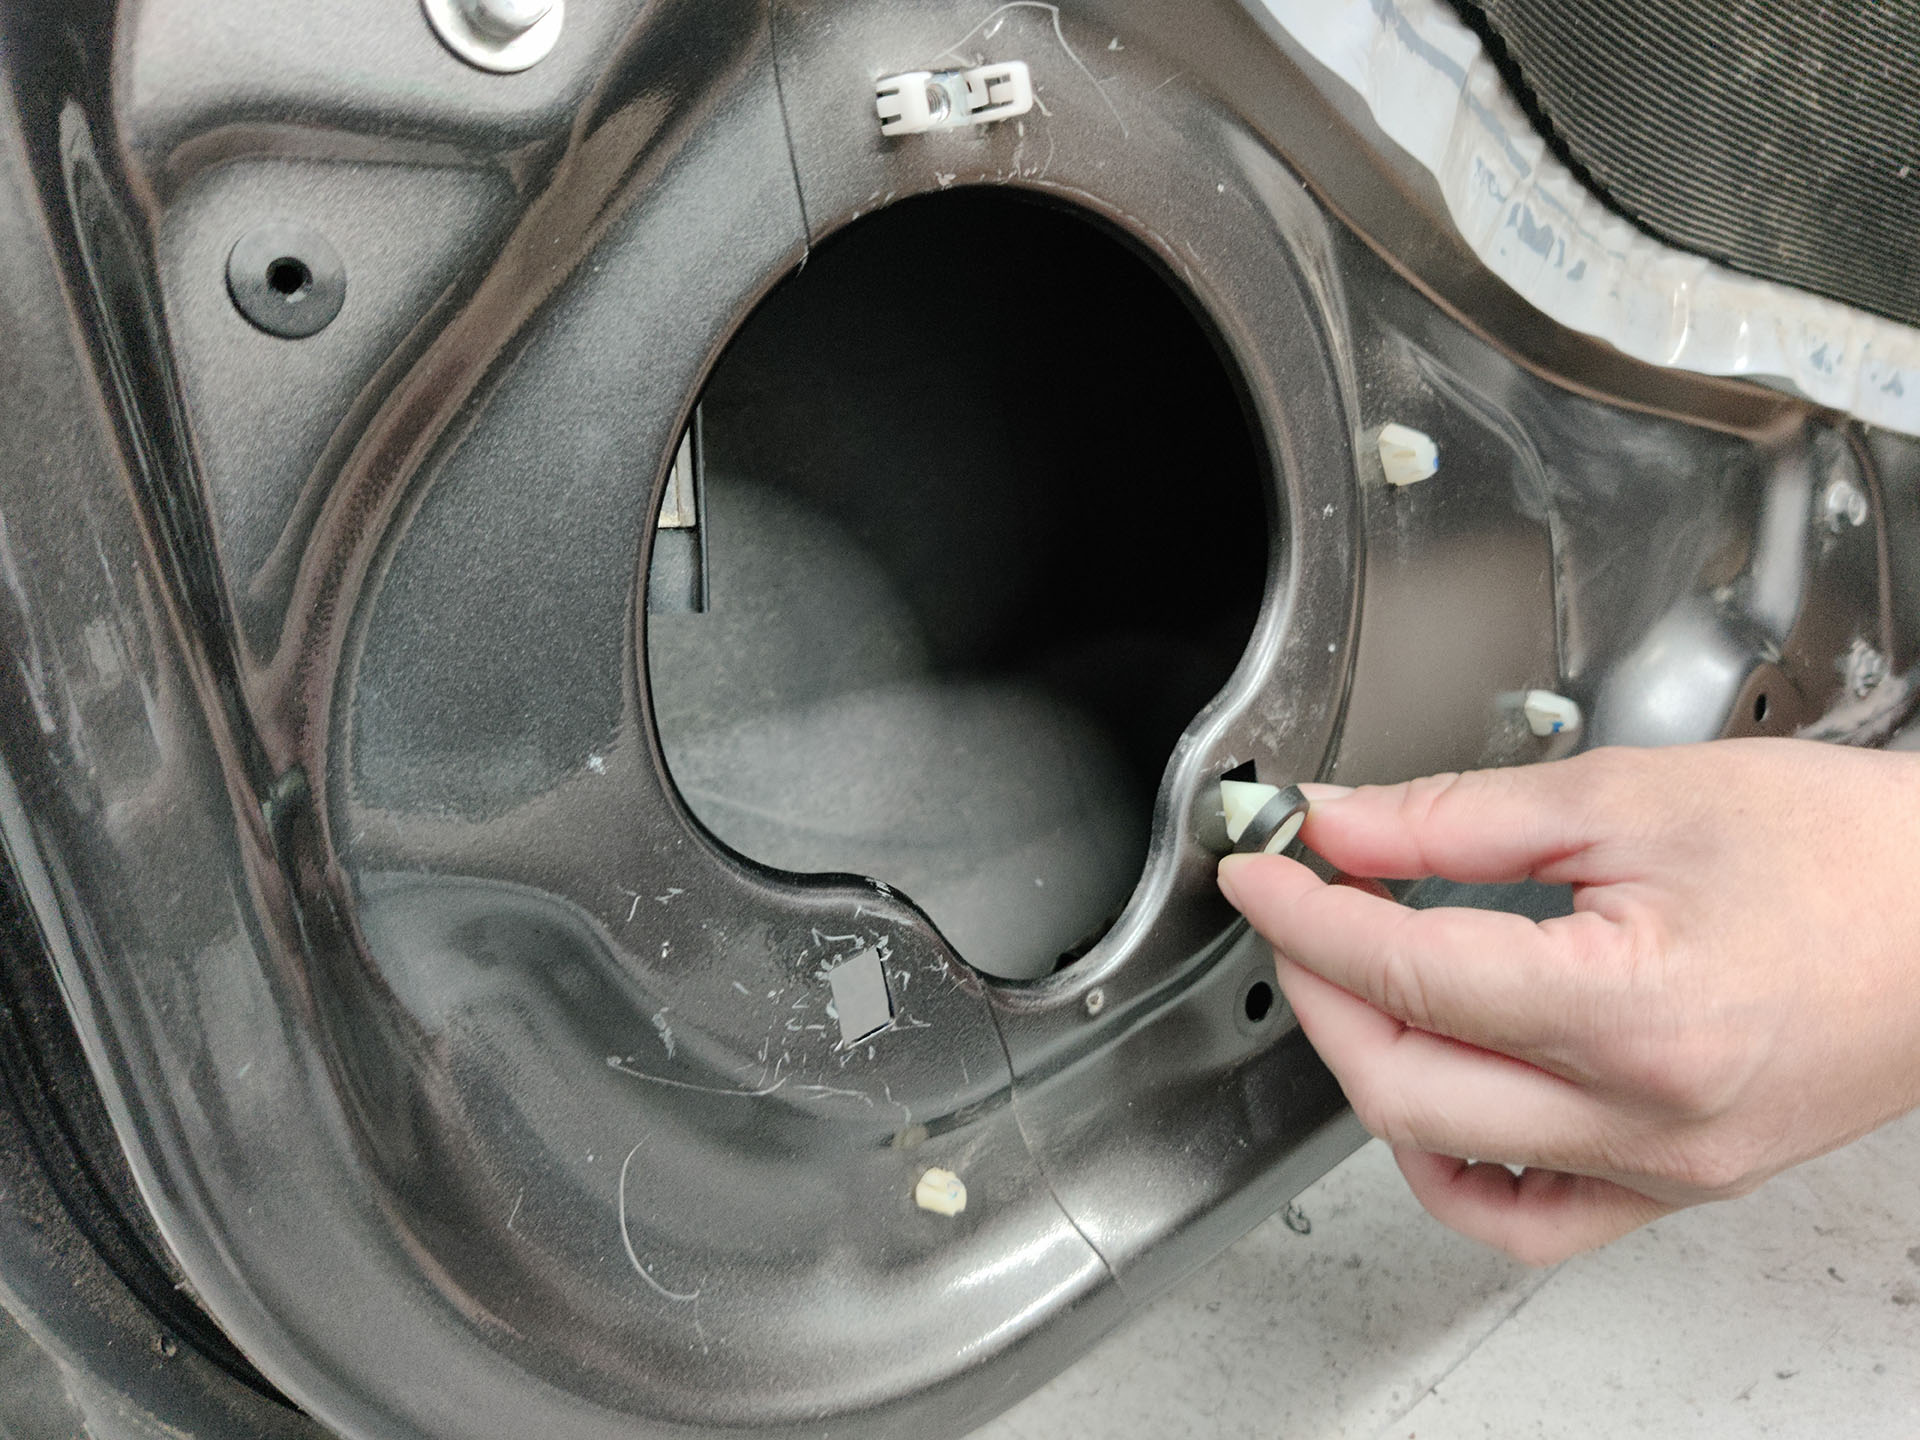
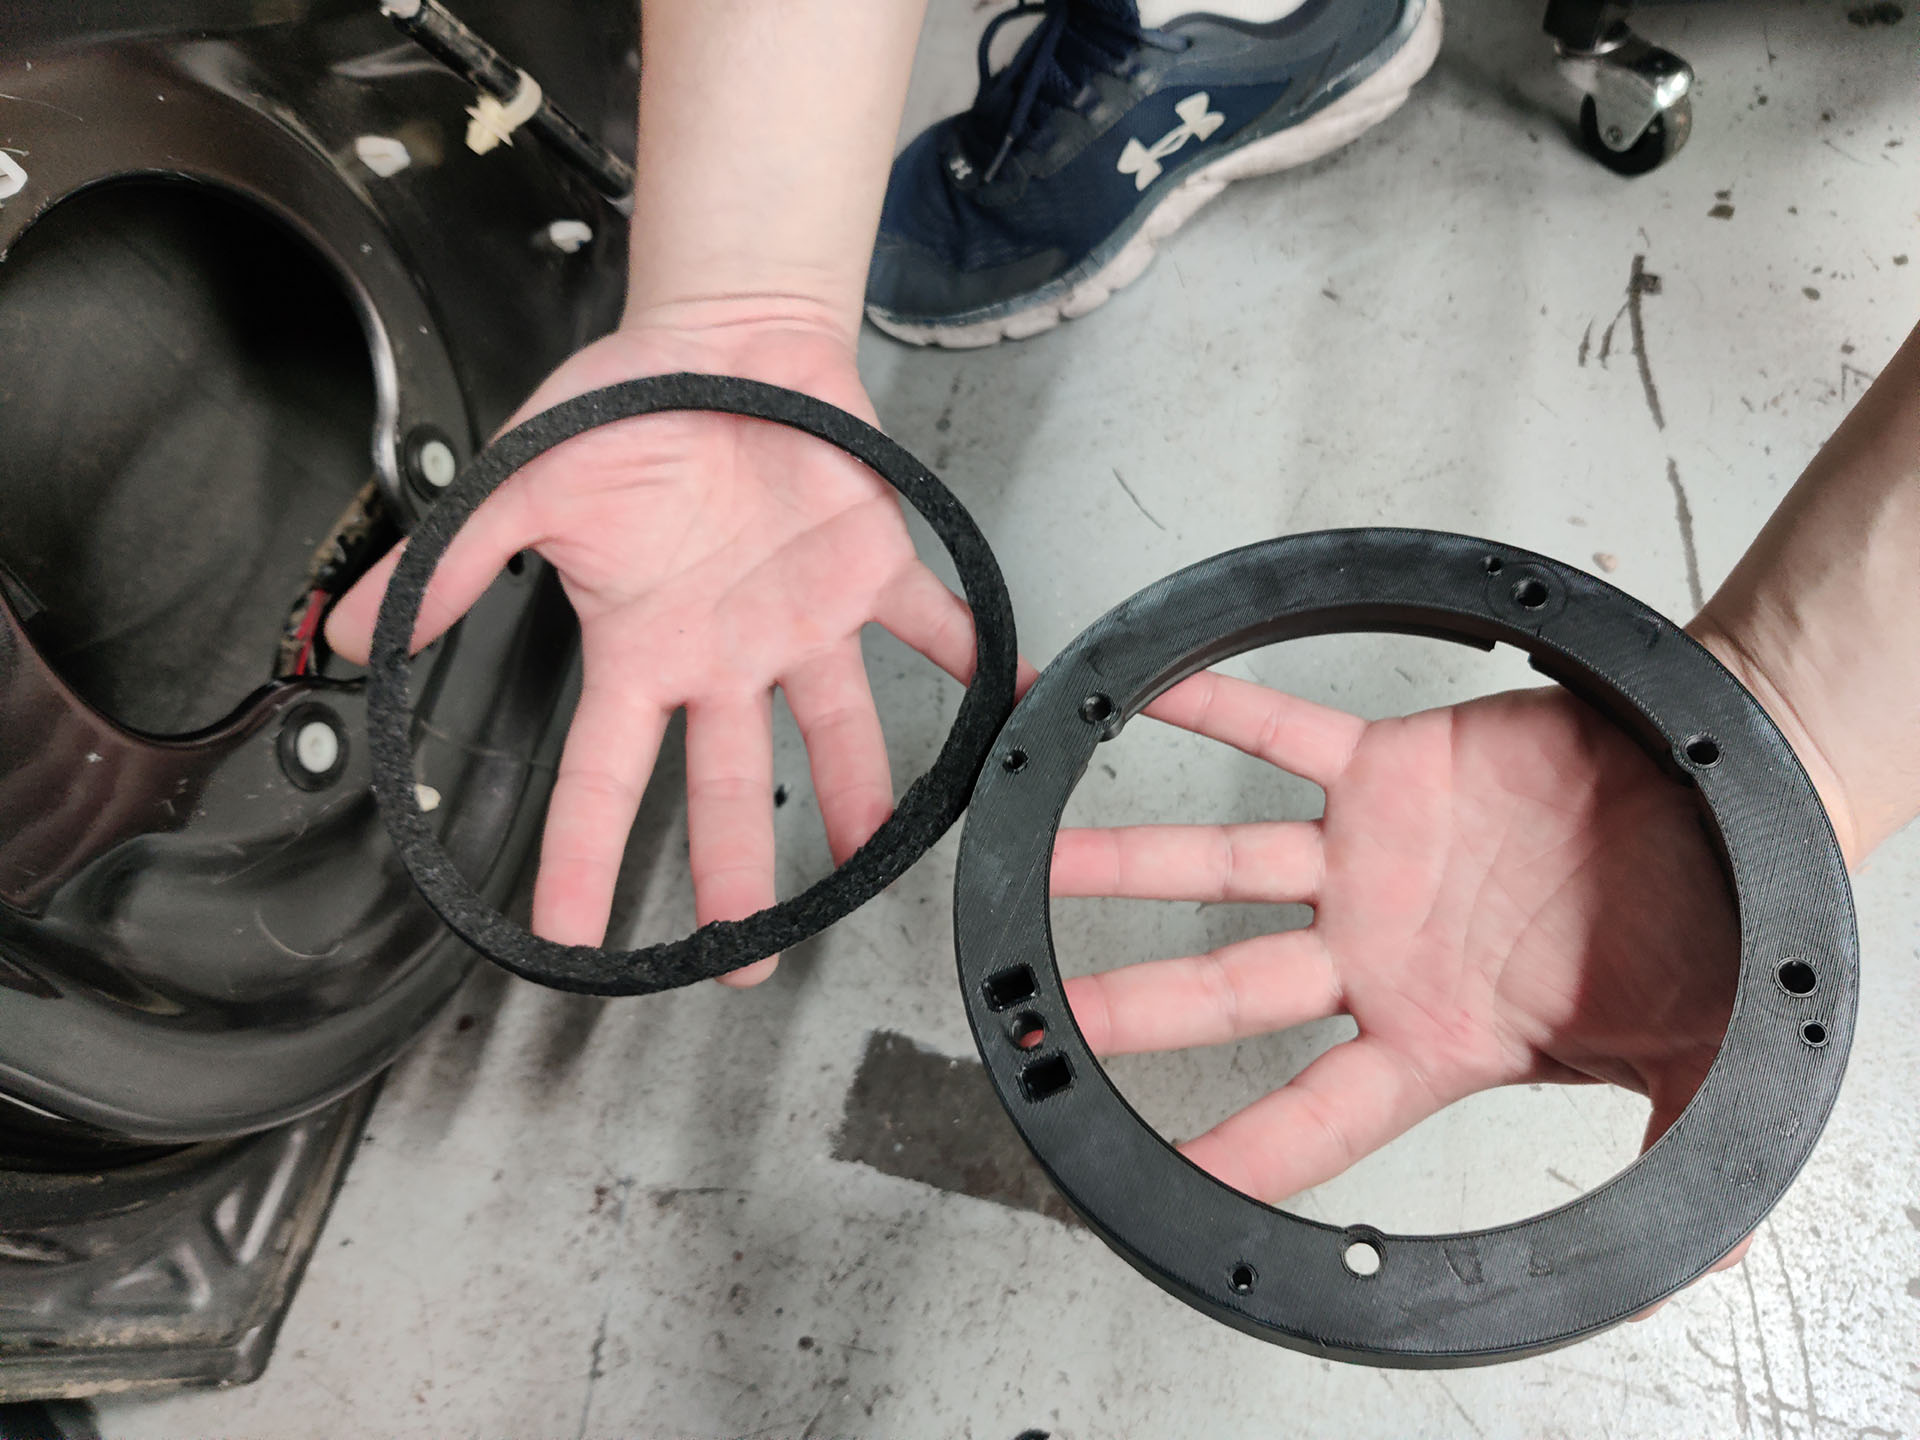
  14. Place the correct plastic inserts into the door. The white inserts are for Acuras made after 2009. The black inserts are for Acuras from before 2009. There are special inserts for the 2nd gen TSX and accord. After matching all the inserts to the proper wholes you may mount the spacer.
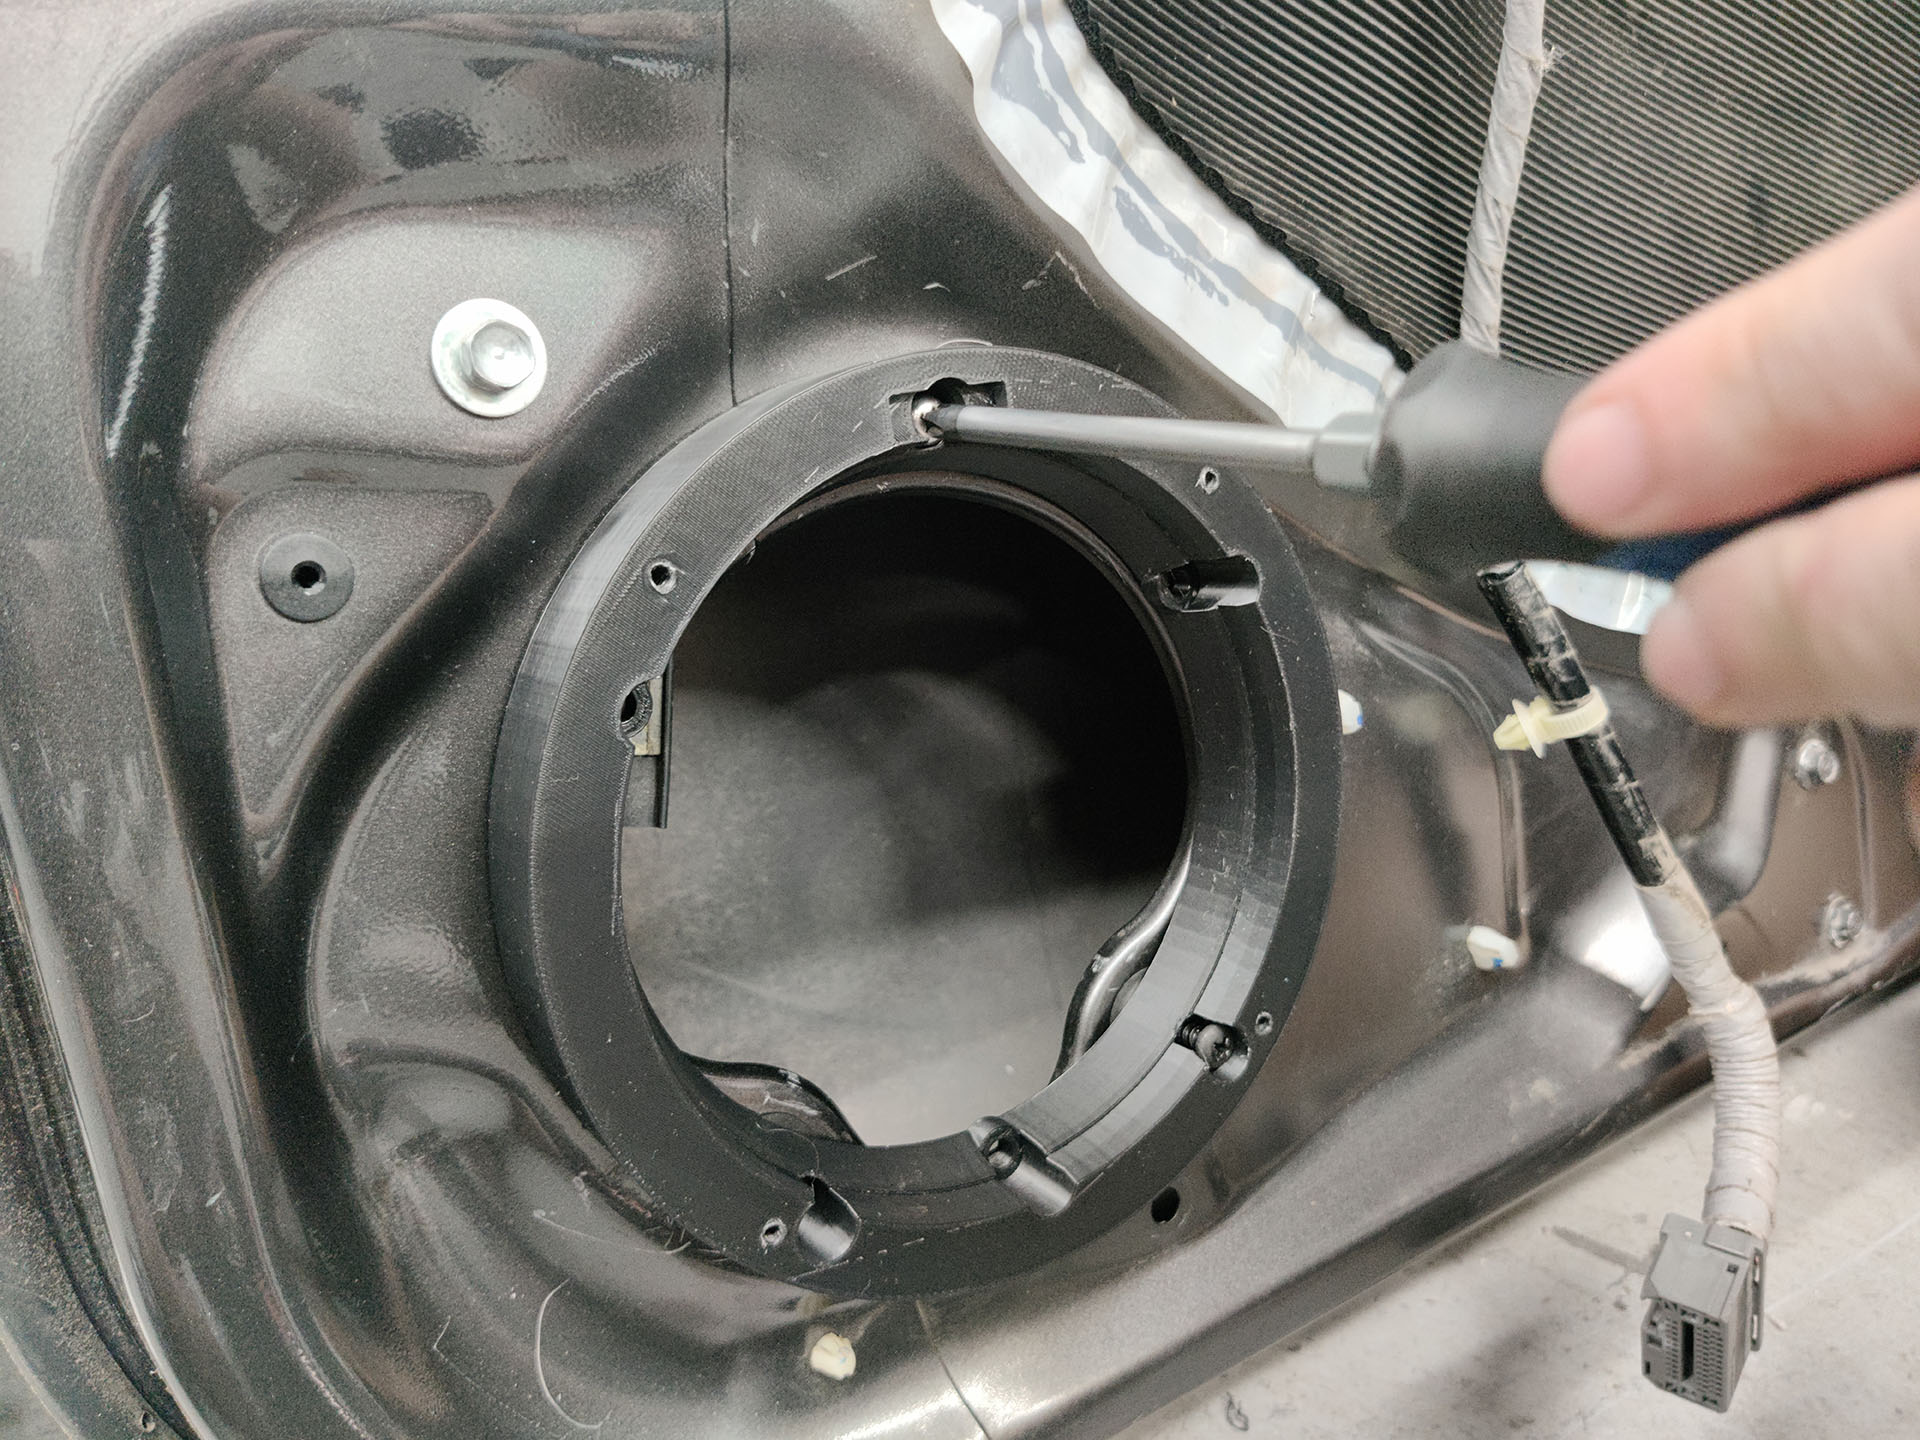
  15. Line up the speaker spacer with the matching holes of the door cavity and insert locations. Regardless of the year 3 mounting screws will be used to secure the spacer to the door. Apply the gasket foam tape to the back of the spacer and begin securing it to the door.
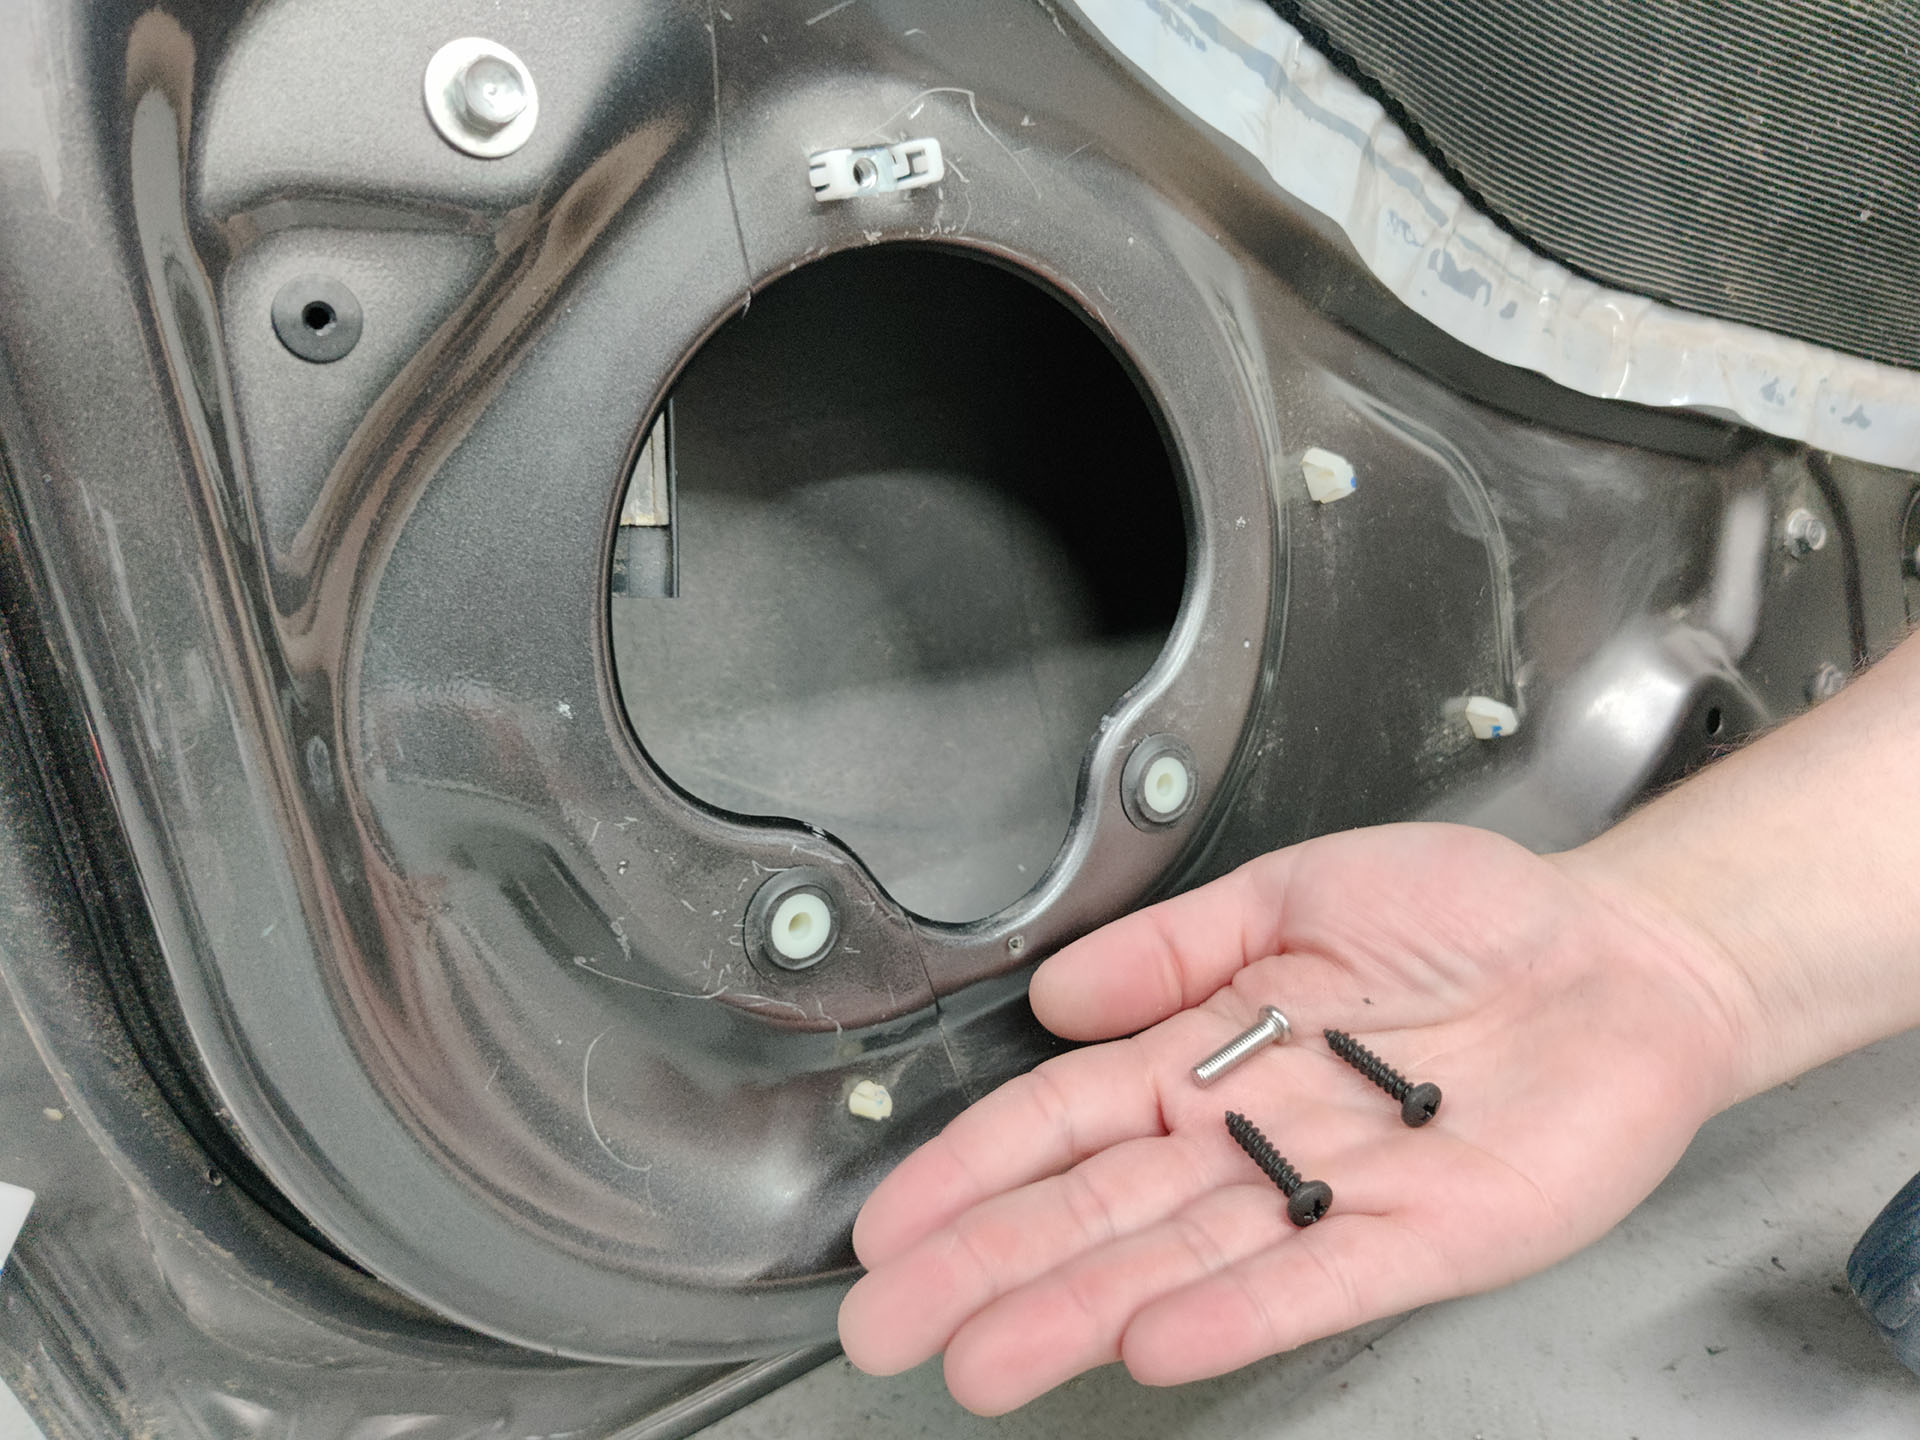
  16. Secure the spacer to the door using the provided 3 long black screws. We recommend hand tightening these screws.
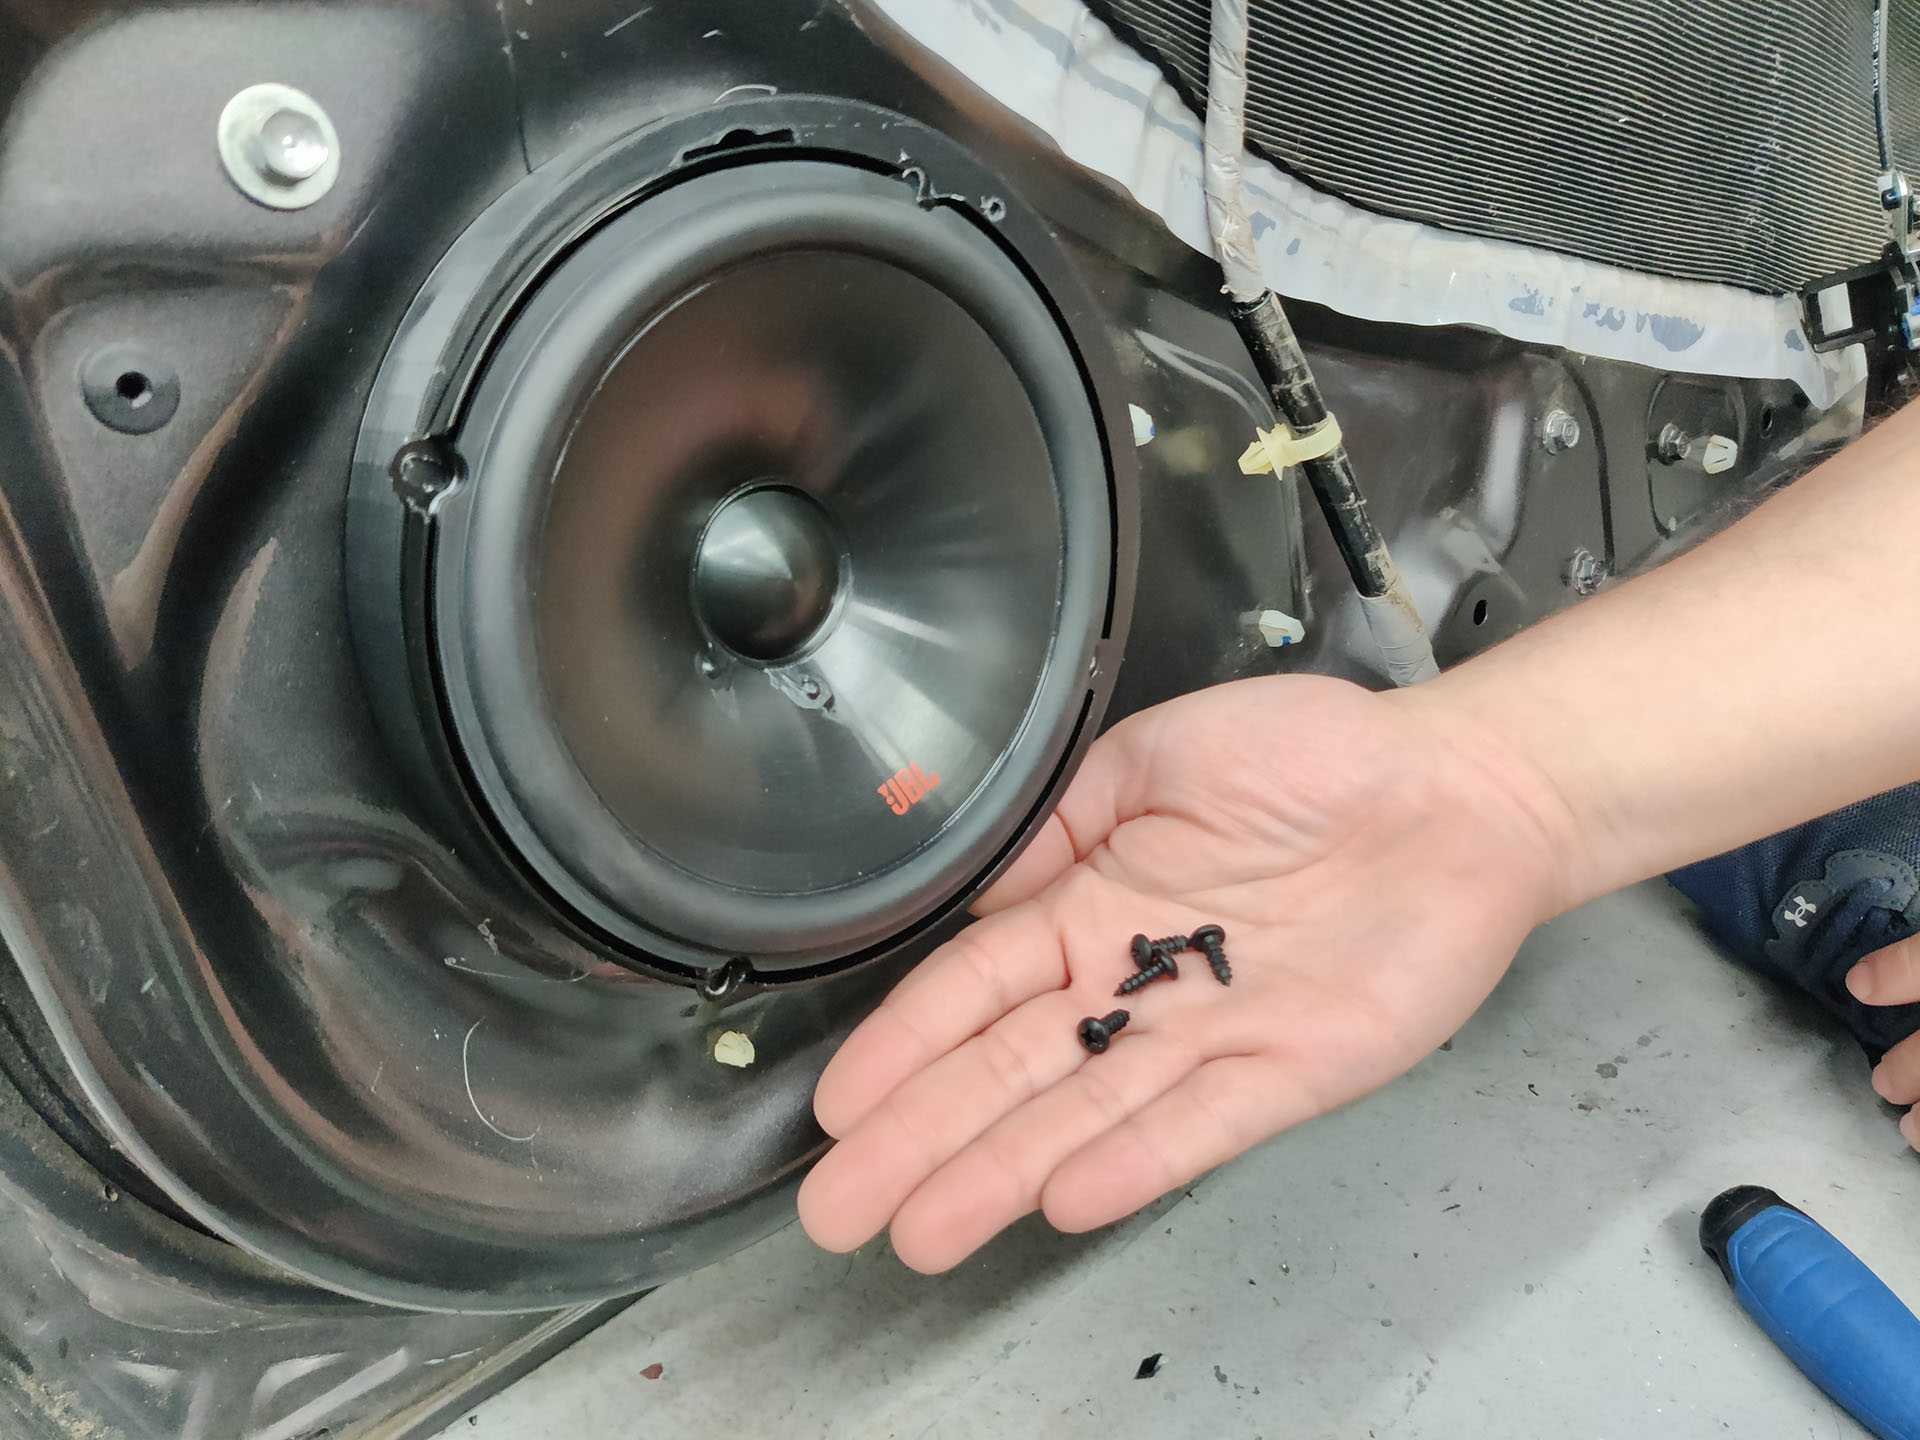
  17. Prepare your speaker for installation, attach the acura speaker harness to the speakers and locate your 4 mounting screws.
  18. Connect your speaker to the factory harness and use the 4 mounting screws to mount the speaker to the speaker spacer. Only utilize the holes already made on the spacer and do not drill new holes. When mounting the speaker make sure that the final position of the speaker does not allow for the speaker terminals to touch the metal of the door. This will create a short.
  19. Test the speaker by playing audio through your system to make sure it is working as expected and securely mounted so it will not rattle.
  20. Grab the door panel and begin plugging in the electrical connectors and mount the door lock and latch cables back.
  21. When installing the door panel back on the door make sure to not scratch or damage the speaker. If you find that your speaker/spacer combination is touching the door panel or not allowing it to sit flush. You can use a box cutter to trim ¼ inch from the plastic that surrounds the factory speaker on the door panel. Removing some plastic will allow it to sit flush.
  22. Slide the door panel into place and then press it onto the door so that the clips engage back onto the mounting locations. You want to make sure you slide the door panel over any edges or components it was originally over such as the window track or the door latch.
  23. After the door panel is mounted you can reinstall the screws and covers you removed. Once the panel is fully installed the door panel will sit close to but will not touch the new speaker you installed. You can shine a flashlight into the speaker grill to verify.


2009 2010 2011 2012 2013 2014 Acura TL Wired Aftermarket Radio Receiver PNP Harness

If you are having trouble wiring a new aftermarket radio in your 4th Generation Acura TL spanning years 2009 to 2010, 2011 to 2012, or 2013 to 2014 then this custom made wiring harness will solve your issue. Our wiring harness to connects to your aftermarket radio and integrates with the factory amplifier in your Acura TL to power all of your speakers. This harness is compatible with Acuras that have the premium sound system(base) or the ELS sound system(tech package with navigation).

In the base or premium sound system this harness uses the RCAs to send a low level signal to the factory amplifier. The harness is also wired with the lead to turn on the factory amplifier when you are playing audio. The harness eliminates the need for any wiring splicing or wire cutting. It makes you installation plug and play. If you do wish to keep the steering wheel controls you will need an additional part. The center speaker is not retained on the base audio system when you replace the factory radio.

In the tech package with navigation and the ELS audio system our harness uses RCAs along with the ELS amplifier interface to keep your factory amplifier and power all of your speakers. The ELS audio system requires the ELS Amplifier Interface to manipulate the factory amplifier volume. If you do not use the ELS interface you will have power and audio but you will not be able to achieve full volume with your aftermarket radio. This harness makes your installation plug and play and requires no additional wiring.

*DISCLAIMER FOR ACURA TL WITH NAVIGATION*
When you install an aftermarket radio in your Acura TL with navigation you will lose the ability to see the climate control information. You will also lose the factory navigation functionality and the backup camera. We offer the harnesses to convert the navigation display to the audio HVAC display to allow you to see the climate information again but you will need to purchase a used/new AUDIO HVAC Display and vents part number 39710-TK4-A02 and part number 77270-TK4-A010 . If you want to retain the factory backup camera then you will also need to to purchase the camera retention harness. This harness will allow you to view the factory backup camera on your new aftermarket screen. When you keep the factory camera you will need to wiretap the reverse trigger. You will also need to install the ELS Amplifier volume knob in an accessible area to control the volume of your system. Please watch the clips below.
*END DISCLAIMER*

When you replace the factory radio in your Acura TL you will lose some factory components. Those components include Sirius XM Radio, Factory Hands Free Calling and streaming, Factory Navigation Guidance, Acuralink, USB port, and the factory AUX Port. If you want Satellite radio you will need an extra tuner as you cannot use the factory one. Your new aftermarket radio will have Bluetooth streaming and calling along with USB and AUX.

After placing your order we will create a custom wiring harness for your exact radio installation. The custom harness will allow you to install a new aftermarket radio without the need for any wire splicing or wire tapping. This harness will allow you to have a plug and play installation for your Acura TL with a supported compatible radio. A parking bypass is highly recommended with your order if your radio brand is Pioneer, Kenwood or Alpine. You can learn more about the bypass and add one to your cart using this link.

Our plug and play harness integrates with the factory amplifier to retain your front door speakers and tweeters, the rear door and rear deck speakers and the factory subwoofer. Included in our harness are the necessary three connectors for your Acura TL and the radio specific connector that will plug into the back of your radio. Our harness uses RCAs to feed a low level signal from the aftermarket radio to the factory amplifier. We also add the connector for the AXSWC steering wheel control interface so you can retain your factory steering wheel controls if desired. The AXSWC is an additional purchase it is not included. The wiring for the AXSWC is completed so if you do purchase it you can just plug it in. You can find the AXSWC here. The ASXWC allows you to retain volume up, volume down, next, previous and mode on your steering wheel but not the call control buttons with your aftermarket radio.

In order for your aftermarket radio to be compatible with our harness it must have at least 5 RCA outputs including FL, FR, RL, RR, and SUB. Also the brand of the aftermarket radio must appear in the selection menu of this listing. If you are unsure if your radio qualifies please call us at 877-542-2872.

In order to complete your order we may need your radios model number please include it in the billing checkout notes or if you forget please include a valid phone number where me may reach you in case of any questions.

FAQ.

  1. In my premium audio system, will the display above the radio continue to show climate control information.
    – Yes your climate control will continue to function as normal.
  2. In my tech package, will I lose the climate control information?
    – Yes the climate information will be lost unless you convert your navigation screen to the audio HVAC display with our harness.
  3. In my tech package, will I lose the factory backup camera?
    – Yes the factory backup camera is lost. You can use our camera retention harness to keep it on your aftermarket radio.
  4. Can I add an amplifier and subwoofers with your harness?
    – Yes you can. You will just need run your RCAs to the back of the radio and wire tap the blue or blue/white wire of the harness.
  5. Can I add an aftermarket backup camera with your harness?
    – Yes just follow the instructions provided in the radios owners manual or the cameras manual to complete the installation.
  6. Can I use a random radio I found on Amazon or eBay that has an unknown brand?
    – Most likely not. If the radio you purchased on Amazon is less than $100 it most likely won’t have all the features and ports needed for you to complete the installation.
  7. Do I get to keep all my speakers?
    – Yes all speakers are retained in the tech package, on the base all are retained except the center dash speaker.
  8. Do I get to keep my steering wheel controls?
    -Yes but an additional part is required. The AXSWC you can find it here. You will get to keep volume up, volume down, next, prev and mode. The call control buttons will not be retained.


2009 2010 2011 2012 2013 2014 Acura TL Aftermarket Radio Install Complete Kit

If you want to simplify installing an aftermarket in dash stereo receiver in your 4th generation Acura TL covering years 2009 2010 2011 2012 2013, then this radio installation kit is complete with everything you will need to install a new stereo in your Acura TL. This kit does not include a radio. Our kit includes all the necessary components to install an aftermarket radio in your Acura TL. These components include a dash kit, a custom made wiring harness, the AXSWC steering wheel control interface and the ELS Amplifier Interface if necessary. Our custom harness allows you to have a plug and play installation with a supported compatible radio, the dash kit allows you to install a new radio in the factory location and the AXSWC allows you to control the aftermarket radio with your factory steering wheel controls. The ELS Amplifier Interface allows you to retain the factory amplifier in the navigation equipped models. The non navigation models do not need this interface.

A parking bypass is highly recommended with your order if your radio brand is Pioneer, Kenwood or Alpine. You can learn more about the bypass and add one to your cart using this link.

Your Base Acura TL has a total of 8 speakers that are powered by the factory amplifier. When replacing the factory radio using our complete kit you are able to keep all of the speakers except the center channel. The front door speakers, tweeters, rear deck speakers and the factory subwoofer will all continue to work; the center dash speaker will not work. Our harness integrates with the factory amplifier to keep all your speakers working. If your factory amplifier does not work this kit will not work.

Your Tech Package or Navigation equipped TL has a total of 10 speakers that are powered by the factory amplifier. When replacing the factory radio using our complete kit you are able to keep all the speakers. The way the ELS Amplifier Interface retains the factory amplifier is by feeding left and right audio from the aftermarket radio to the factory amplifier and the factory amplifier up-mixes the audio from stereo to 5.1 surround.

You will lose Sirius XM, AUX Input and the factory handsfree link functionality. The steering wheel controls including volume up, volume down, next, previous and mode will work. The call control buttons are not retained. The navigation control buttons are not retained. The components included in this complete install kit are:

  • Radio Specific Wiring Harness
  • ABS Molded Dash Kit
  • 24 Pin Grey Radio Harness
  • 14 Pin Grey Secondary Harness
  • FM Antenna Adapter
  • AXSWC Steering Wheel Control Module
  • ELS Amplifier Interface (NAV MODELS Only) Instructions here

In order for your aftermarket radio to be compatible with this harness it must have at least 5 RCA outputs including FL, FR, RL, RR, and SUB. Also the brand of the aftermarket radio must appear in the selection menu of this listing. If you are unsure if your radio qualifies please call us at 877-542-2872

In order to complete your order we may need your radios model number please include it in the billing checkout notes or if you forget please include a valid phone number where me may reach you in case of any questions.

FAQ.

  1. In my premium audio system, will the display above the radio continue to show climate control information.
    – Yes your climate control will continue to function as normal.
  2. In my tech package, will I lose the climate control information?
    – Yes the climate information will be lost unless you convert your navigation screen to the audio HVAC display with our harness.
  3. In my tech package, will I lose the factory backup camera?
    – Yes the factory backup camera is lost. You can use our camera retention harness to keep it on your aftermarket radio.
  4. Can I use this complete kit on a TL with navigation?
    – Yes. But you will need additional parts to convert the climate control display and to keep the factory backup camera.
  5. Can I add an amplifier and subwoofers with your harness?
    – Yes you can. You will just need run your RCAs to the back of the radio and wire tap the blue or blue/white wire of the harness.
  6. Can I add a backup camera with your harness?
    – Yes just follow the instructions provided in the radios owners manual or the cameras manual to complete the installation.
  7. Can I use a random radio I found on Amazon or eBay that has an unknown brand?
    – Most likely not. If the radio you purchased on Amazon is less than $100 it most likely won’t have all the features and ports needed for you to complete the installation.
  8. Do I get to keep all my speakers?
    – Yes all speakers are retained on the navigation equipped Acuras, on the base you lose the center dash speaker.
  9. Do I get to keep my steering wheel controls?
    – Yes but an additional part is required. The AXSWC in included in this kit. You will get to keep volume up, volume down, next, prev and mode. The call control buttons will not be retained. The navigation control buttons are not retained.

2001 2002 2003 2004 2005 2006 Acura MDX Wired Aftermarket Radio Receiver PNP Harness

If you are having trouble wiring a new aftermarket radio in your 1st Generation Acura MDX spanning years 2001 2002 2003 2004 2005 2006 then this custom made wiring harness will help. After placing your order we will create a custom wiring harness for your exact radio installation. The custom harness will allow you to install a new aftermarket radio without the need for any wire splicing or wire tapping. This harness will allow you to have a plug and play installation for your Acura MDX with a supported compatible radio. A parking bypass is highly recommended with your order if your radio brand is Pioneer, Kenwood or Alpine. You can learn more about the bypass and add one to your cart using this link.

Our plug and play harness integrates with the factory amplifier in your Acura MDX with Bose to retain your front door speakers and tweeters, the rear door speakers and the factory subwoofer. If you are unsure if your MDX is equipped with the BOSE system watch the video below to help you determine. If your Acura MDX is not equipped with the BOSE system then our harness uses the aftermarket radios internal amplifier to power all of your speakers.

Included in our harness are the necessary two or three connectors for your Acura MDX and the radio specific connector that will plug into the back of your radio. Our harness uses RCAs to feed a low level signal from the aftermarket radio to the factory amplifier to retain all of your speakers. If your Acura MDX is not equipped with the BOSE system then standard speaker lines are used to feed audio to all your speakers directly from the aftermarket radio. We also add the connector for the AXSWC steering wheel control interface so you can retain your factory steering wheel controls if desired. The AXSWC is an additional purchase it is not included. The wiring for the AXSWC is completed so if you do purchase it you can just plug it in.

In order for your aftermarket radio to be compatible with this harness it must have at least 4 RCA outputs including FL, FR, RL, RR. Also the brand of the aftermarket radio must appear in the selection menu of this listing. If you are unsure if your radio qualifies please call us at 877-542-2872

In order to complete your order we may need your radios model number please include it in the billing checkout notes or if you forget please include a valid phone number where me may reach you in case of any questions.

FAQ.

  1. Will this allow me to keep my factory navigation working with a new aftermarket radio?
    – Yes your factory navigation will continue to work but there will be no audio prompts
  2. Will this harness allow me to keep my factory subwoofer with a new aftermarket radio?
    – Yes your factory subwoofer will continue working, your factory amplifier gets the subwoofer signal from the rear speaker input signal.
  3. Can I add an amplifier and subwoofers with your harness?
    – Yes you can. You will just need run your RCAs to the back of the radio and wire tap the blue or blue/white wire of the harness.
  4. Can I add a backup camera with your harness?
    – Yes just follow the instructions provided in the radios owners manual or the cameras manual to complete the installation.
  5. Can I use a random radio I found on Amazon or eBay that has an unknown brand?
    – Most likely not. If the radio you purchased on Amazon is less than $100 it most likely won’t have all the features and ports needed for you to complete the installation.
  6. Do I get to keep all my speakers?
    – Yes all speakers are retained.
  7. Do I get to keep my steering wheel controls?
    -Yes but an additional part is required. The AXSWC you can find it here. You will get to keep volume up, volume down, next, prev and mode. The call control buttons will not be retained.
  8. Will I get to keep the DVD player and screen in the back?
    – No the screen and DVD player will not be retained.

*When replacing the factory radio in your Acura you will lose the factory Sirius XM, HFL and Rear Seat Entertainment. *


Posted on Leave a comment

How to Replace Your Acura’s Front Speakers

If you are looking for an instruction video instead click here. Also for videos on how to remove your door panel please click the links below.

1999-2003 TL
2004-2008 TL
2009-2014 TL
2004-2008 TSX
2009-2014 TSX
2001-2006 MDX
2007-2013 MDX
2014-2020 MDX
2007-2013 RDX (please contact us)
2013-2022 ILX
2015-2022 TLX
2015-2020 RLX (please contact us)

These instructions are for 2009-2020 Acura Speakers for the instructions on how to install the speakers on other years use the links above.

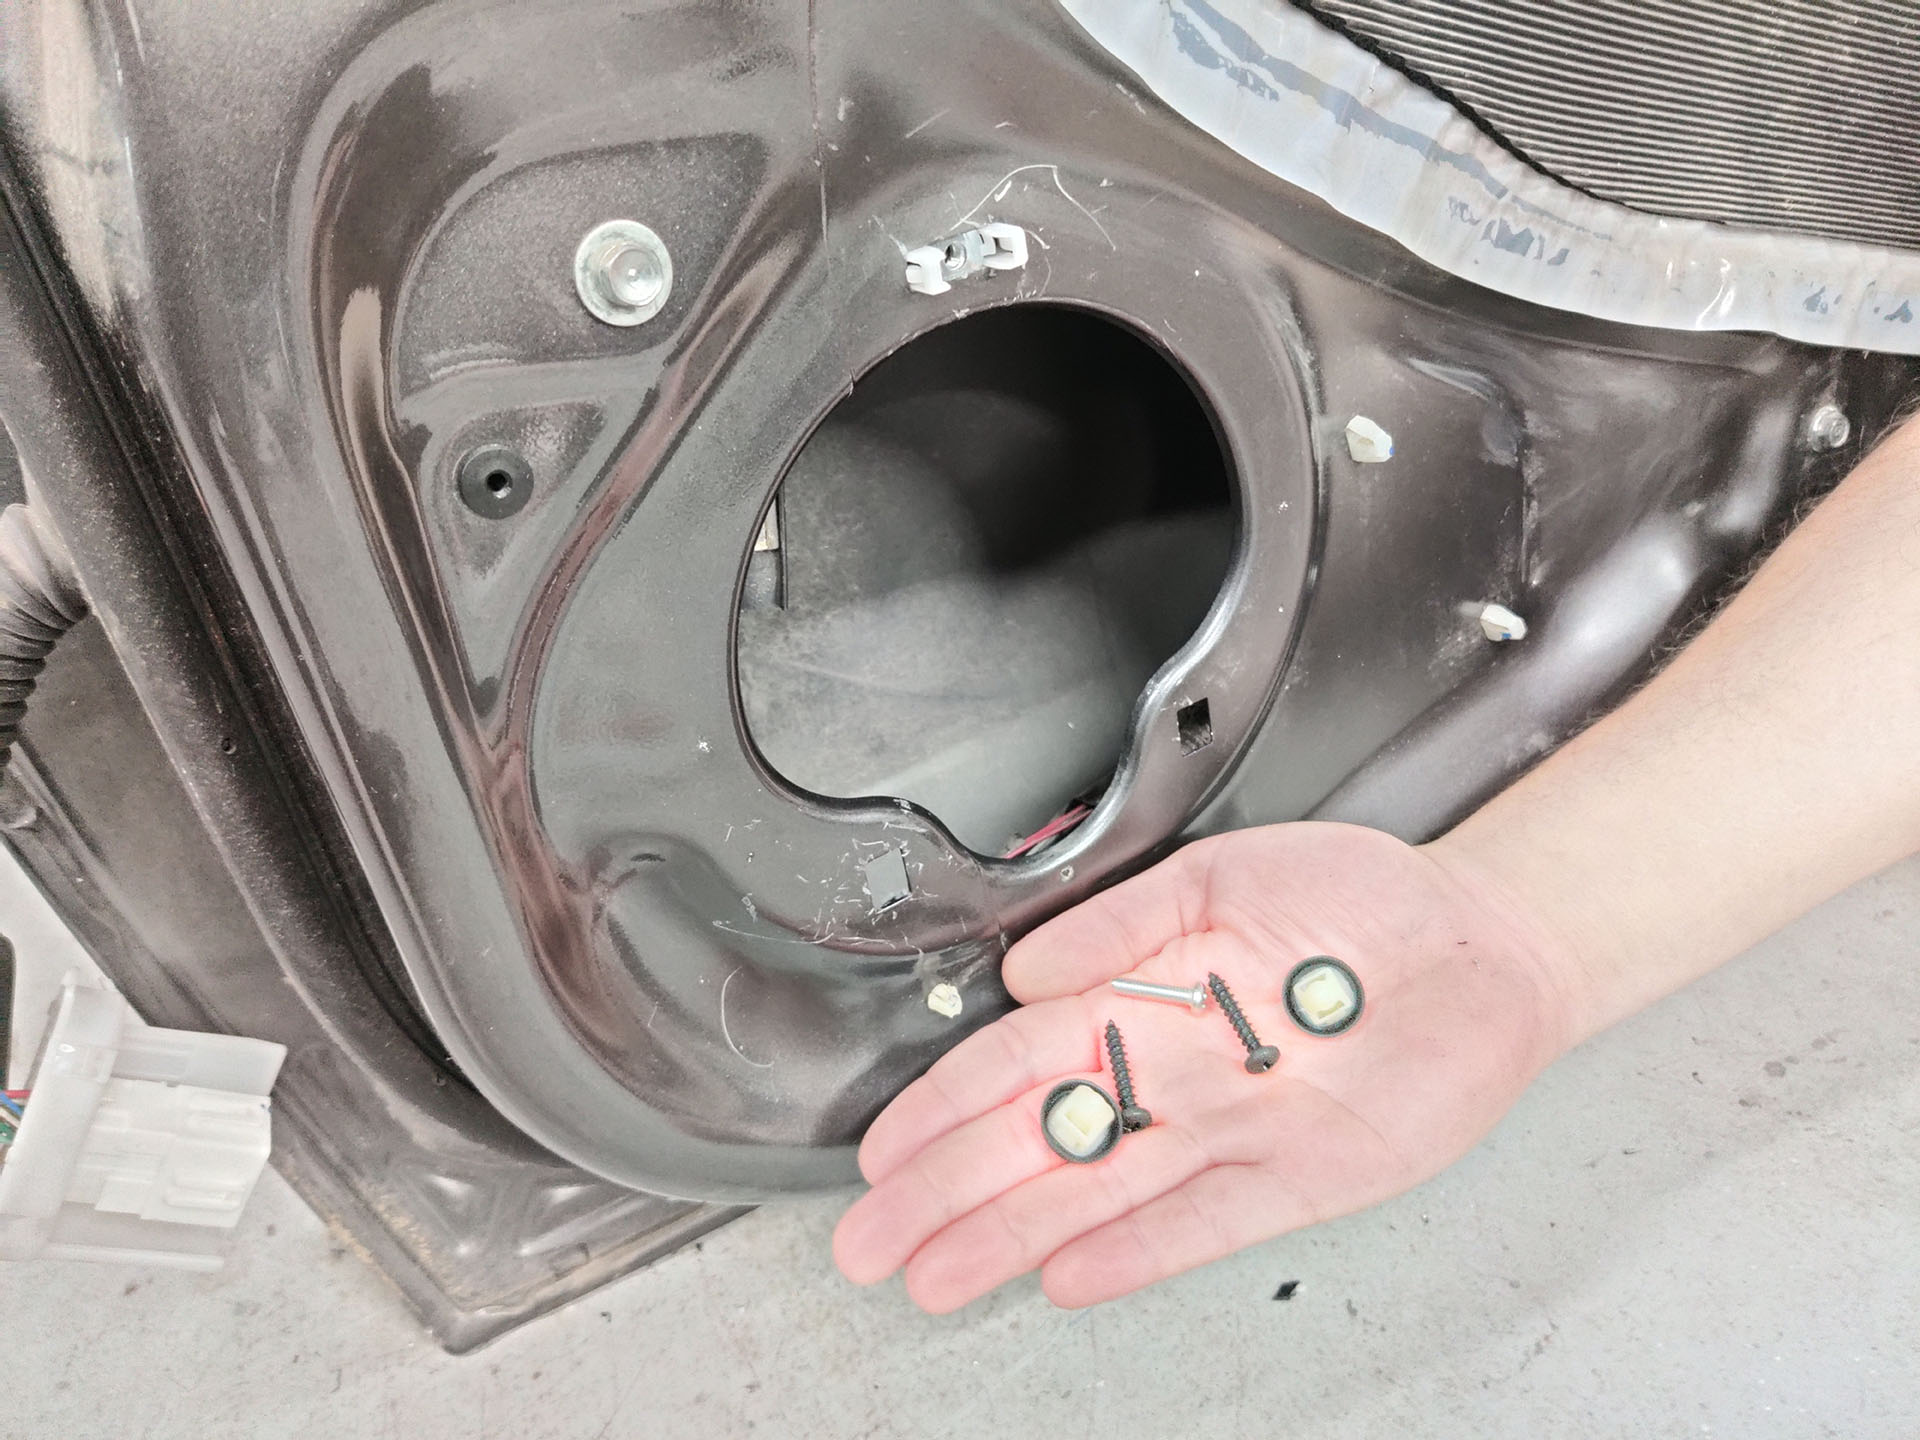
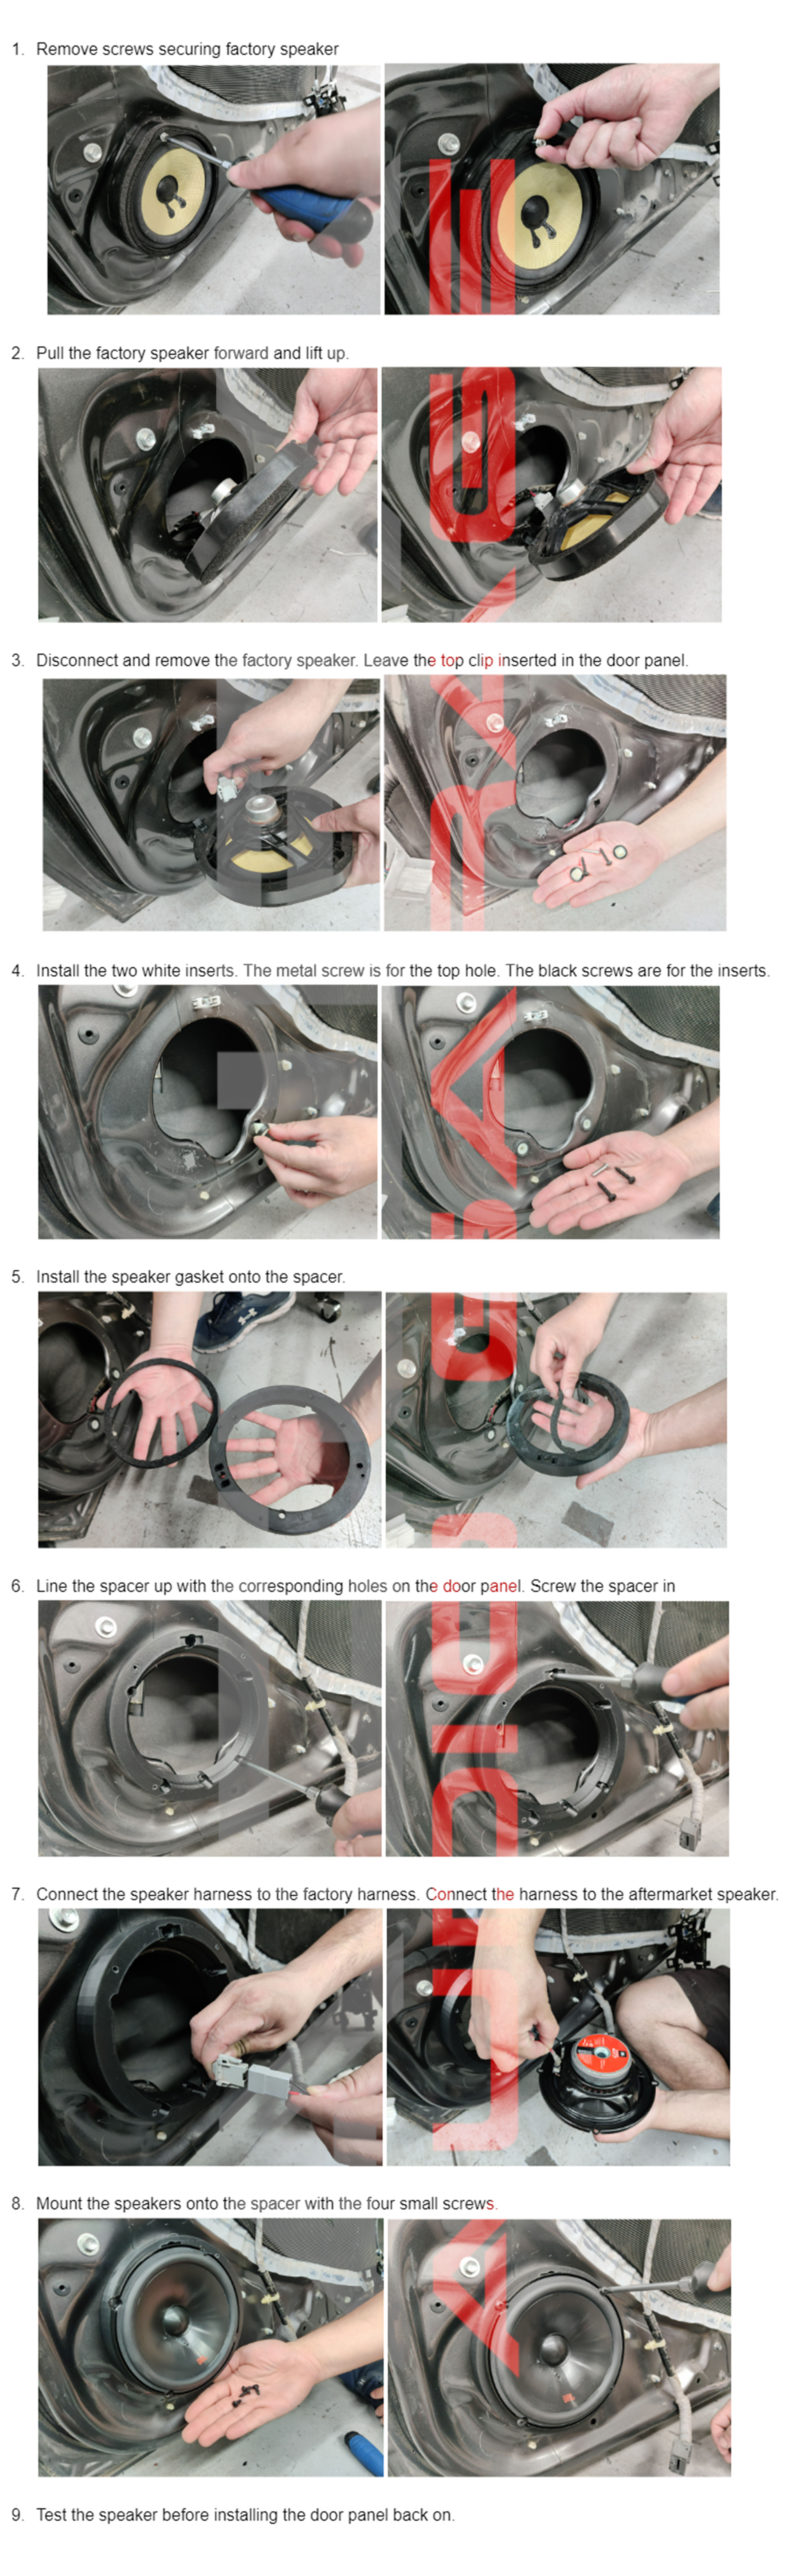
      1. Remove the screw securing the factory speaker
      2. pull the factory speaker forward and lift up.
      3. Disconnect and remove the factory speaker. Leave the top clip inserted into the door panel.
      4. Install the two white inserts. The metal screw is for the top the black screws for the bottom.
      5. Install the speaker gasket onto the spacer.
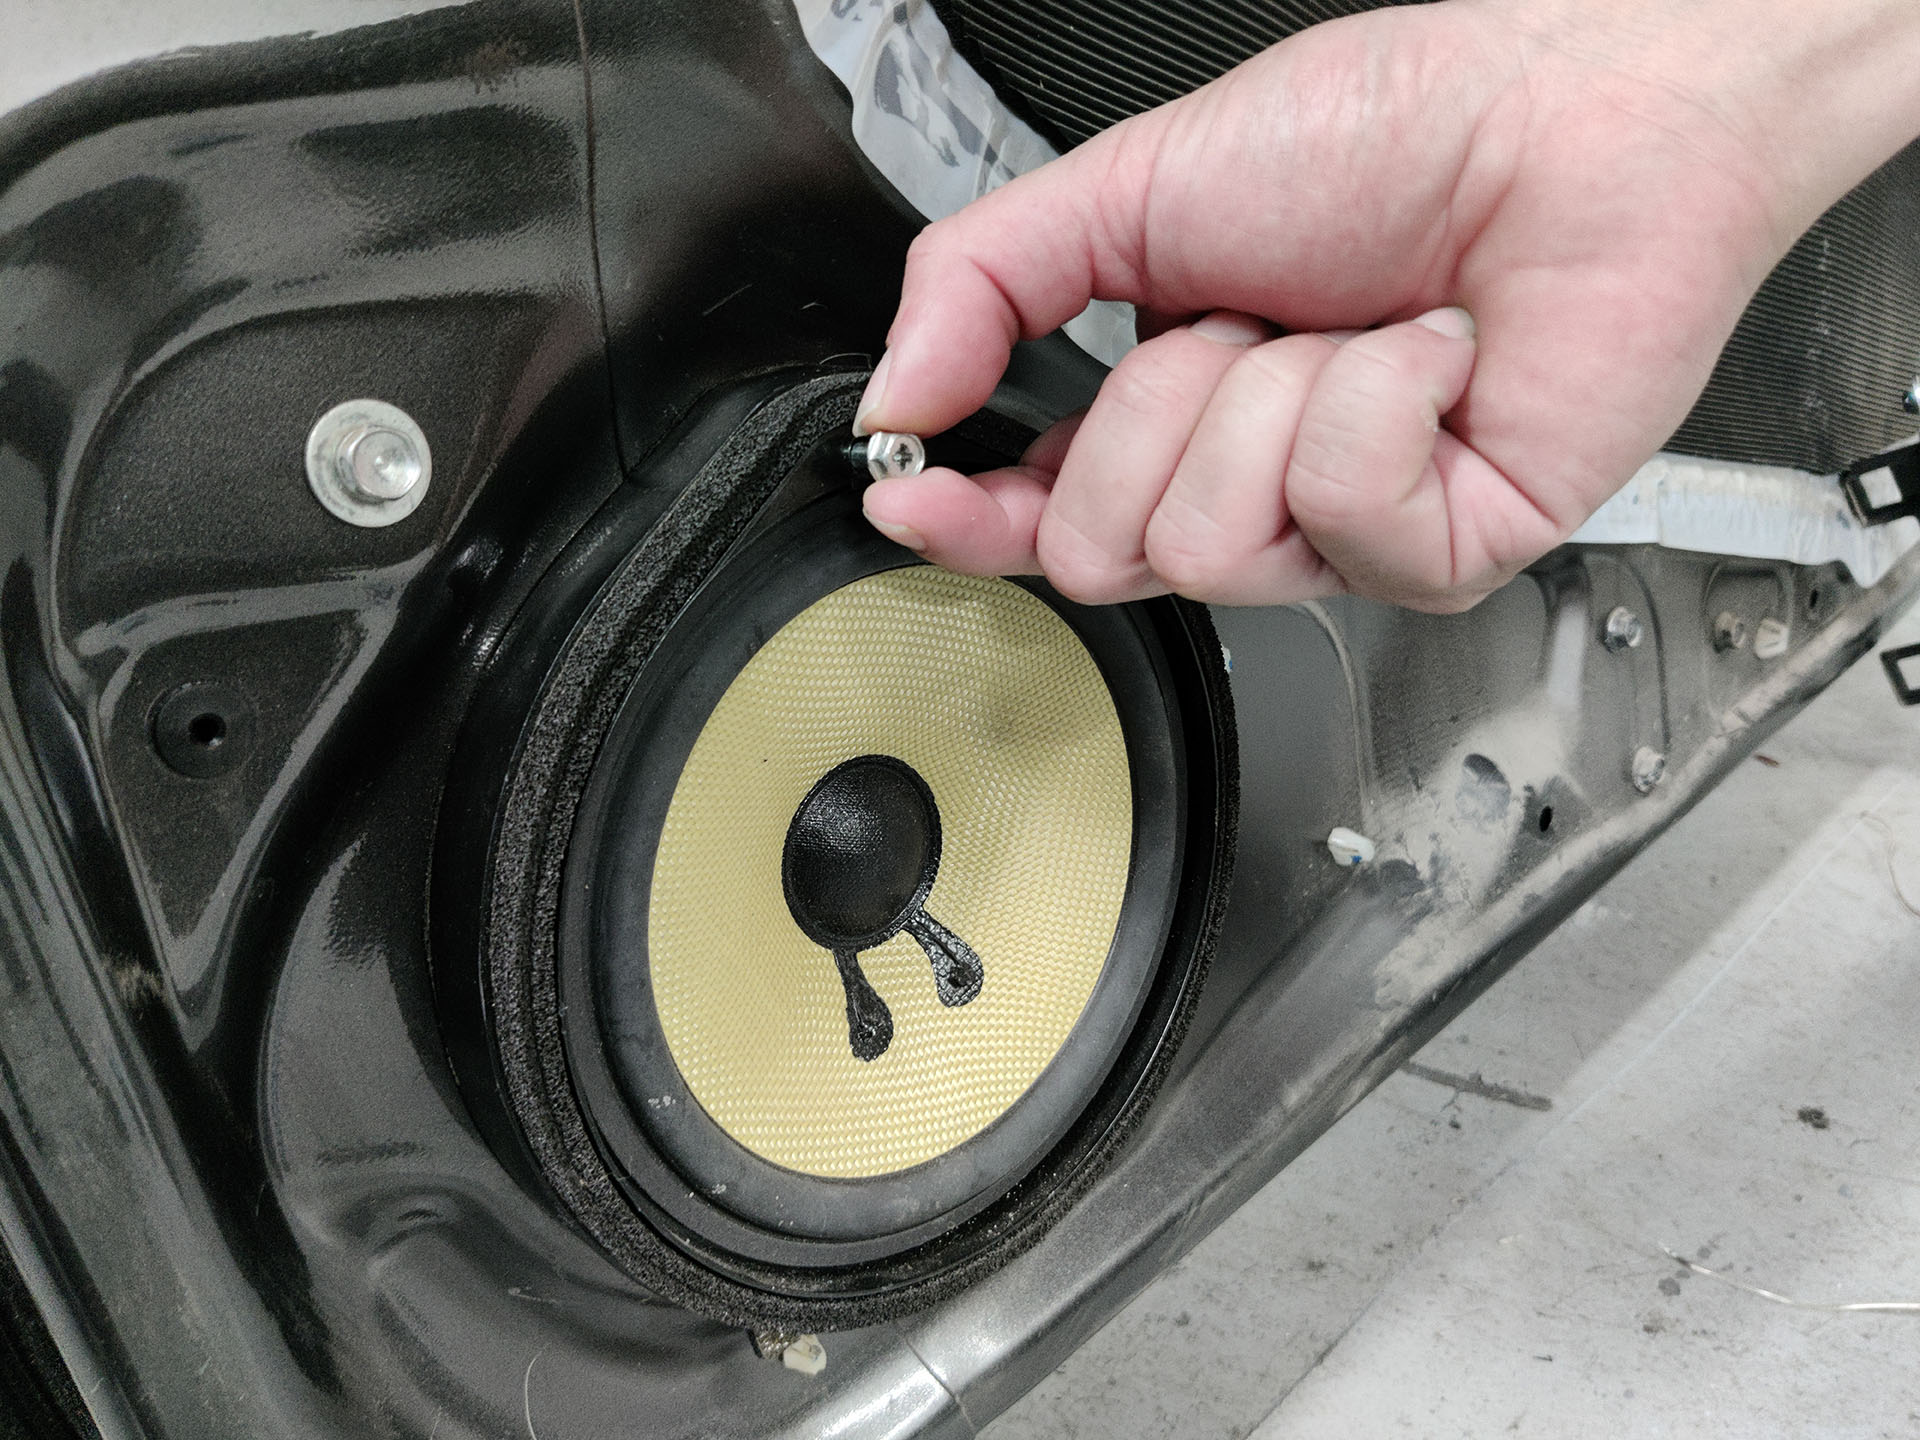
      6. line up the spacer with the corresponding holes on the door panel. Screw the spacer into place
      7. Connect the speaker harness to the factory harness. Connect the harness to the aftermarket speaker.
      8. Mount the speaker onto the spacer and test the speaker.
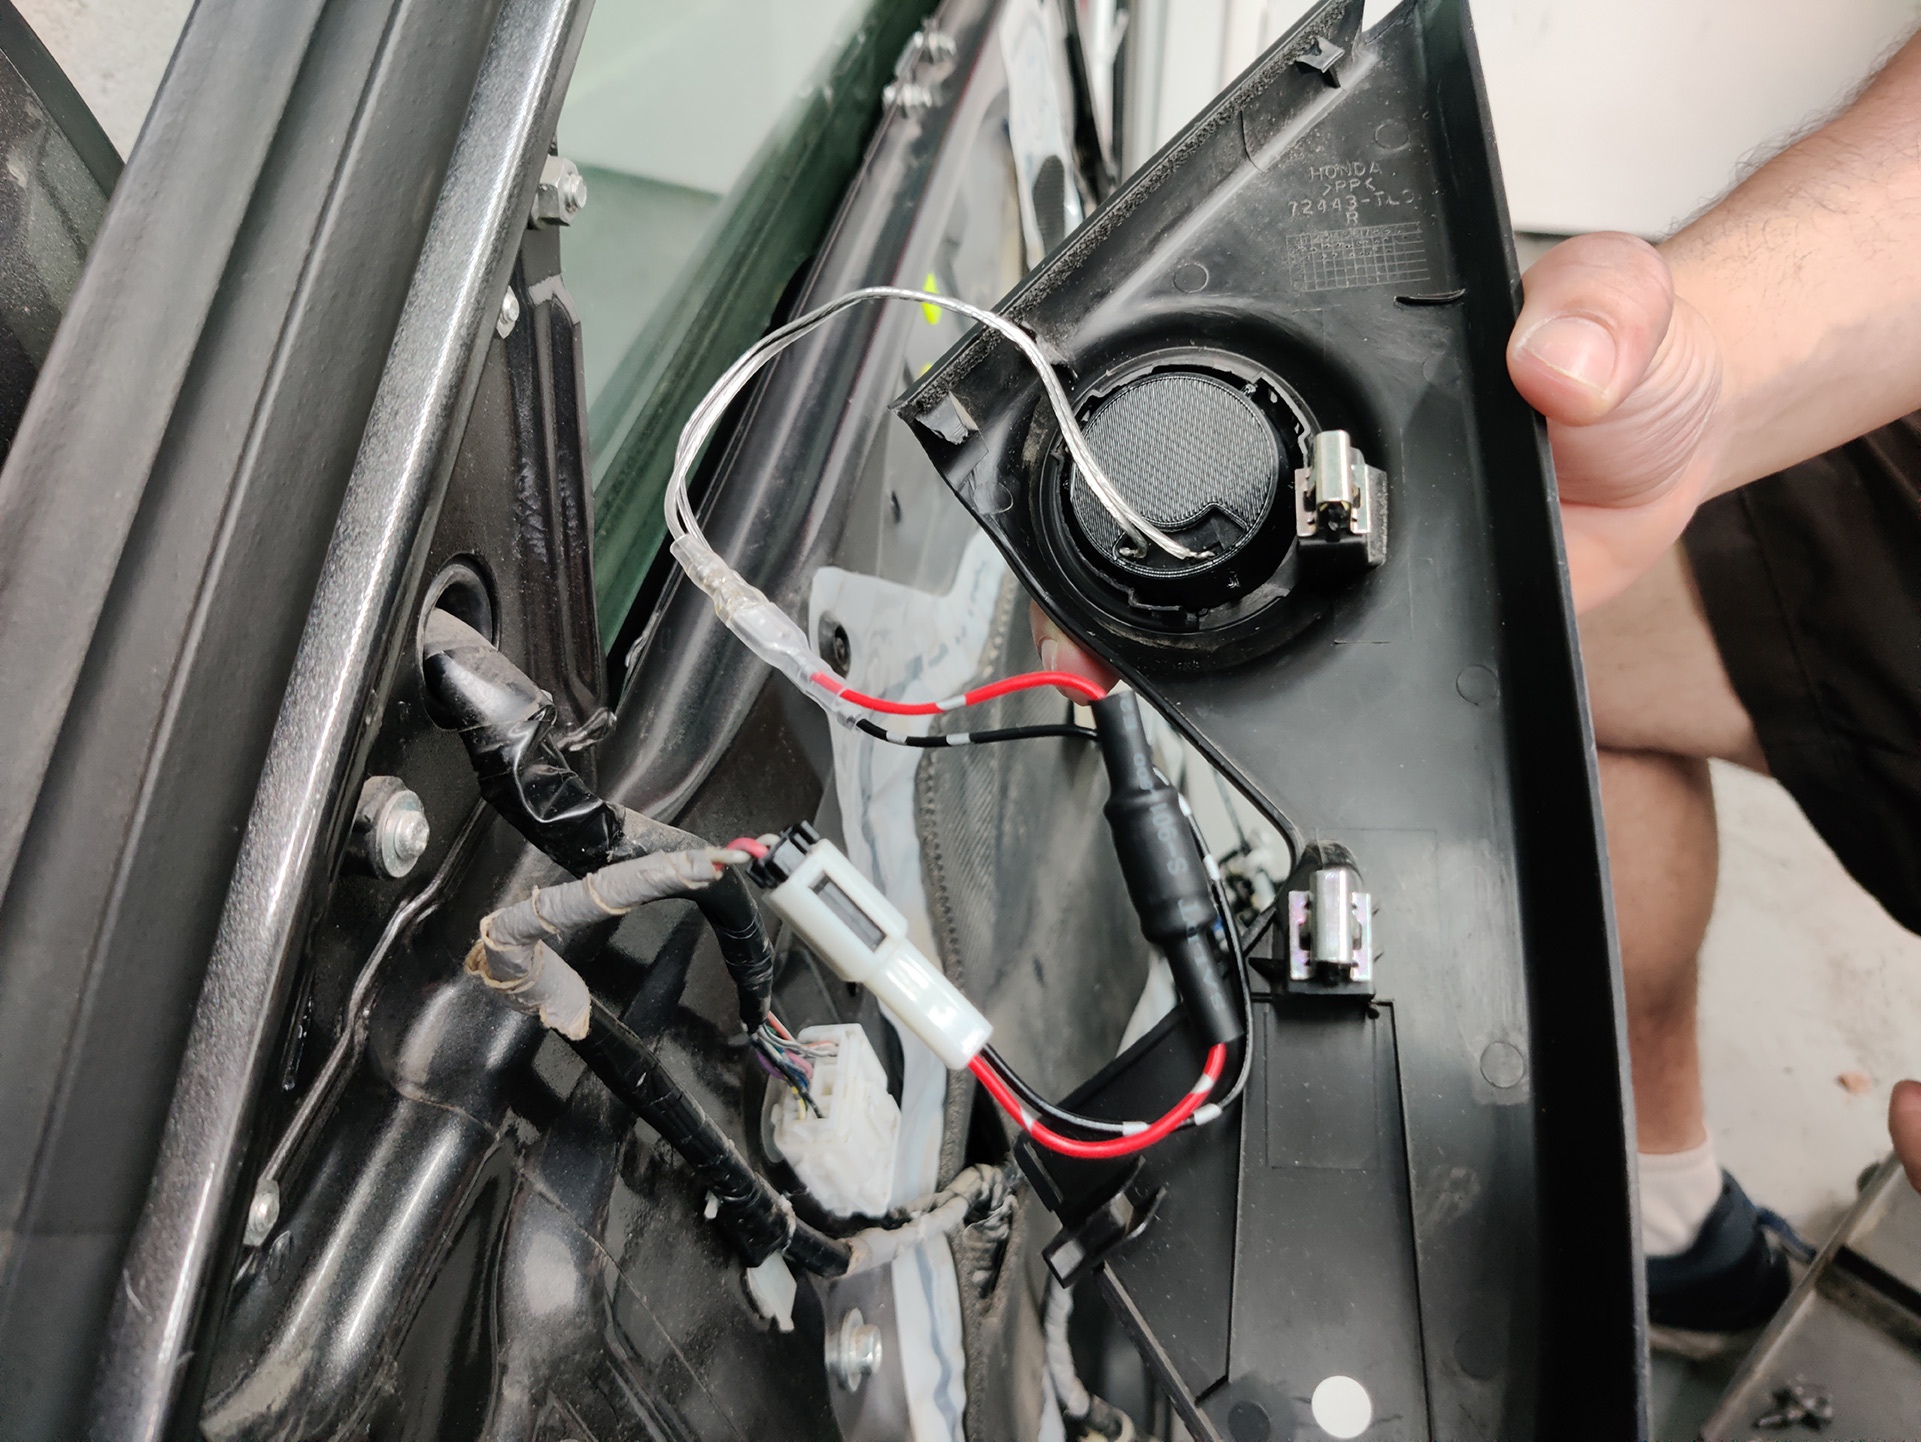
      9. Pry the tweeter panel away from the door
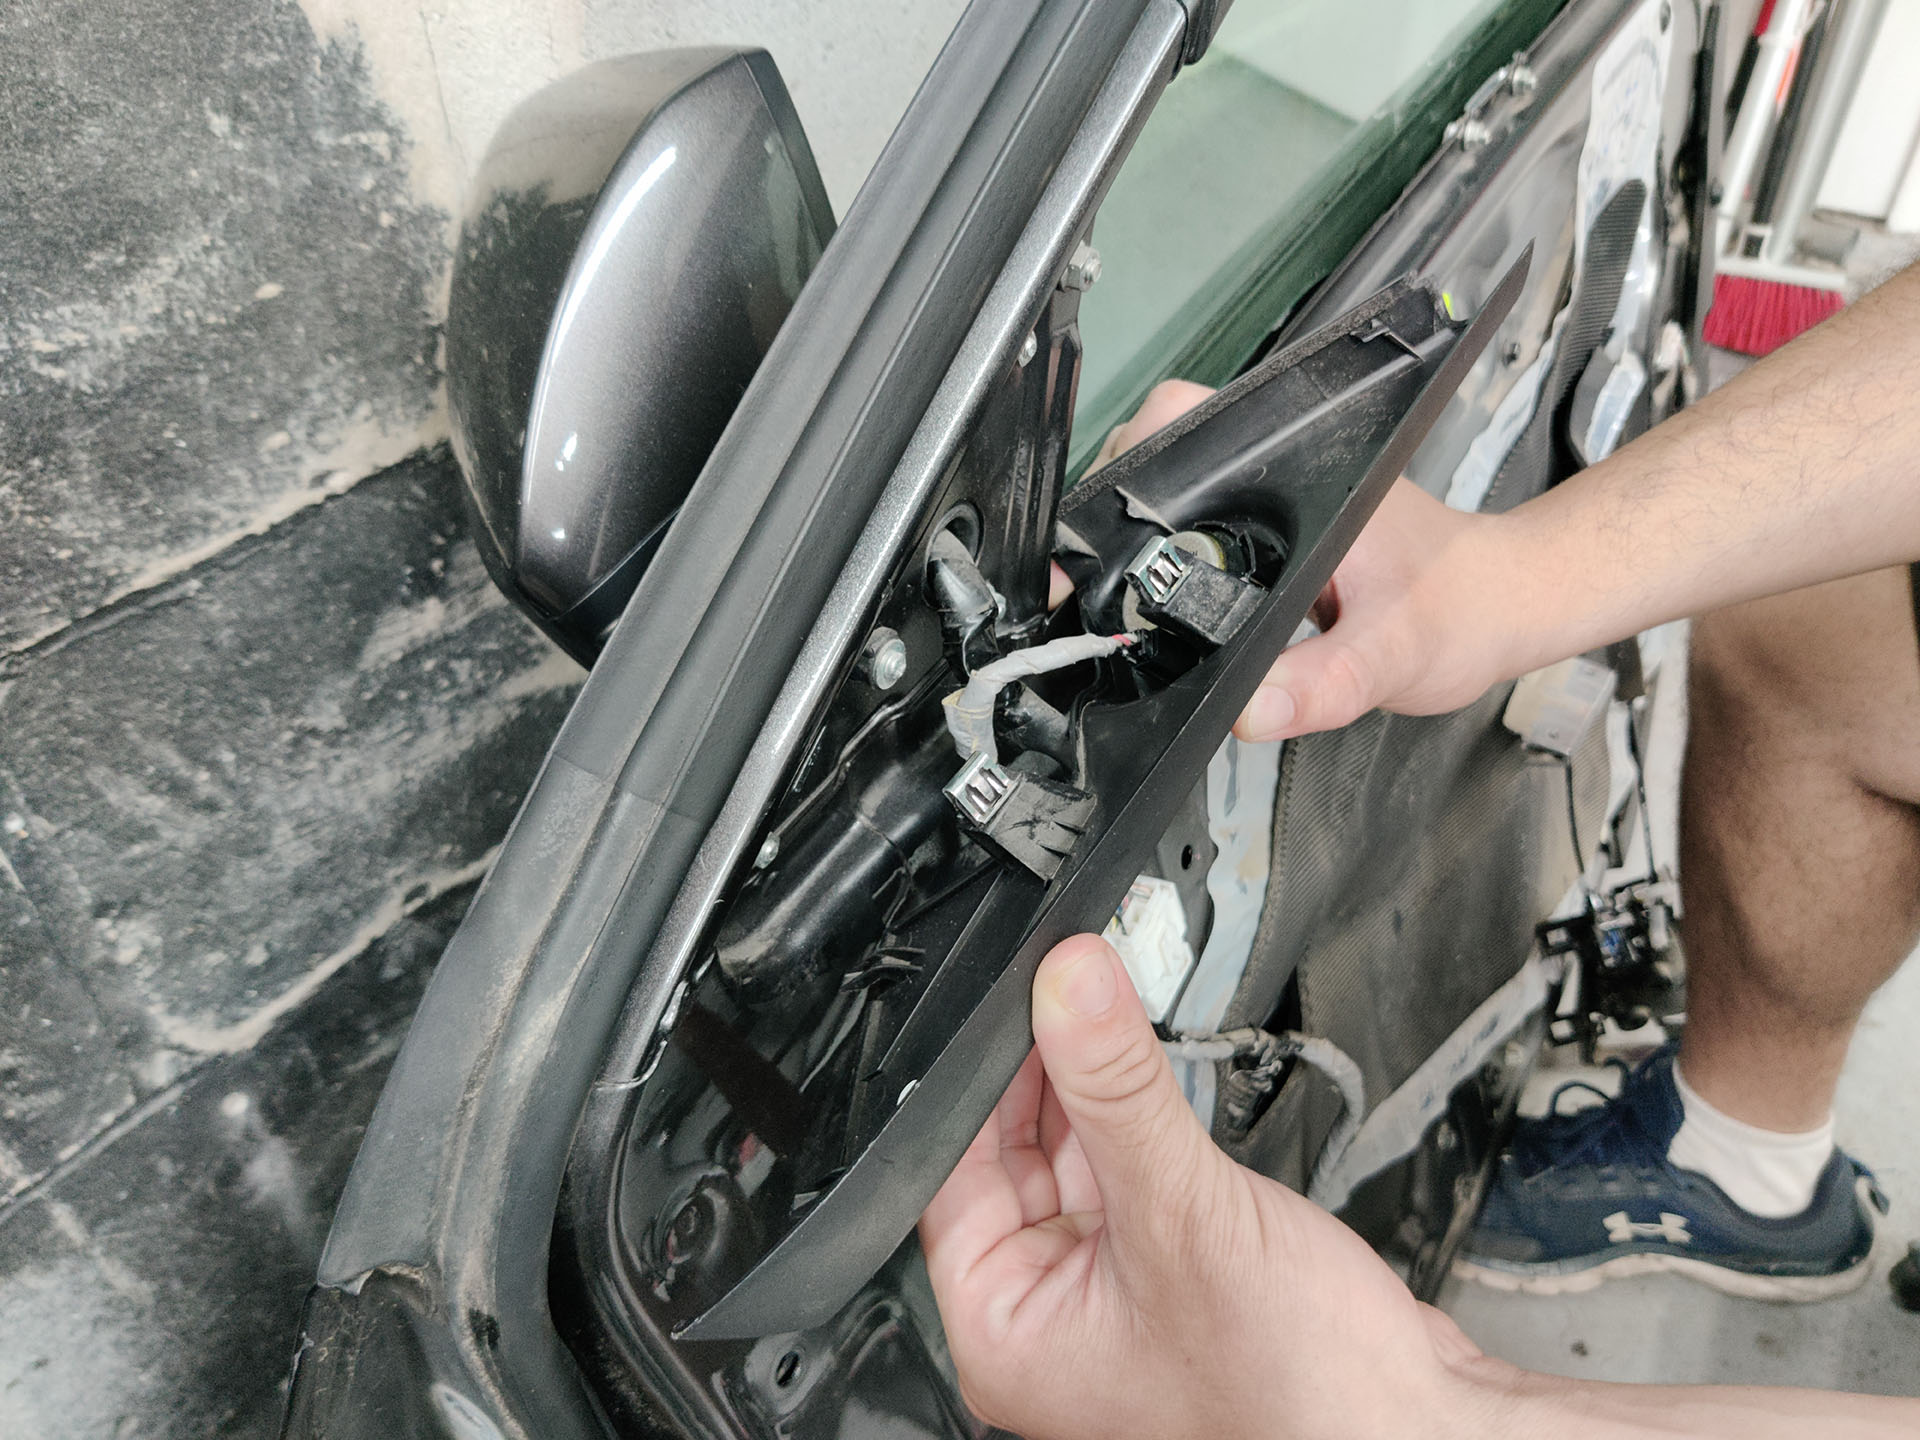
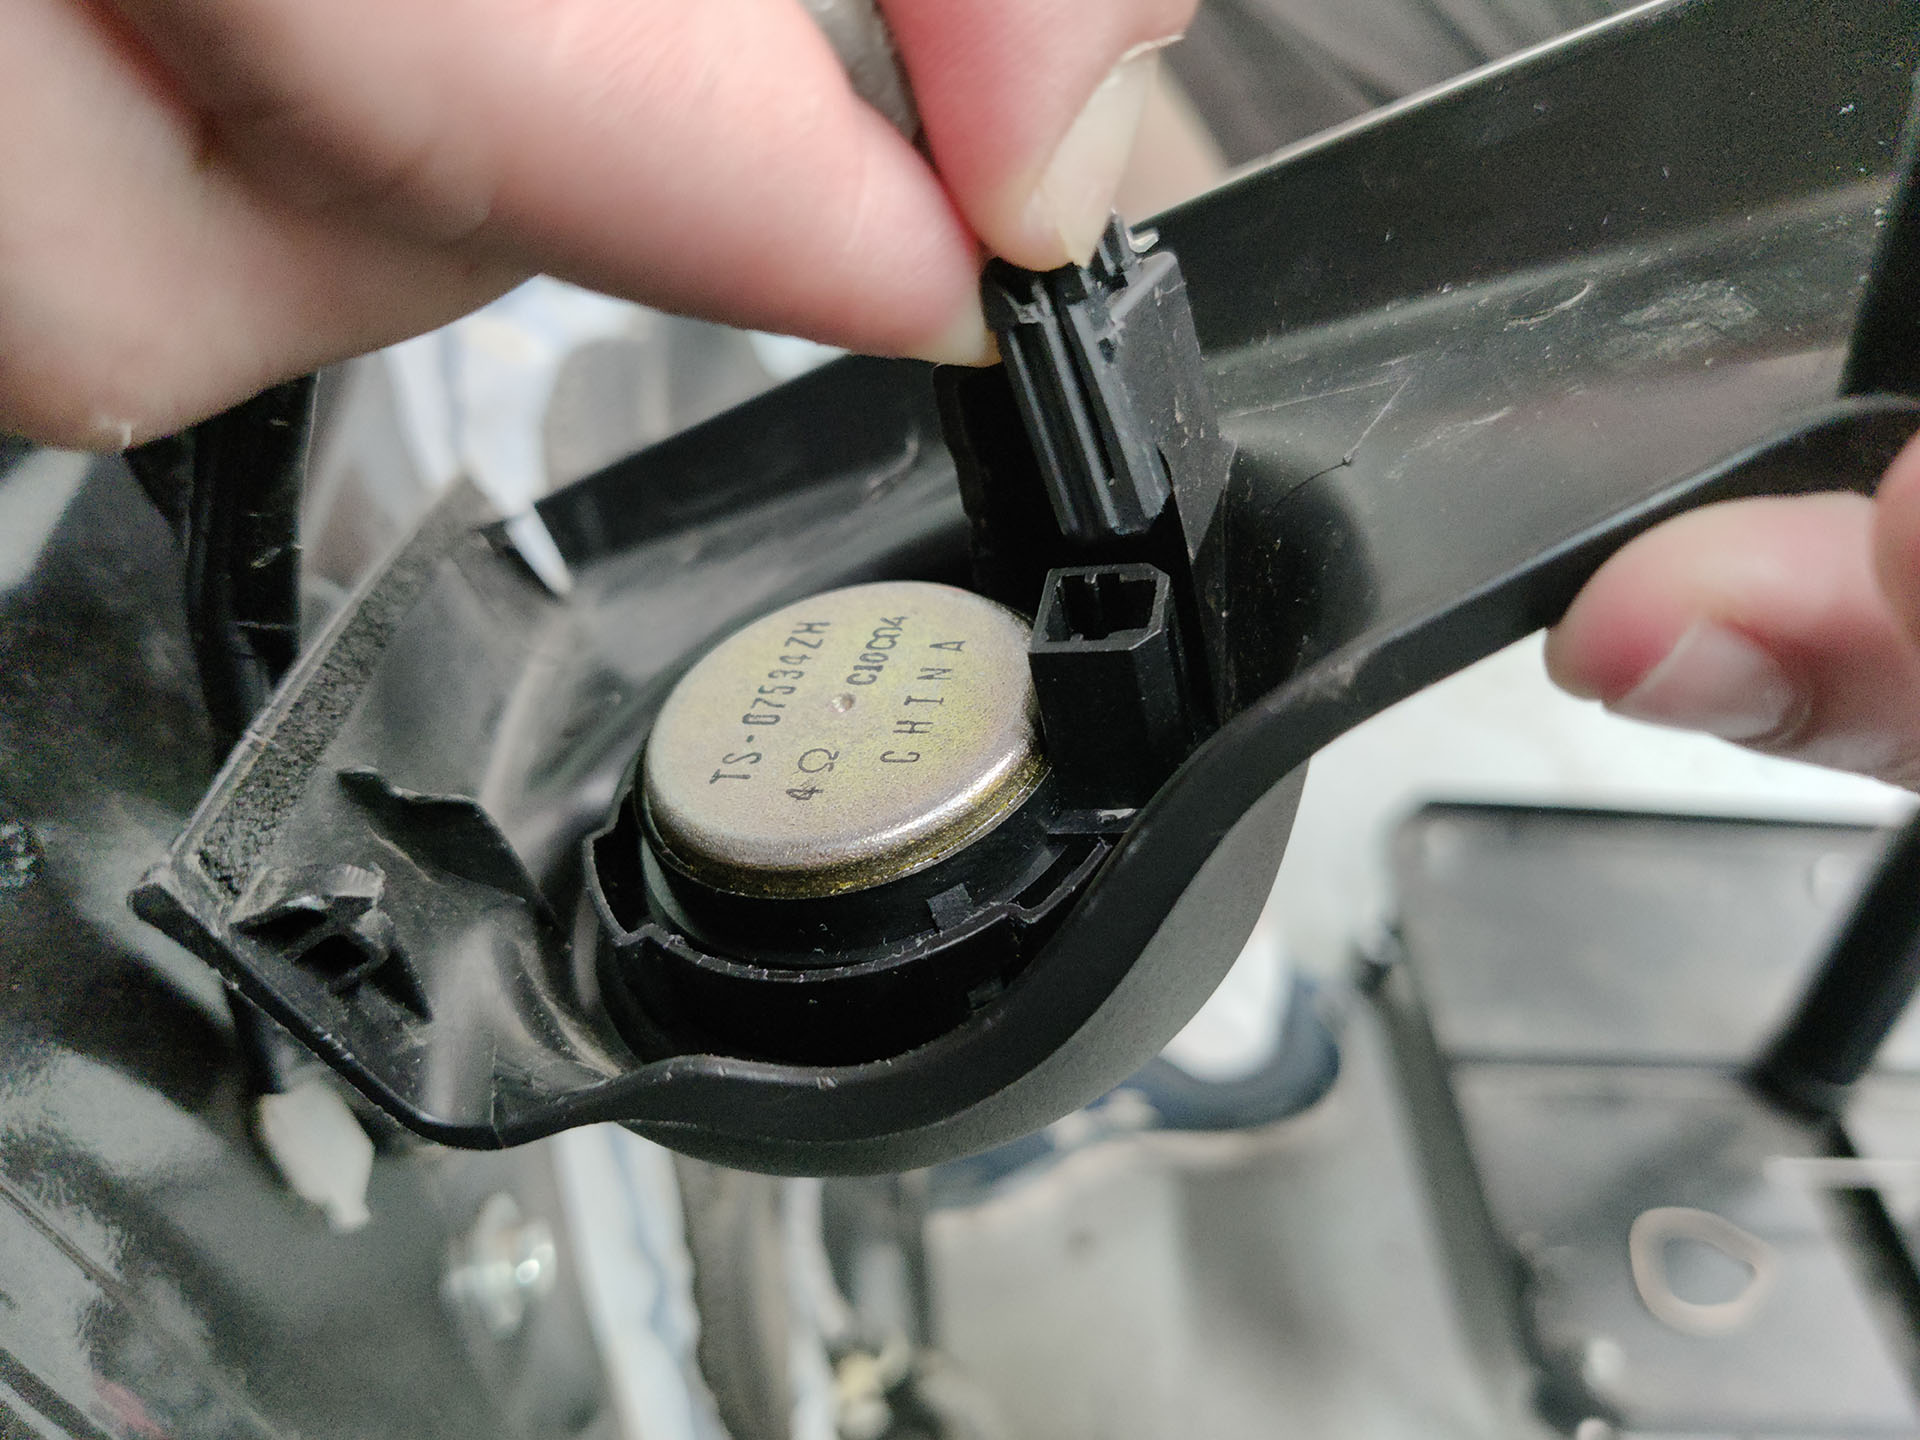
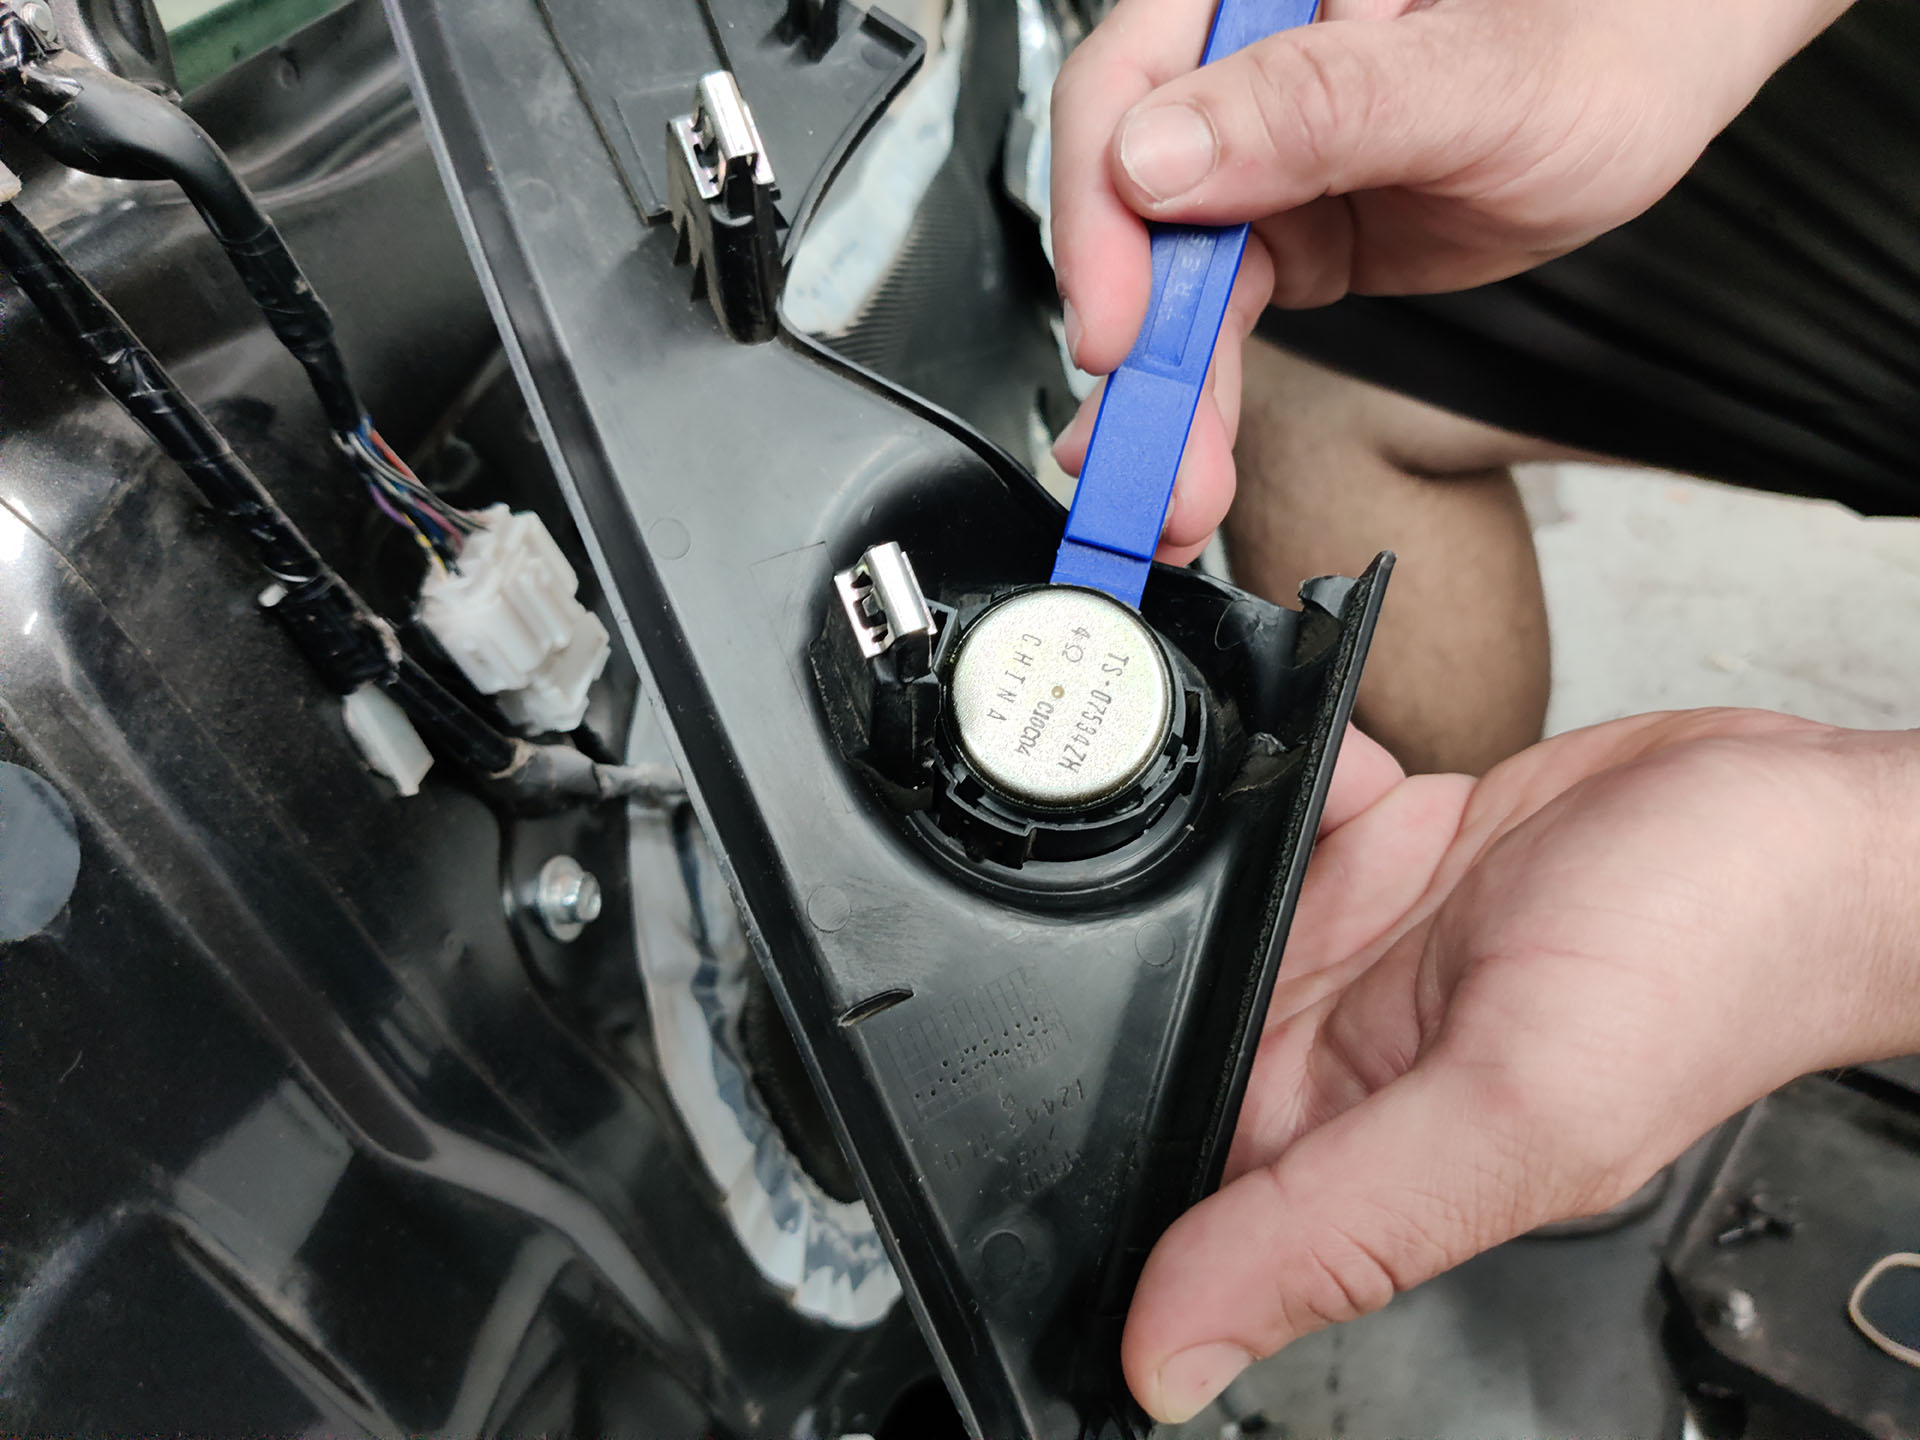
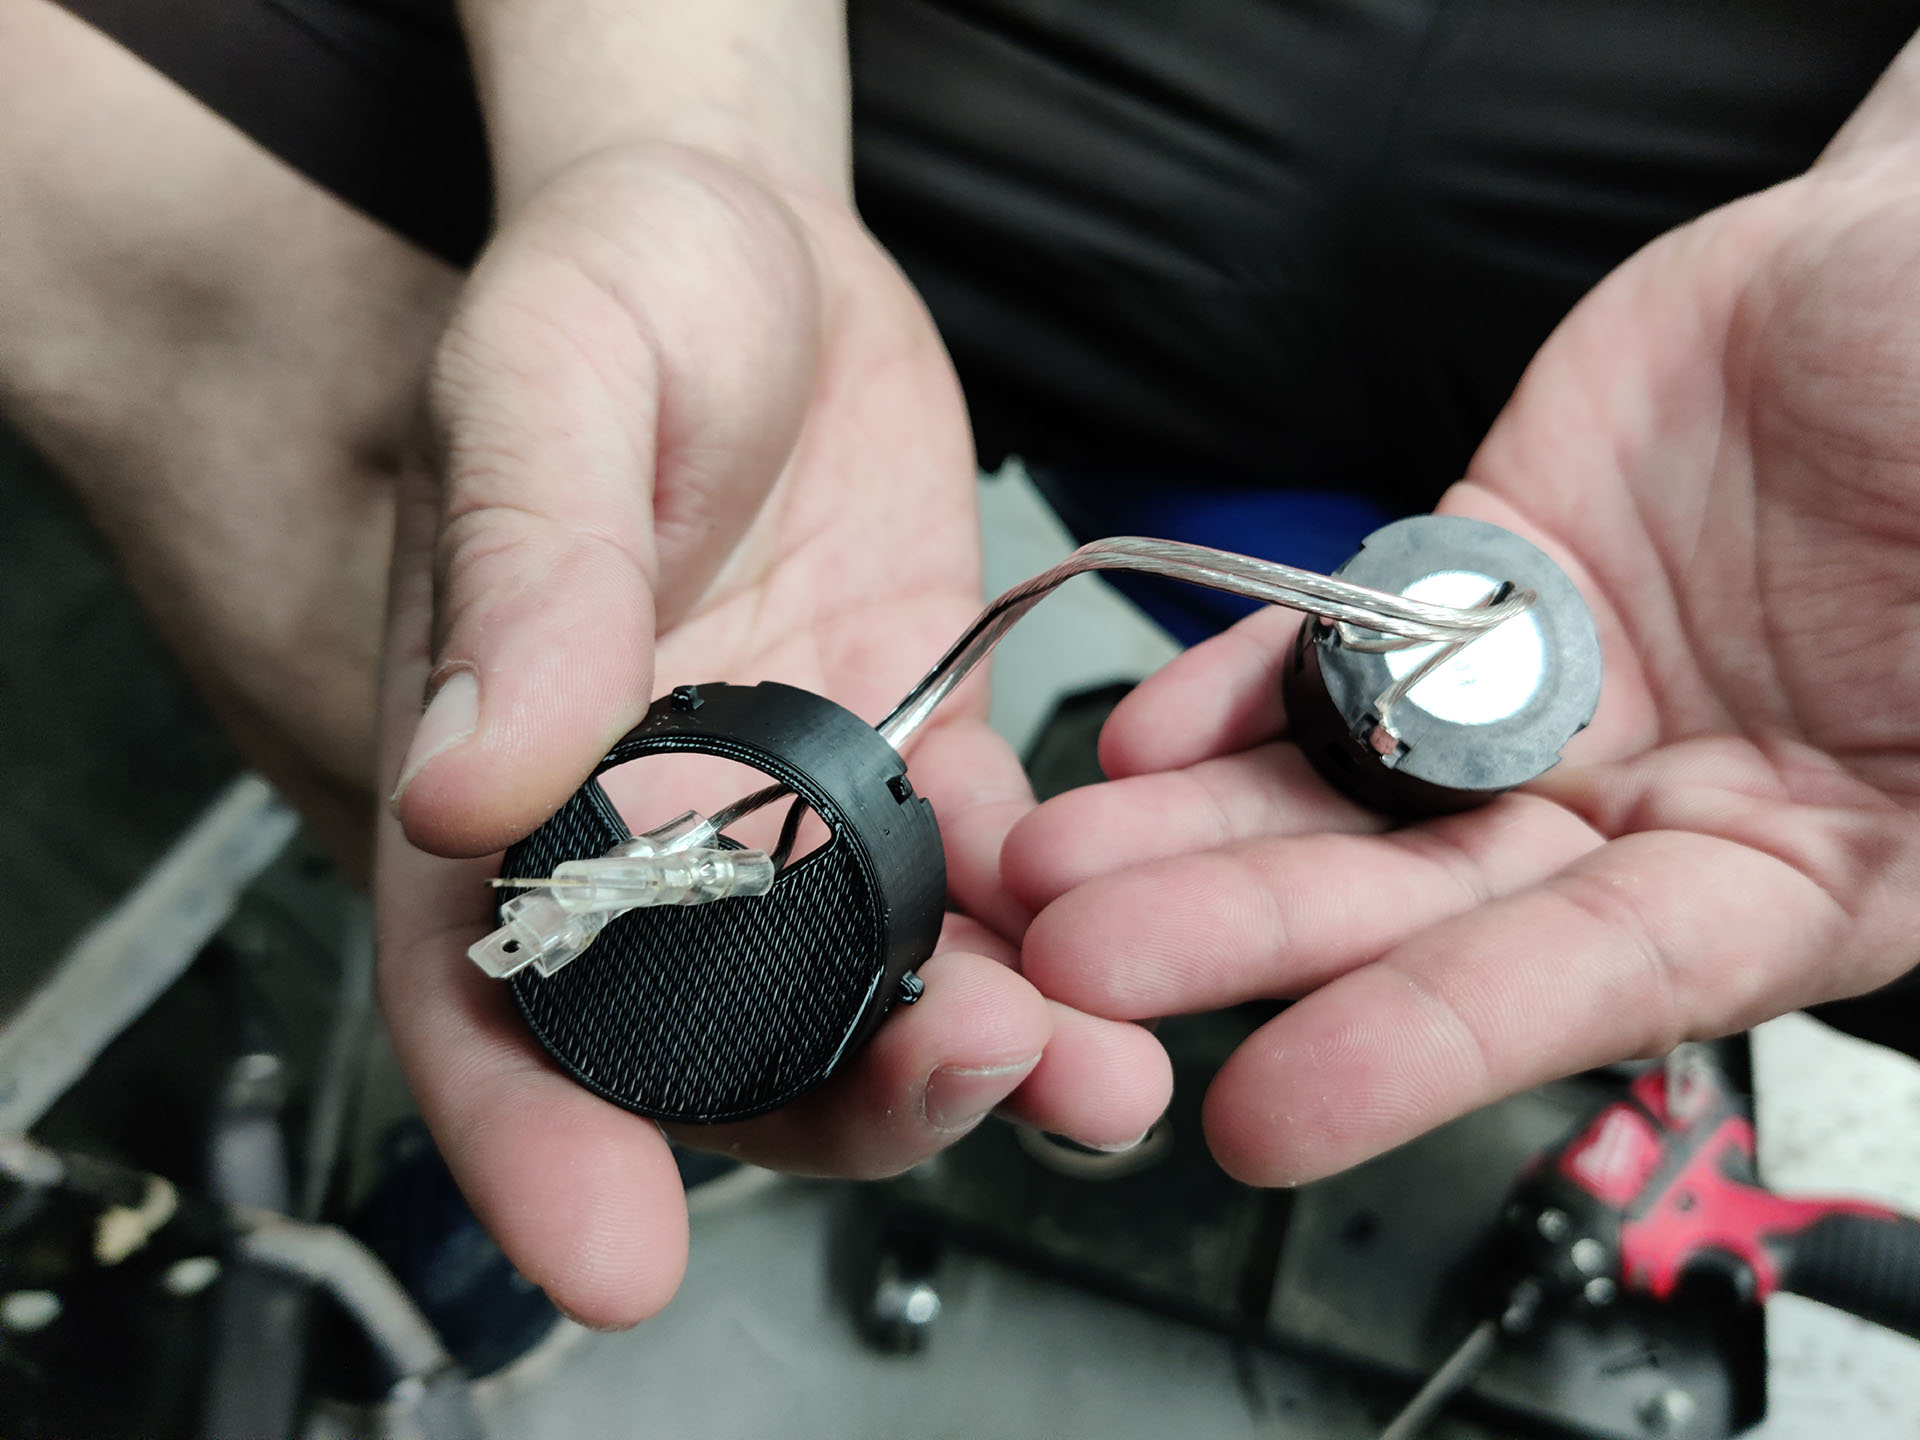
      10. Disconnect the tweeter and carefully pry the tweeter out of the factory housing.
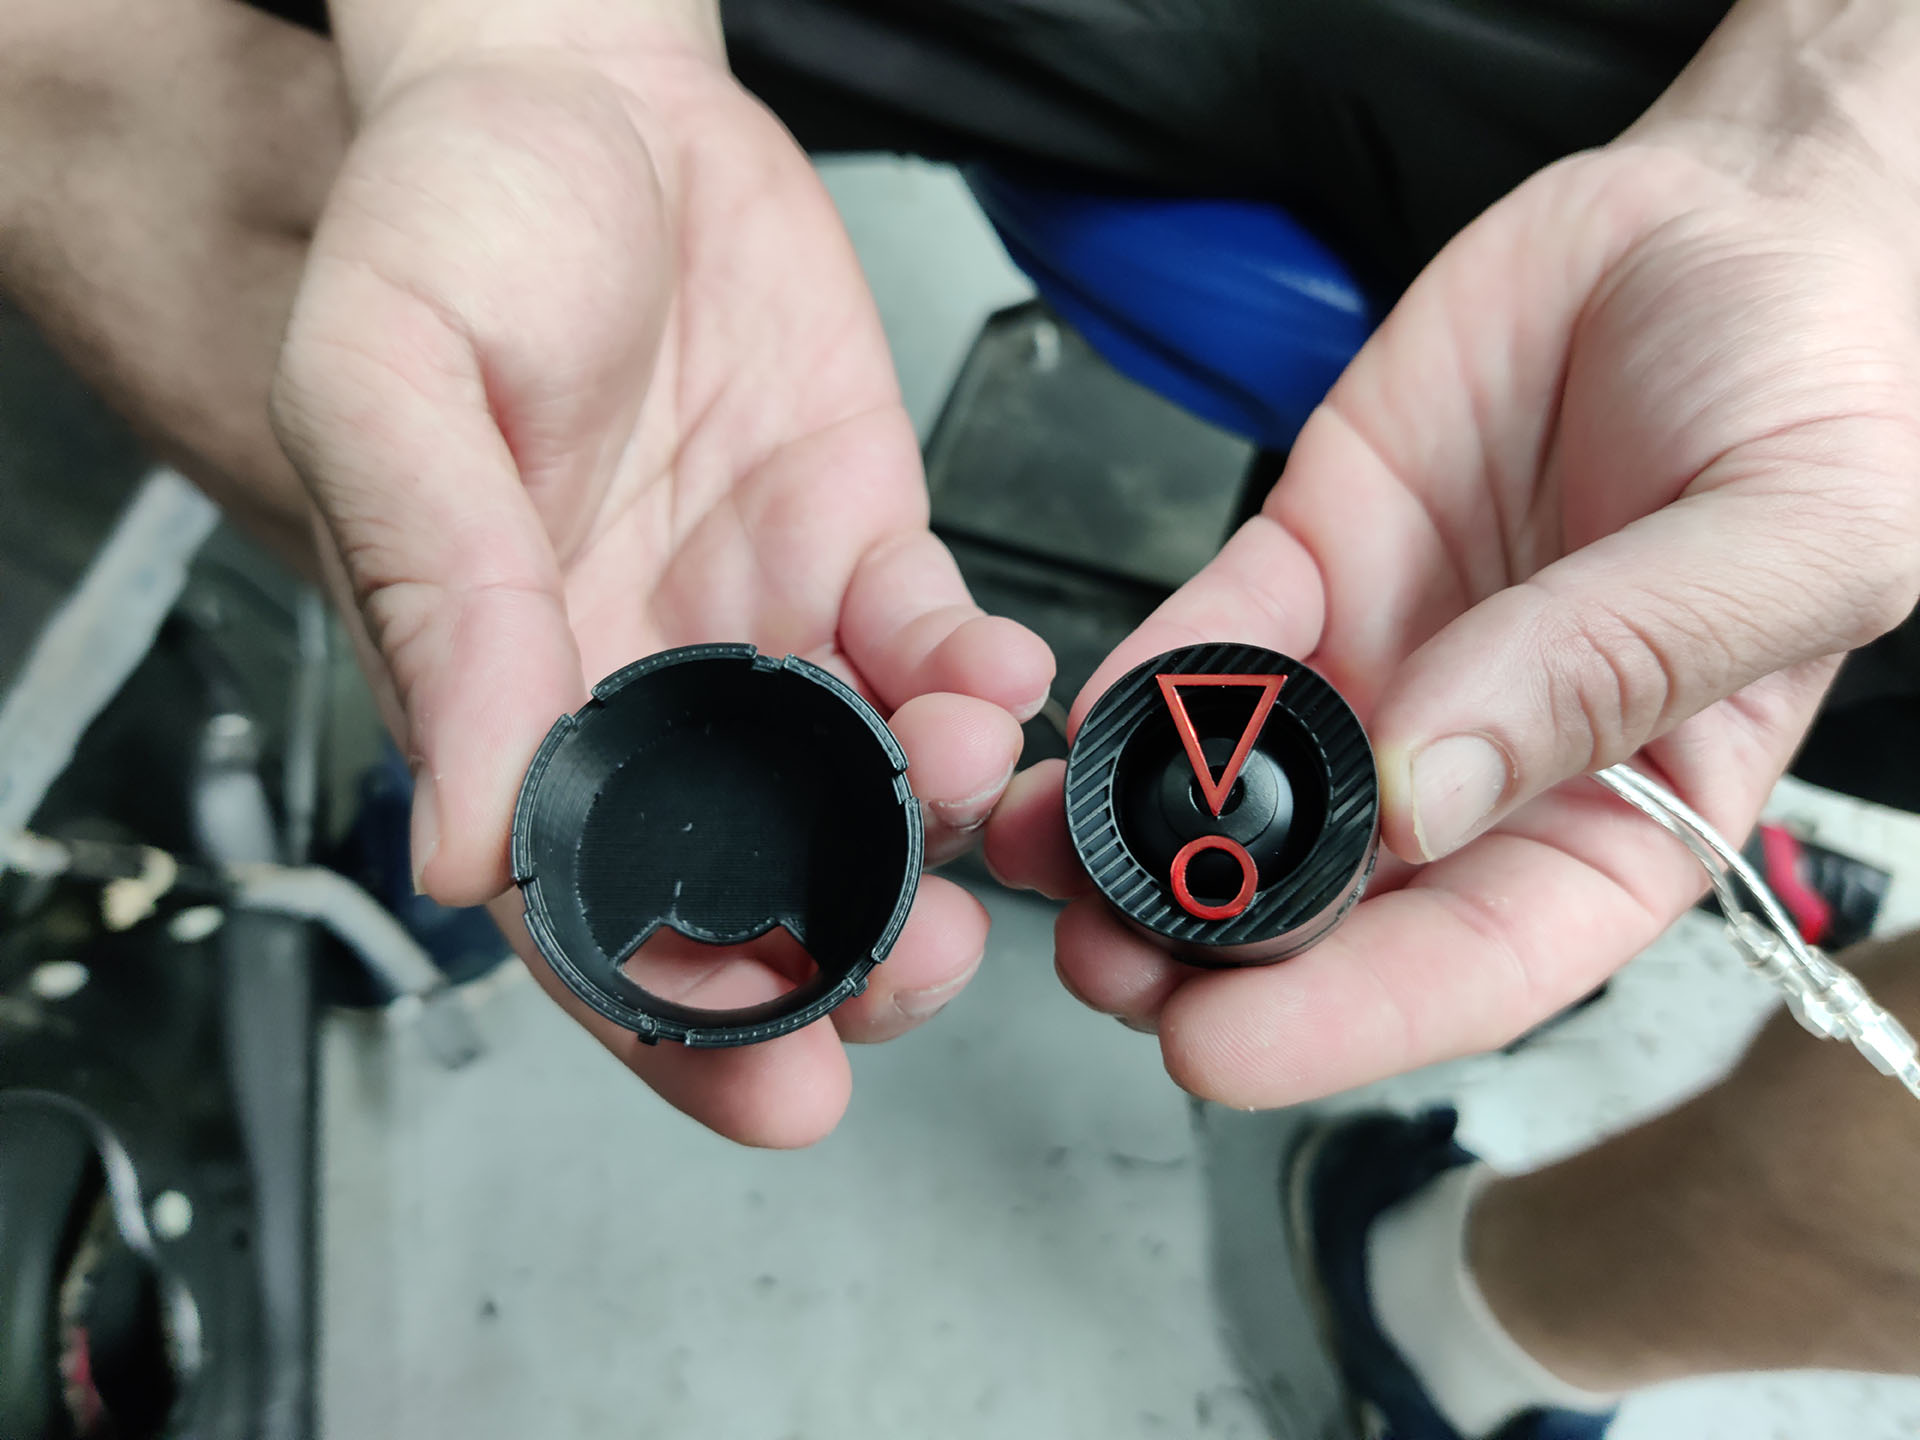
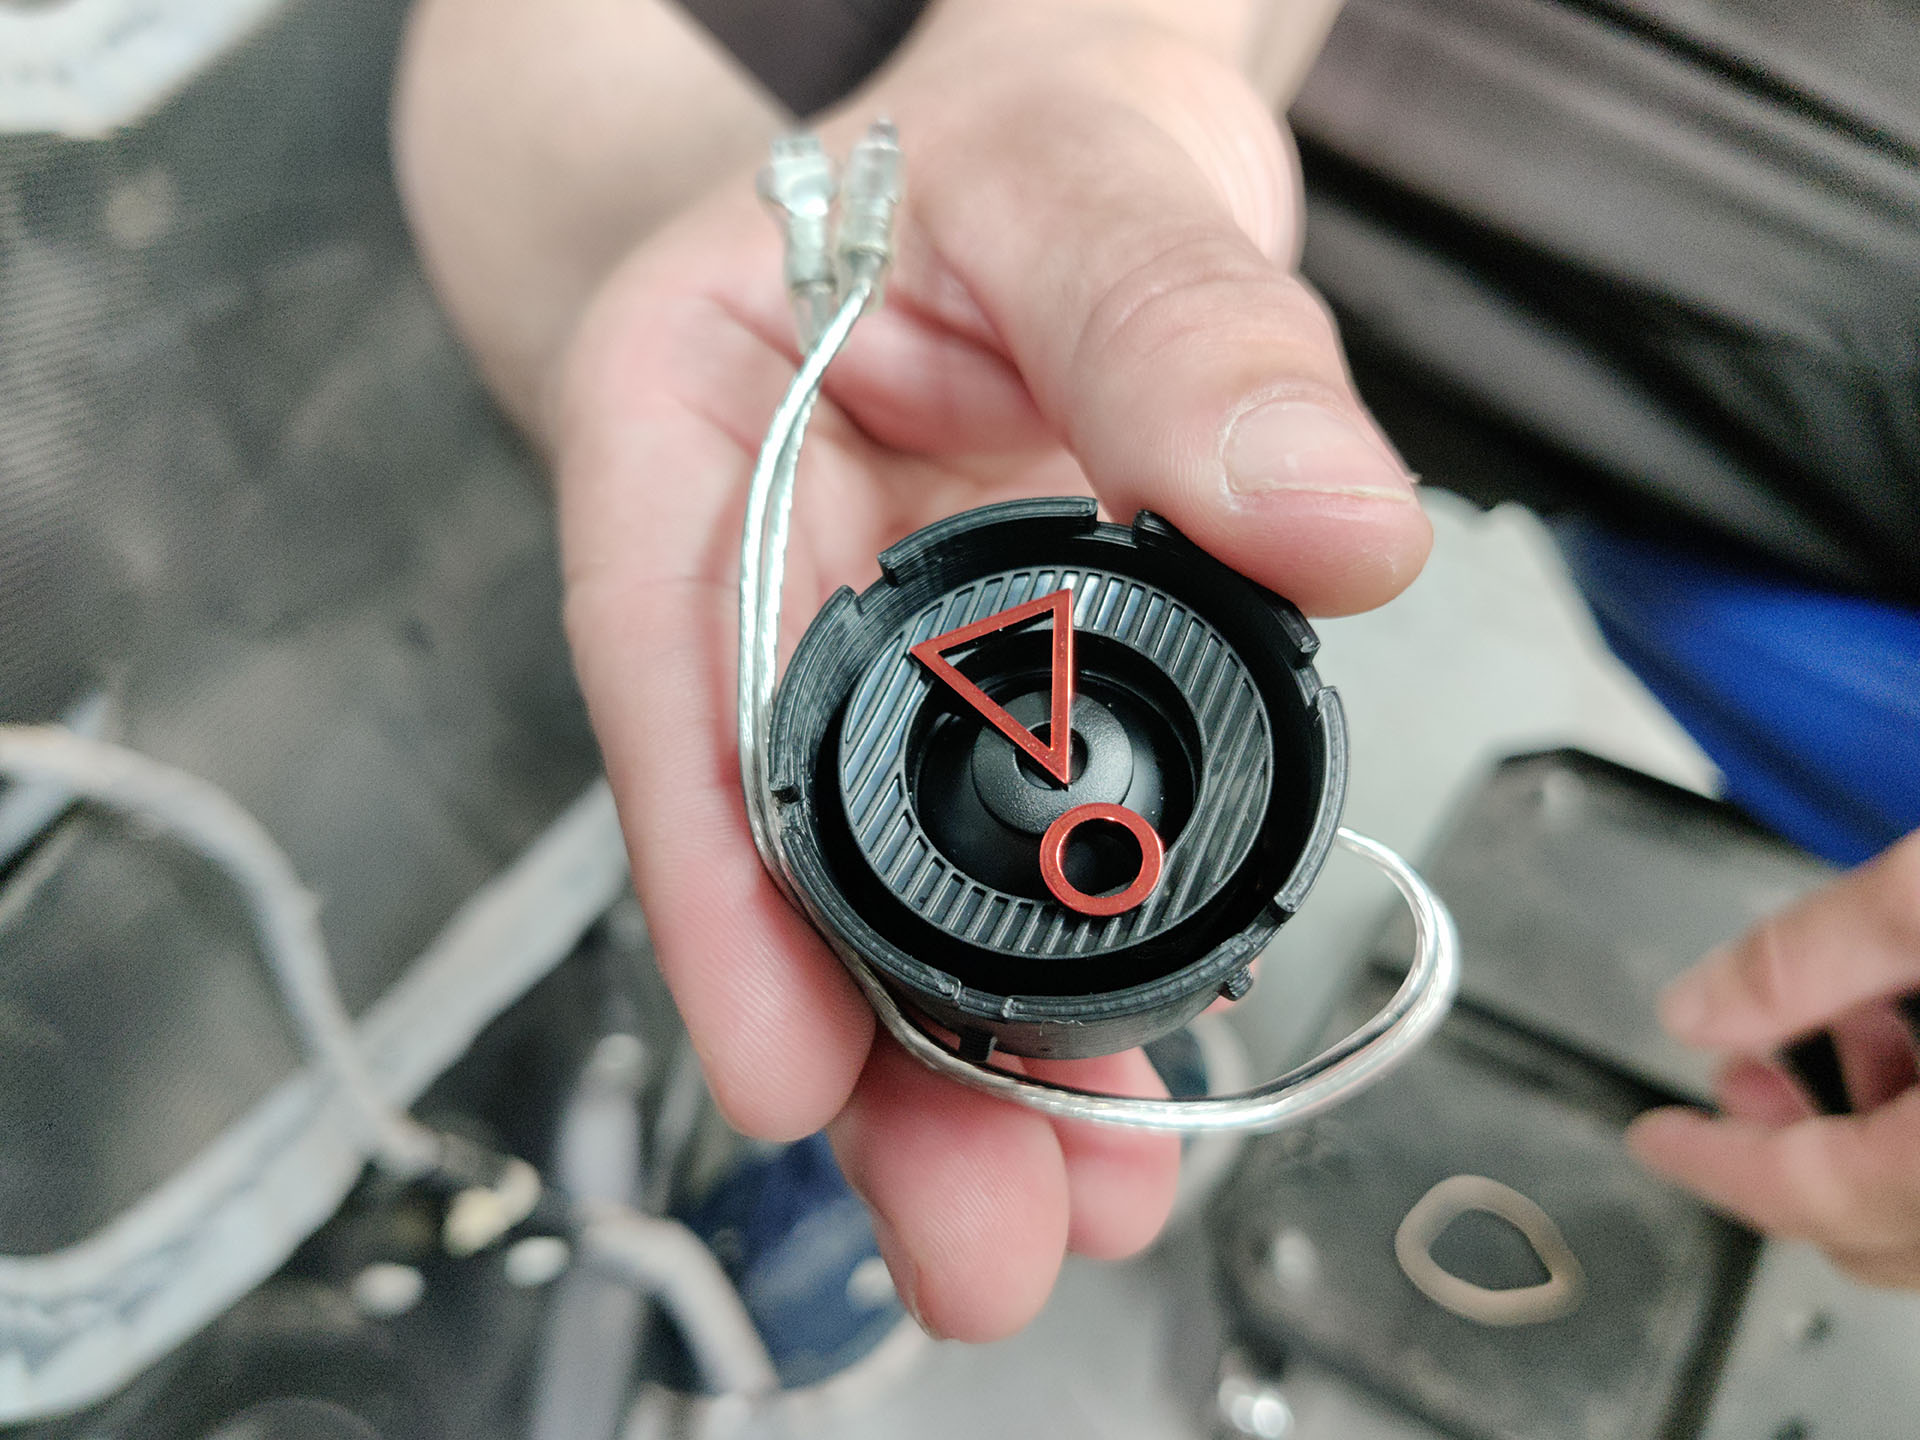
      11. Prepare the tweeter and tweeter cup for installation. Add the necessary foam to reduce any rattle.
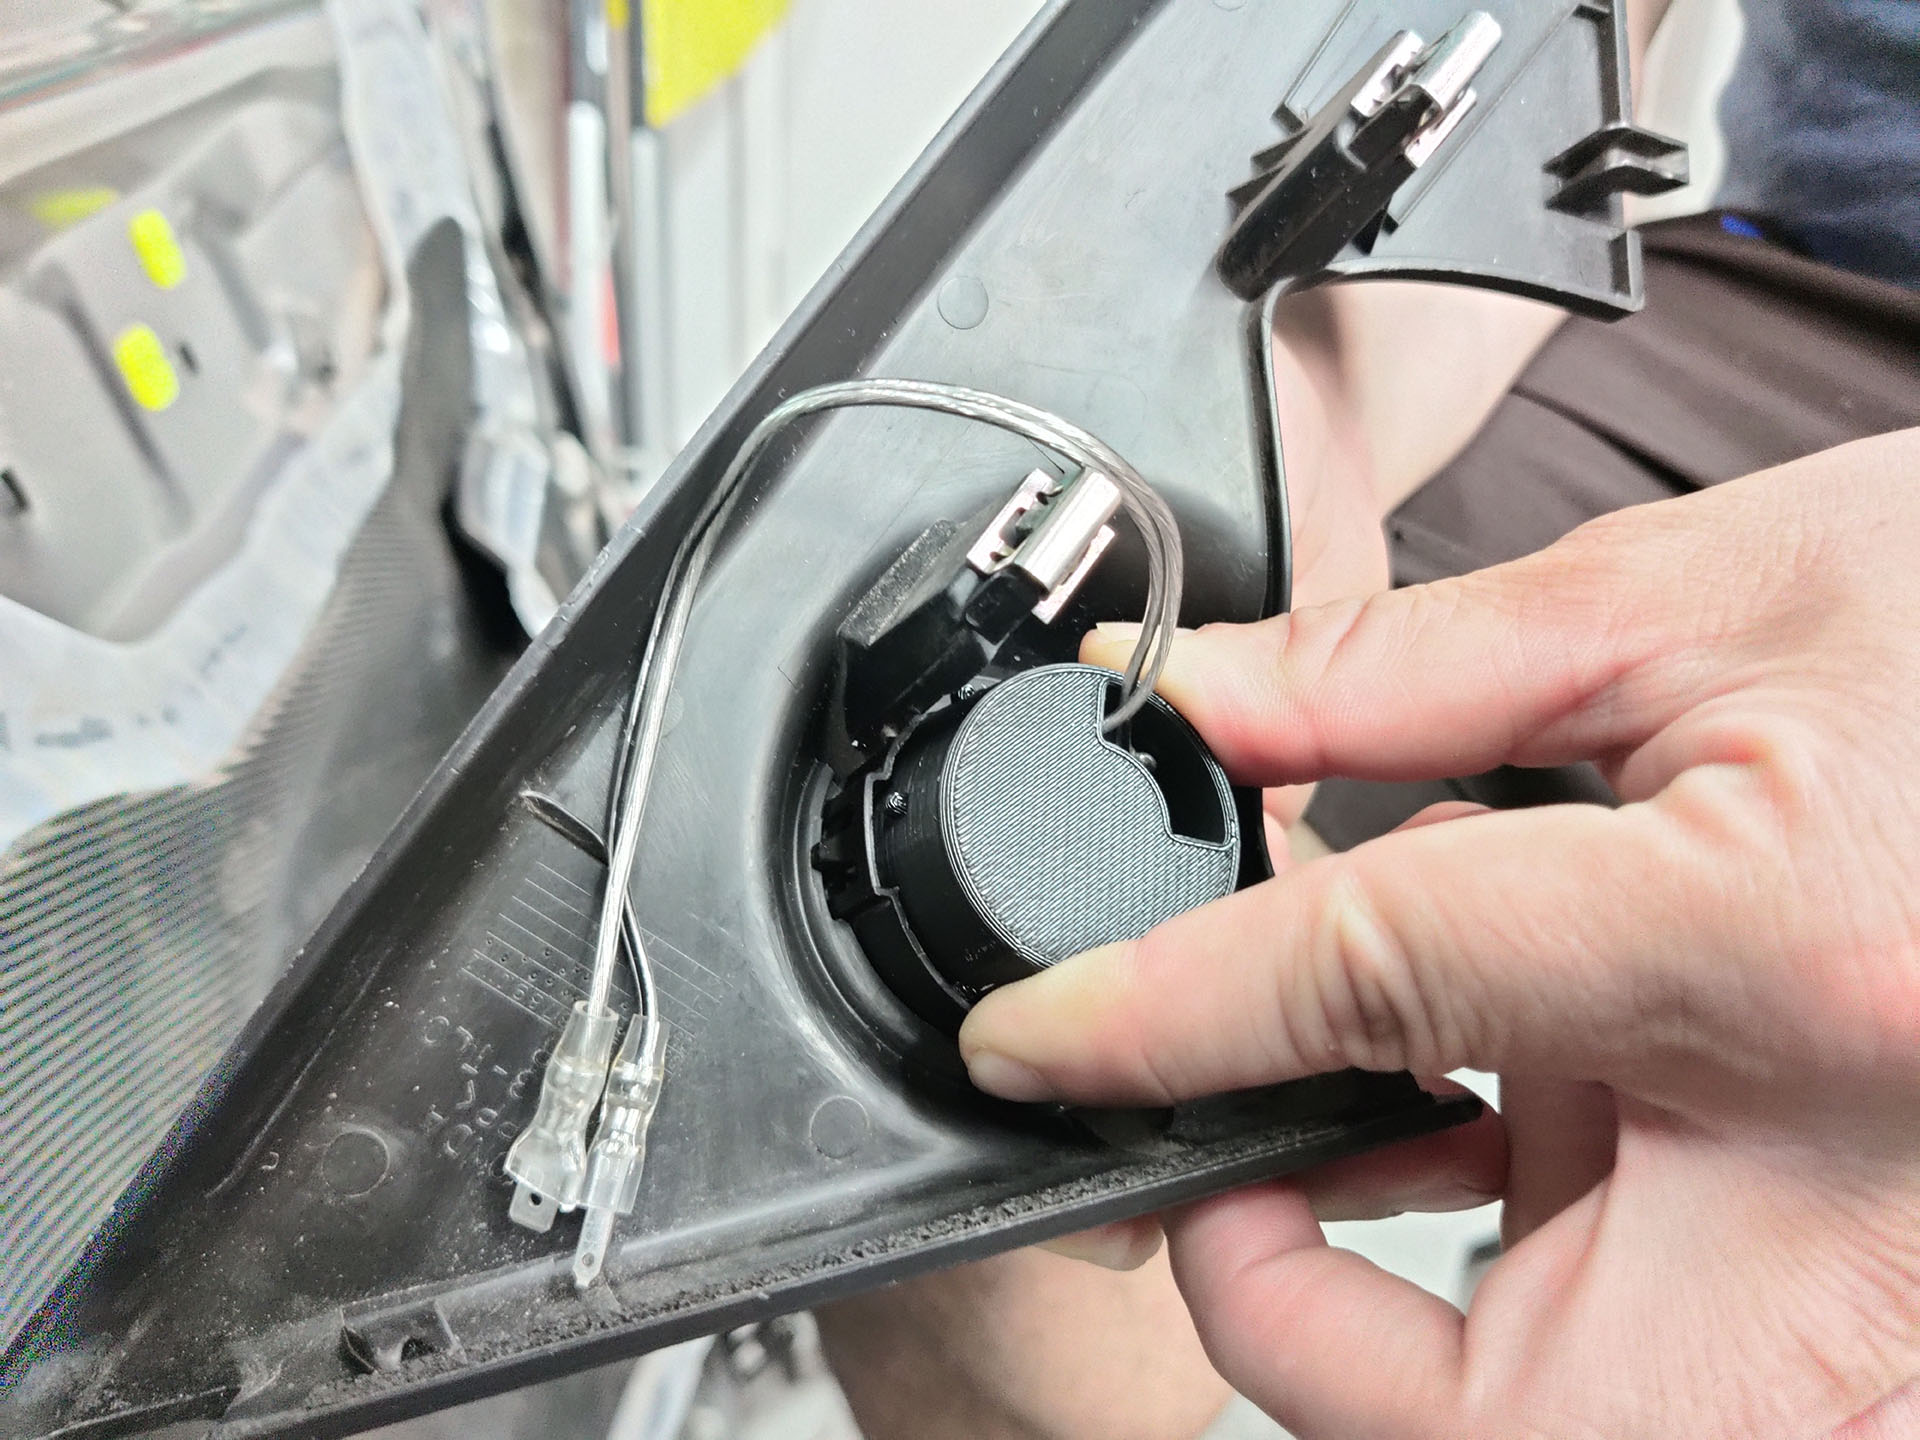
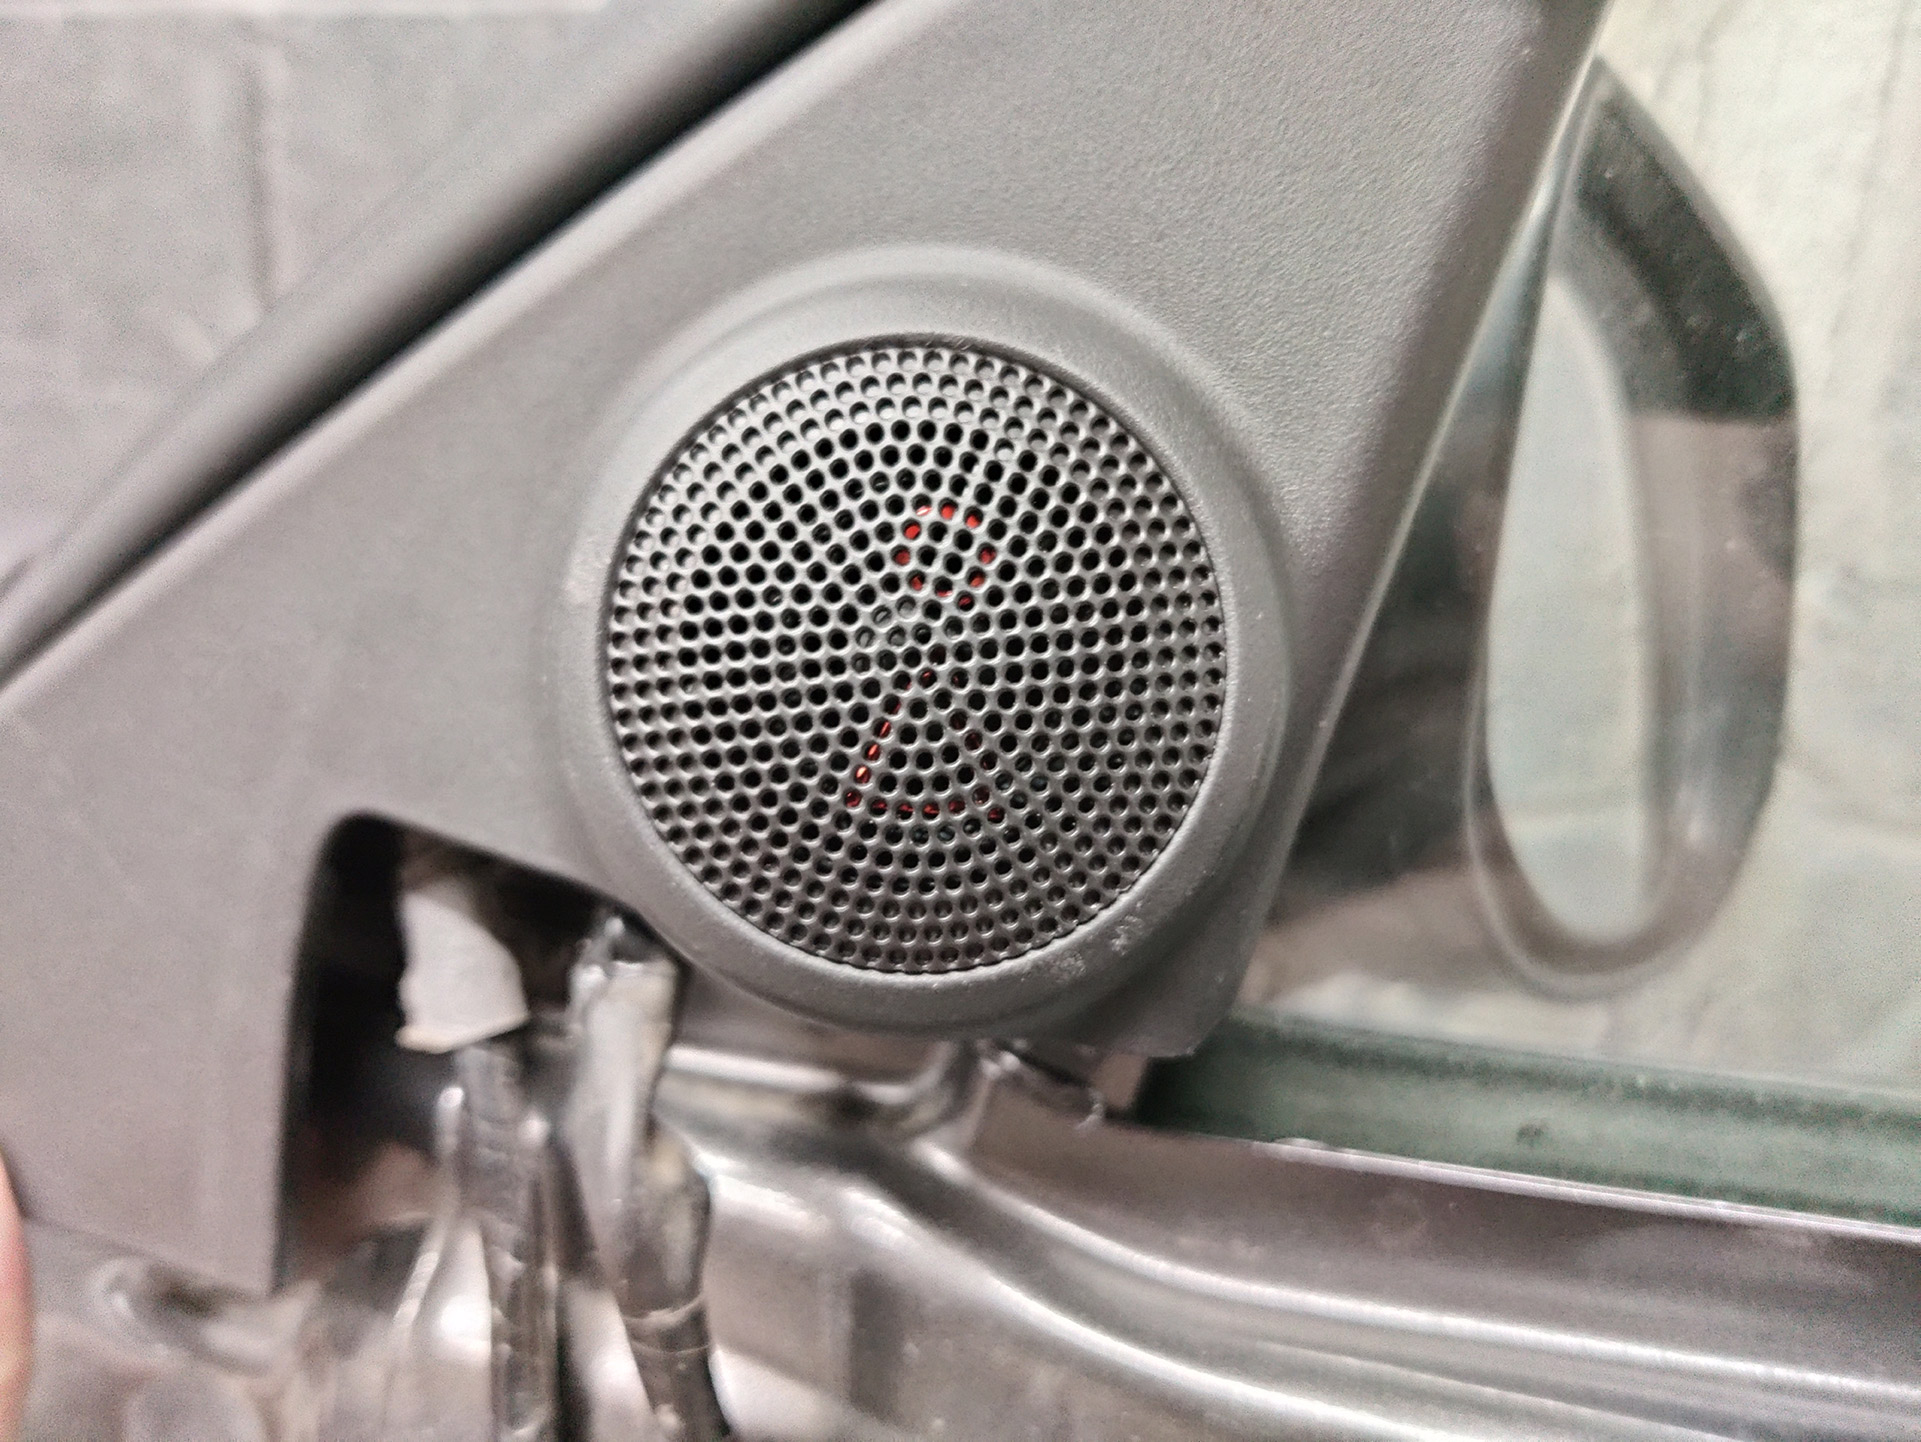
      12. Install the tweeter on the factory housing and adjust the tweeter cup until it clicks into place.
      13. Connect the tweeter harness to the factory harness and aftermarket tweeter.
      14. Secure the wiring and install the tweeter housing back onto the door panel.


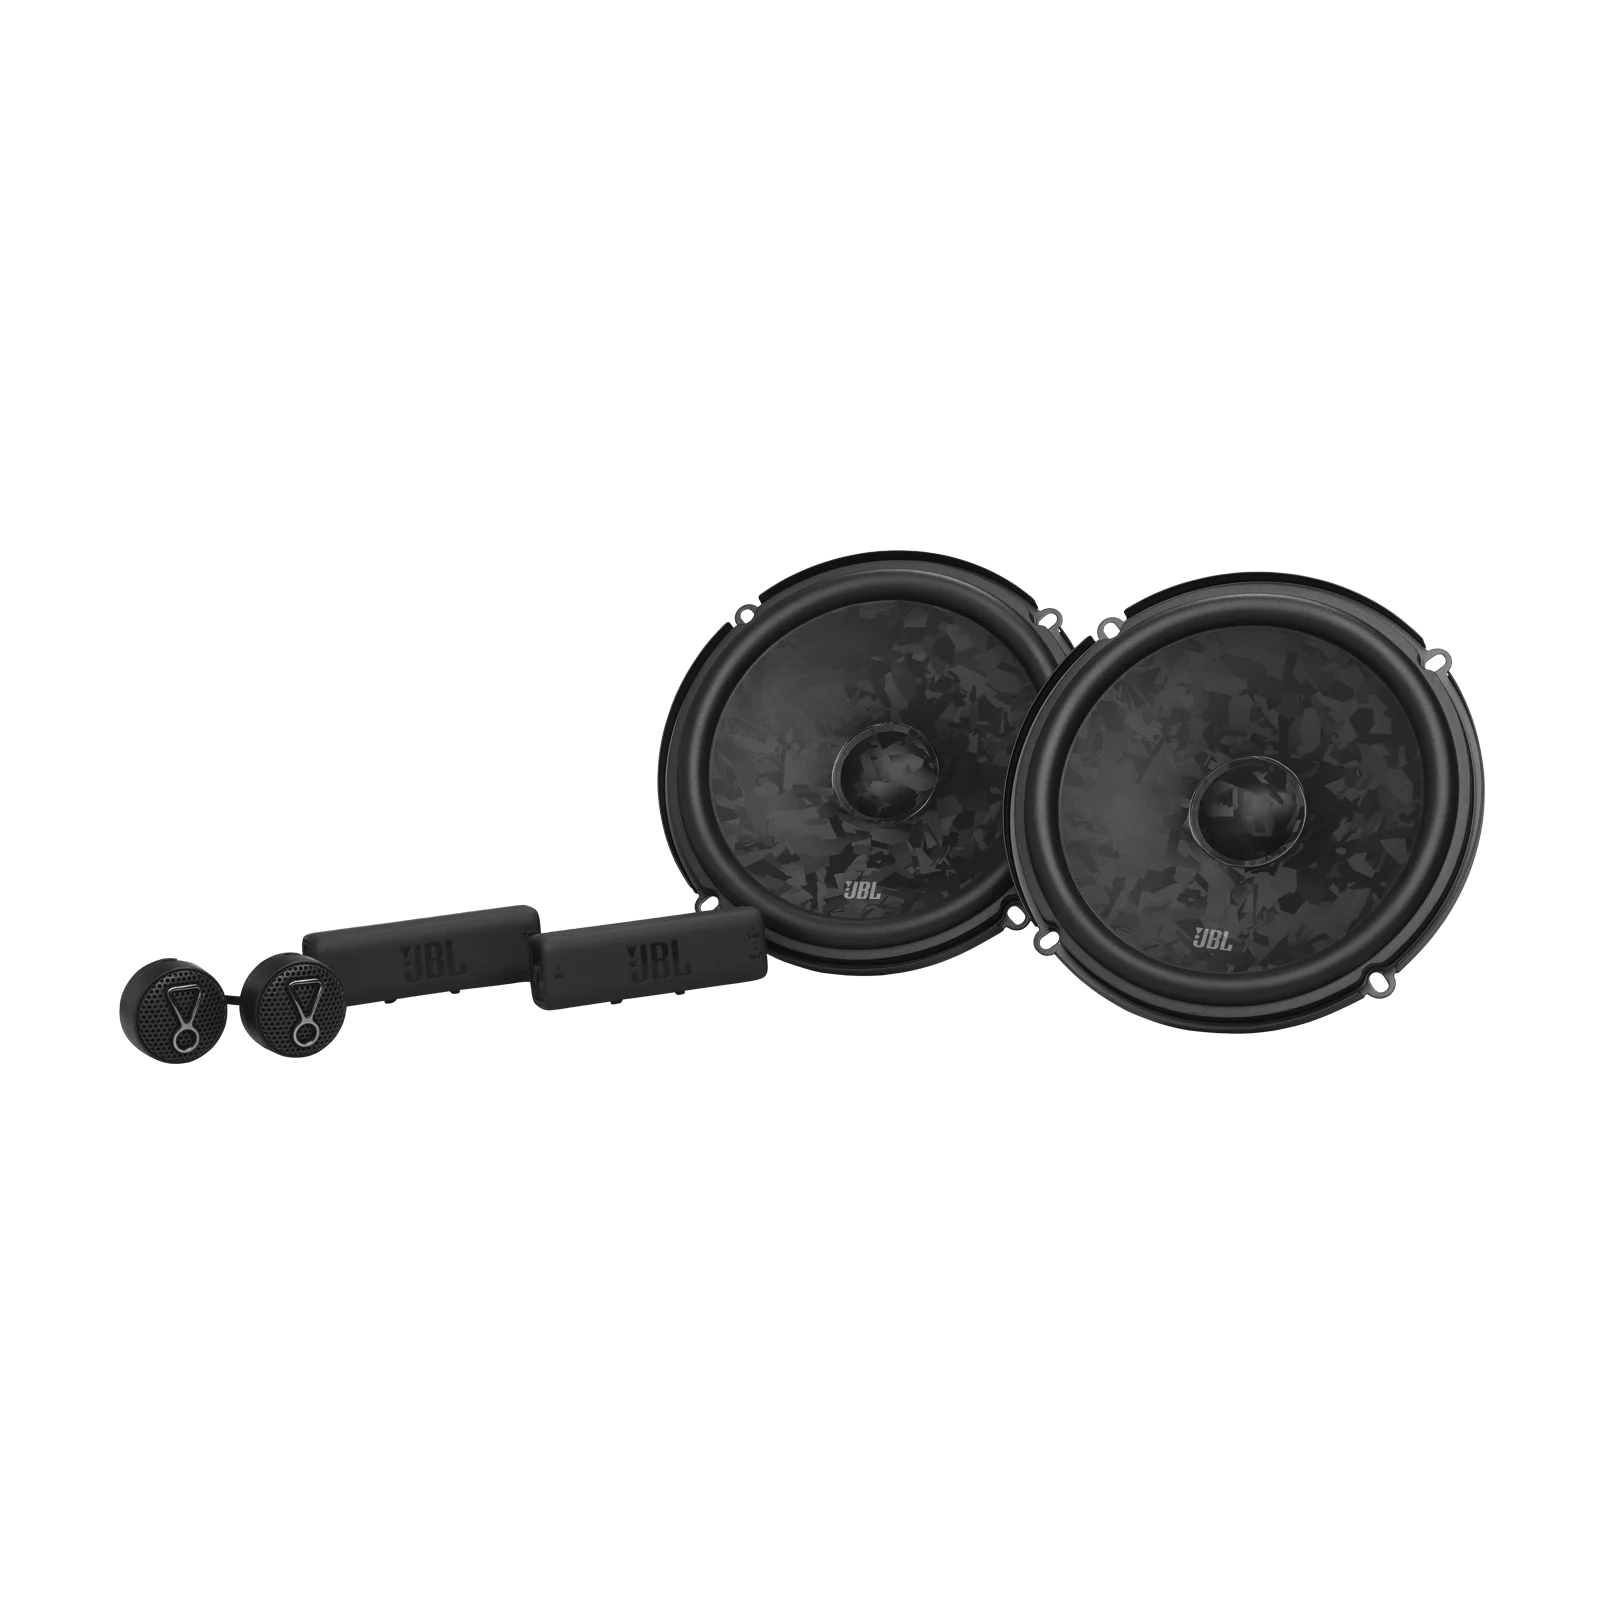
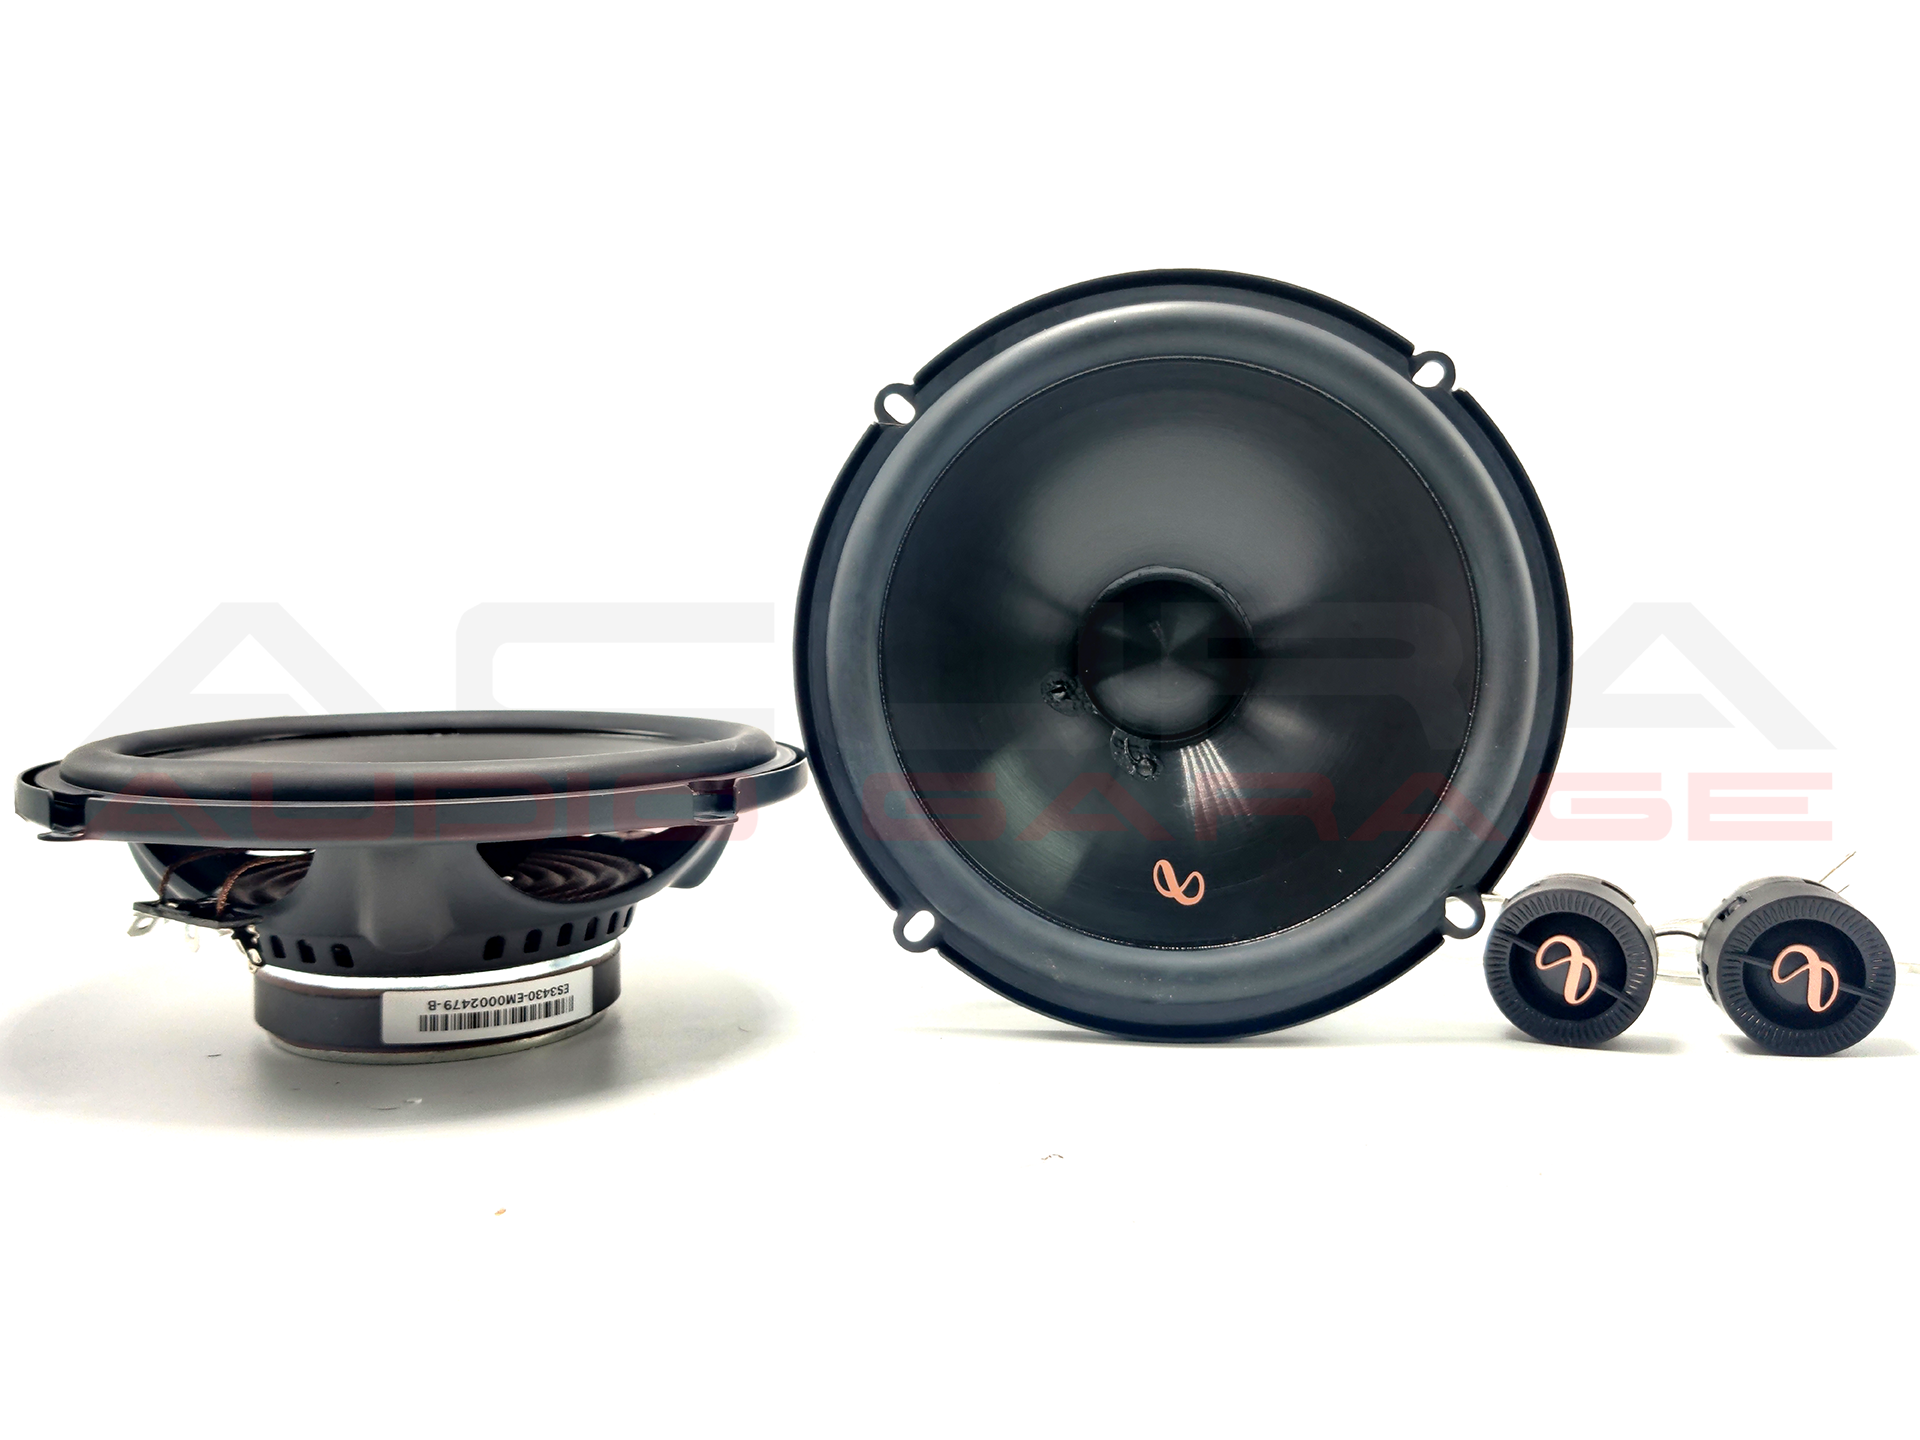
Infinity Front Door 6.5 Infinity Component Speaker Set – Plug and Play Upgrade Package

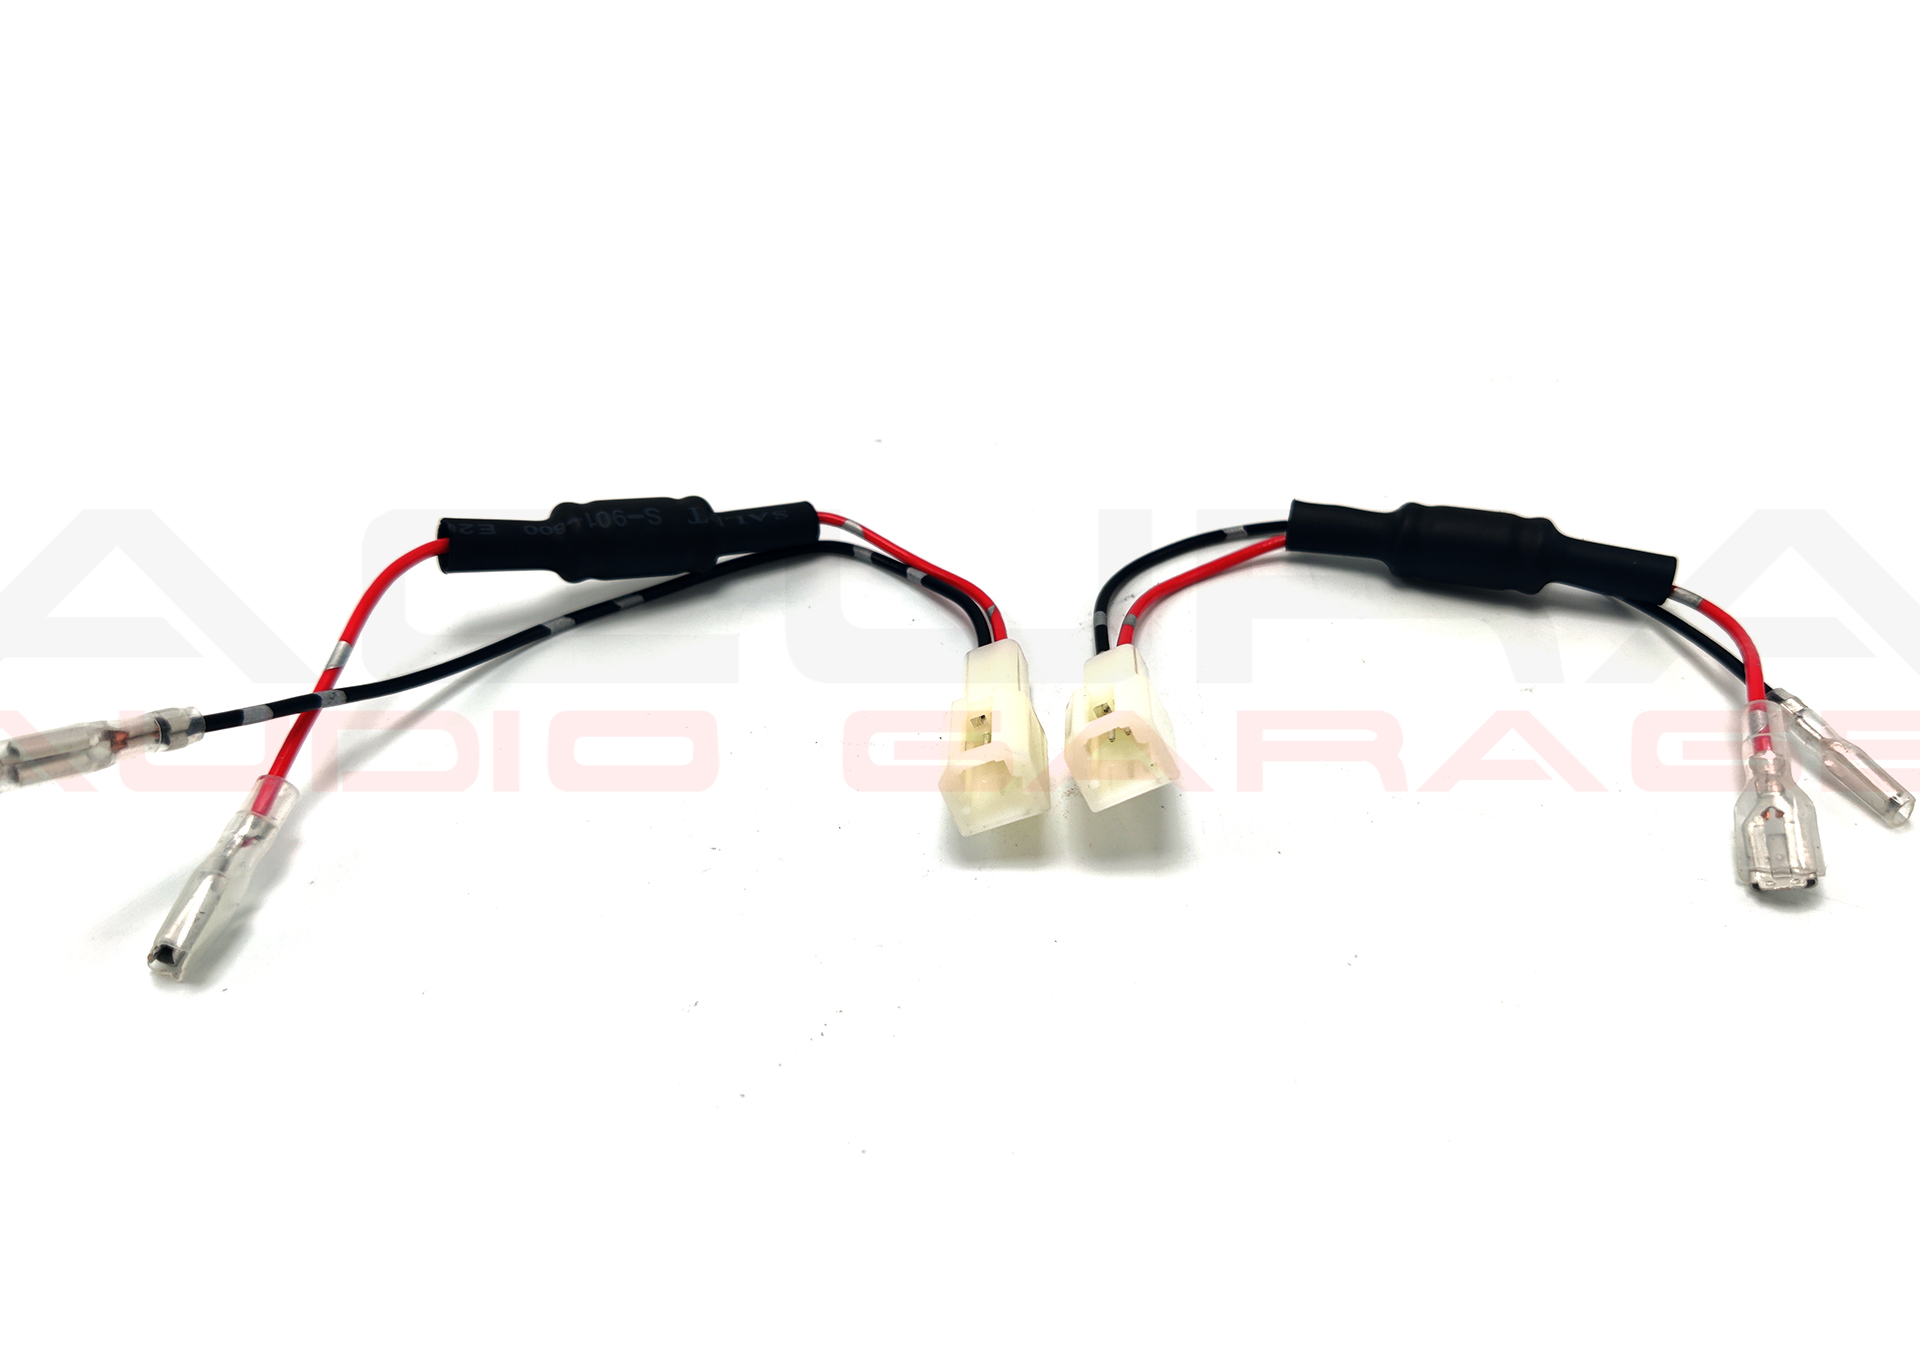
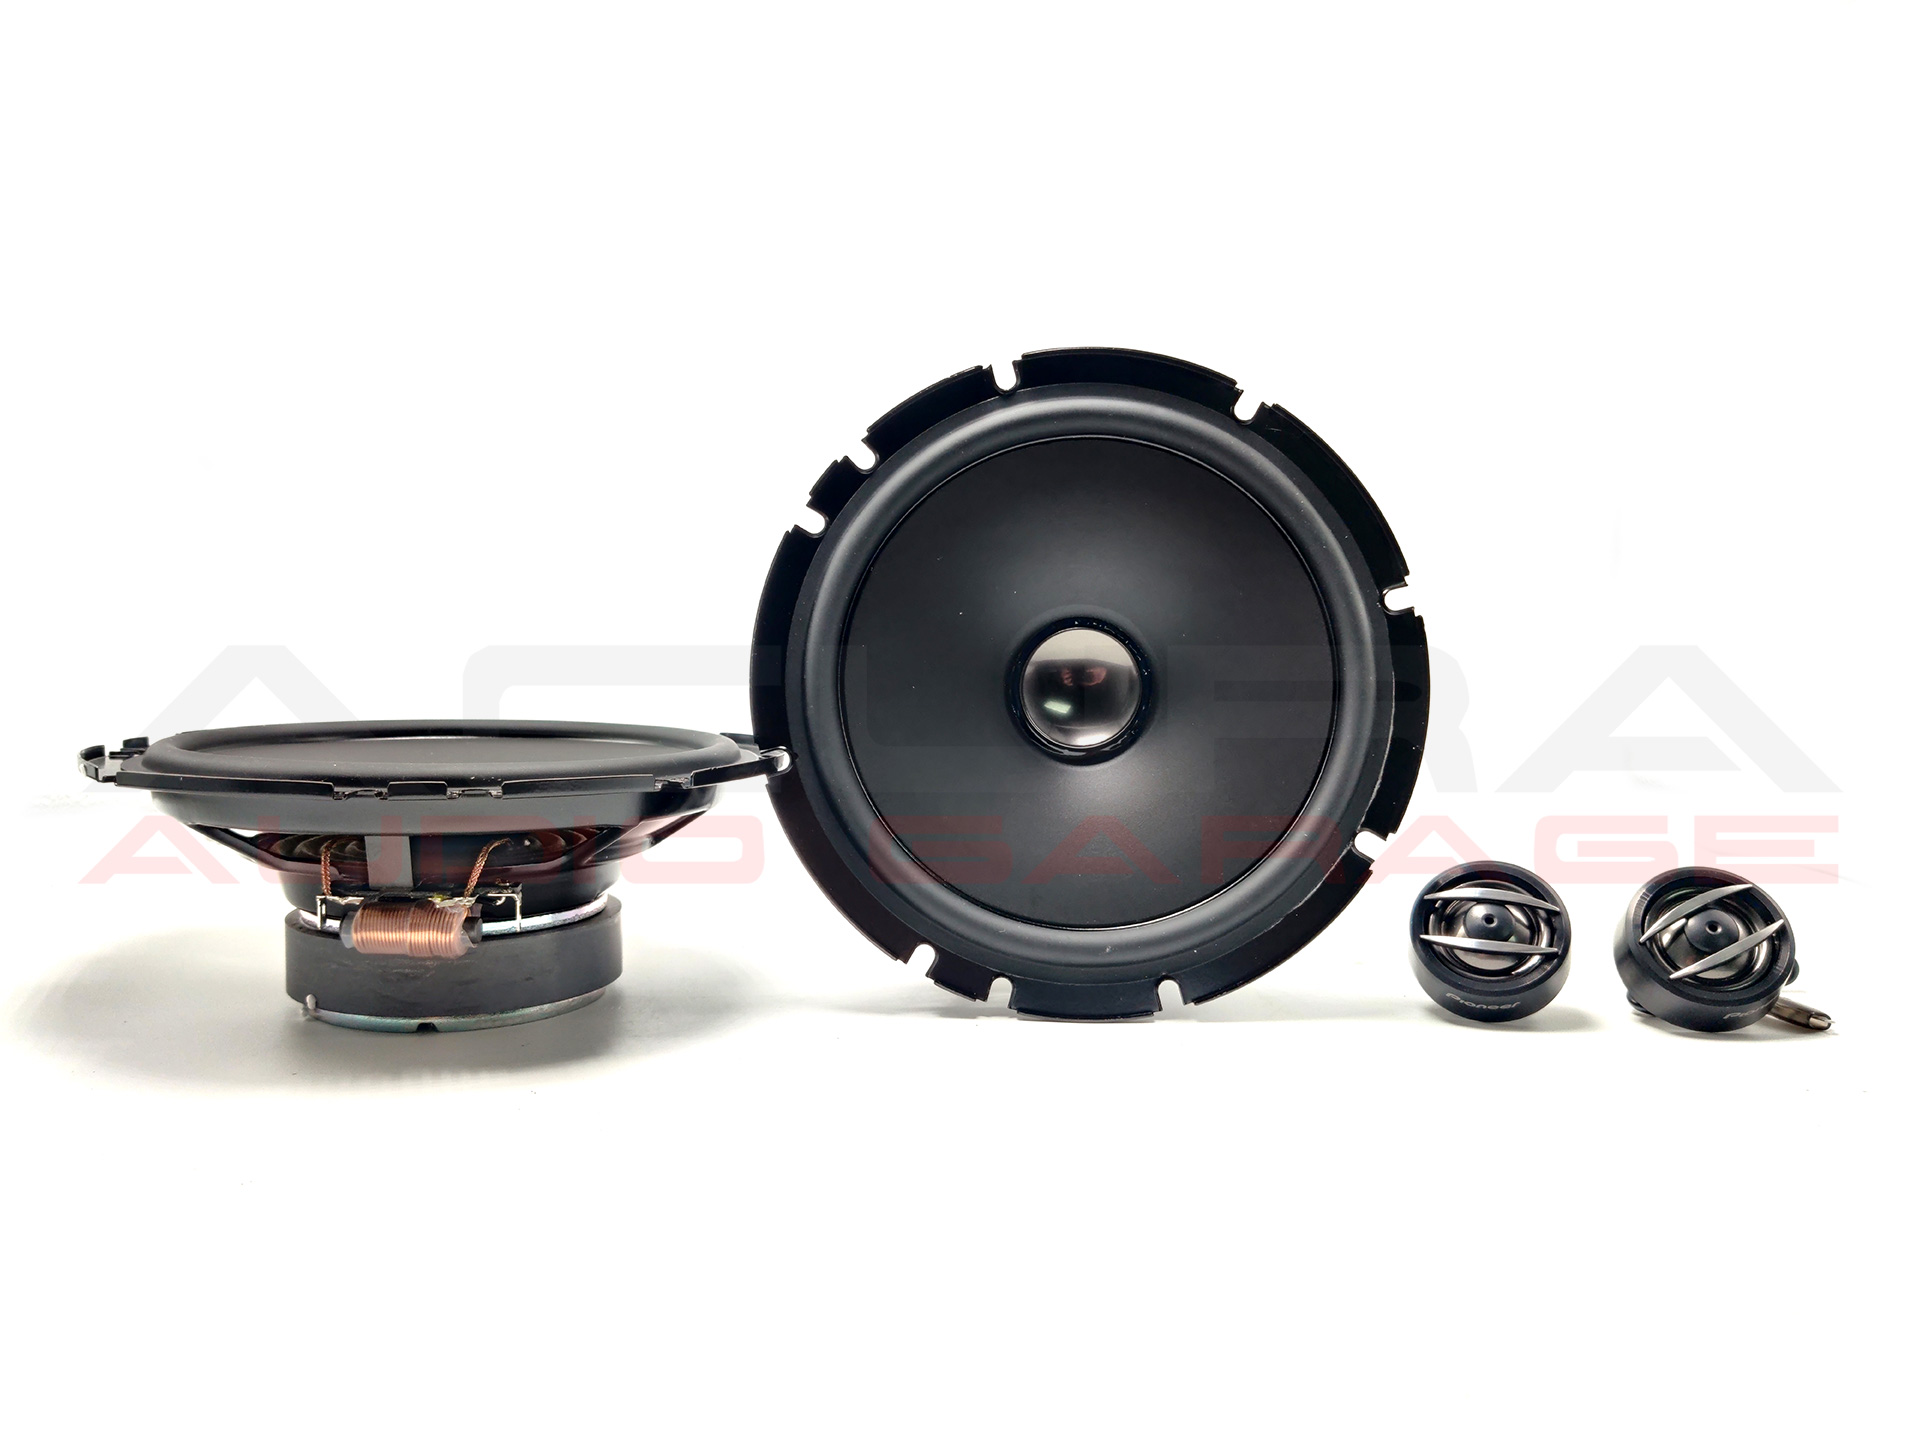
Upgrade to crystal clear sound and and enjoy your music like never before with this Infinity speaker package. This Infinity set of component speakers comes with all the hardware and accessories you need to make your installation plug and play. There is no wire cutting or splicing. There is no drilling into metal or cutting any metal.

These speakers work perfectly with the factory sound system in your Acura. They also work great with our plug and play amplifier packages. These speakers fit into the factory locations with the assistance of our speaker spacer and tweeter cup. Installation on most Acura’s can be completed under two hours. We provide instructions and guided how-to videos to help you complete the installation. If you do run into an issue when installing your package you can call our tech support department at 877-542-2872 to help resolve it.

We offer two day shipping and all of our orders receive tracking numbers so you can track your package from the moment it leaves our warehouse to the moment it arrives at your door. The average shipping time for this package is 2-3 business days. We ship from NY.

The Infinity speakers in this package have a greater cone surface area than the factory speakers resulting in louder output from the Infinity speakers. The Infinity speakers are also more efficient than the factory speakers allowing them to be clearer and respond better to the factory audio systems power. The Infinity speakers also have a larger voice coil and better frequency response that allows them to play lower bass frequencies than the factory speakers. Acura TL TSX

If you are looking for the installation instructions you can find them here
Honda Acura 8 Inch Subwoofer Adapter Spacer Bracket w/ Speaker Connector

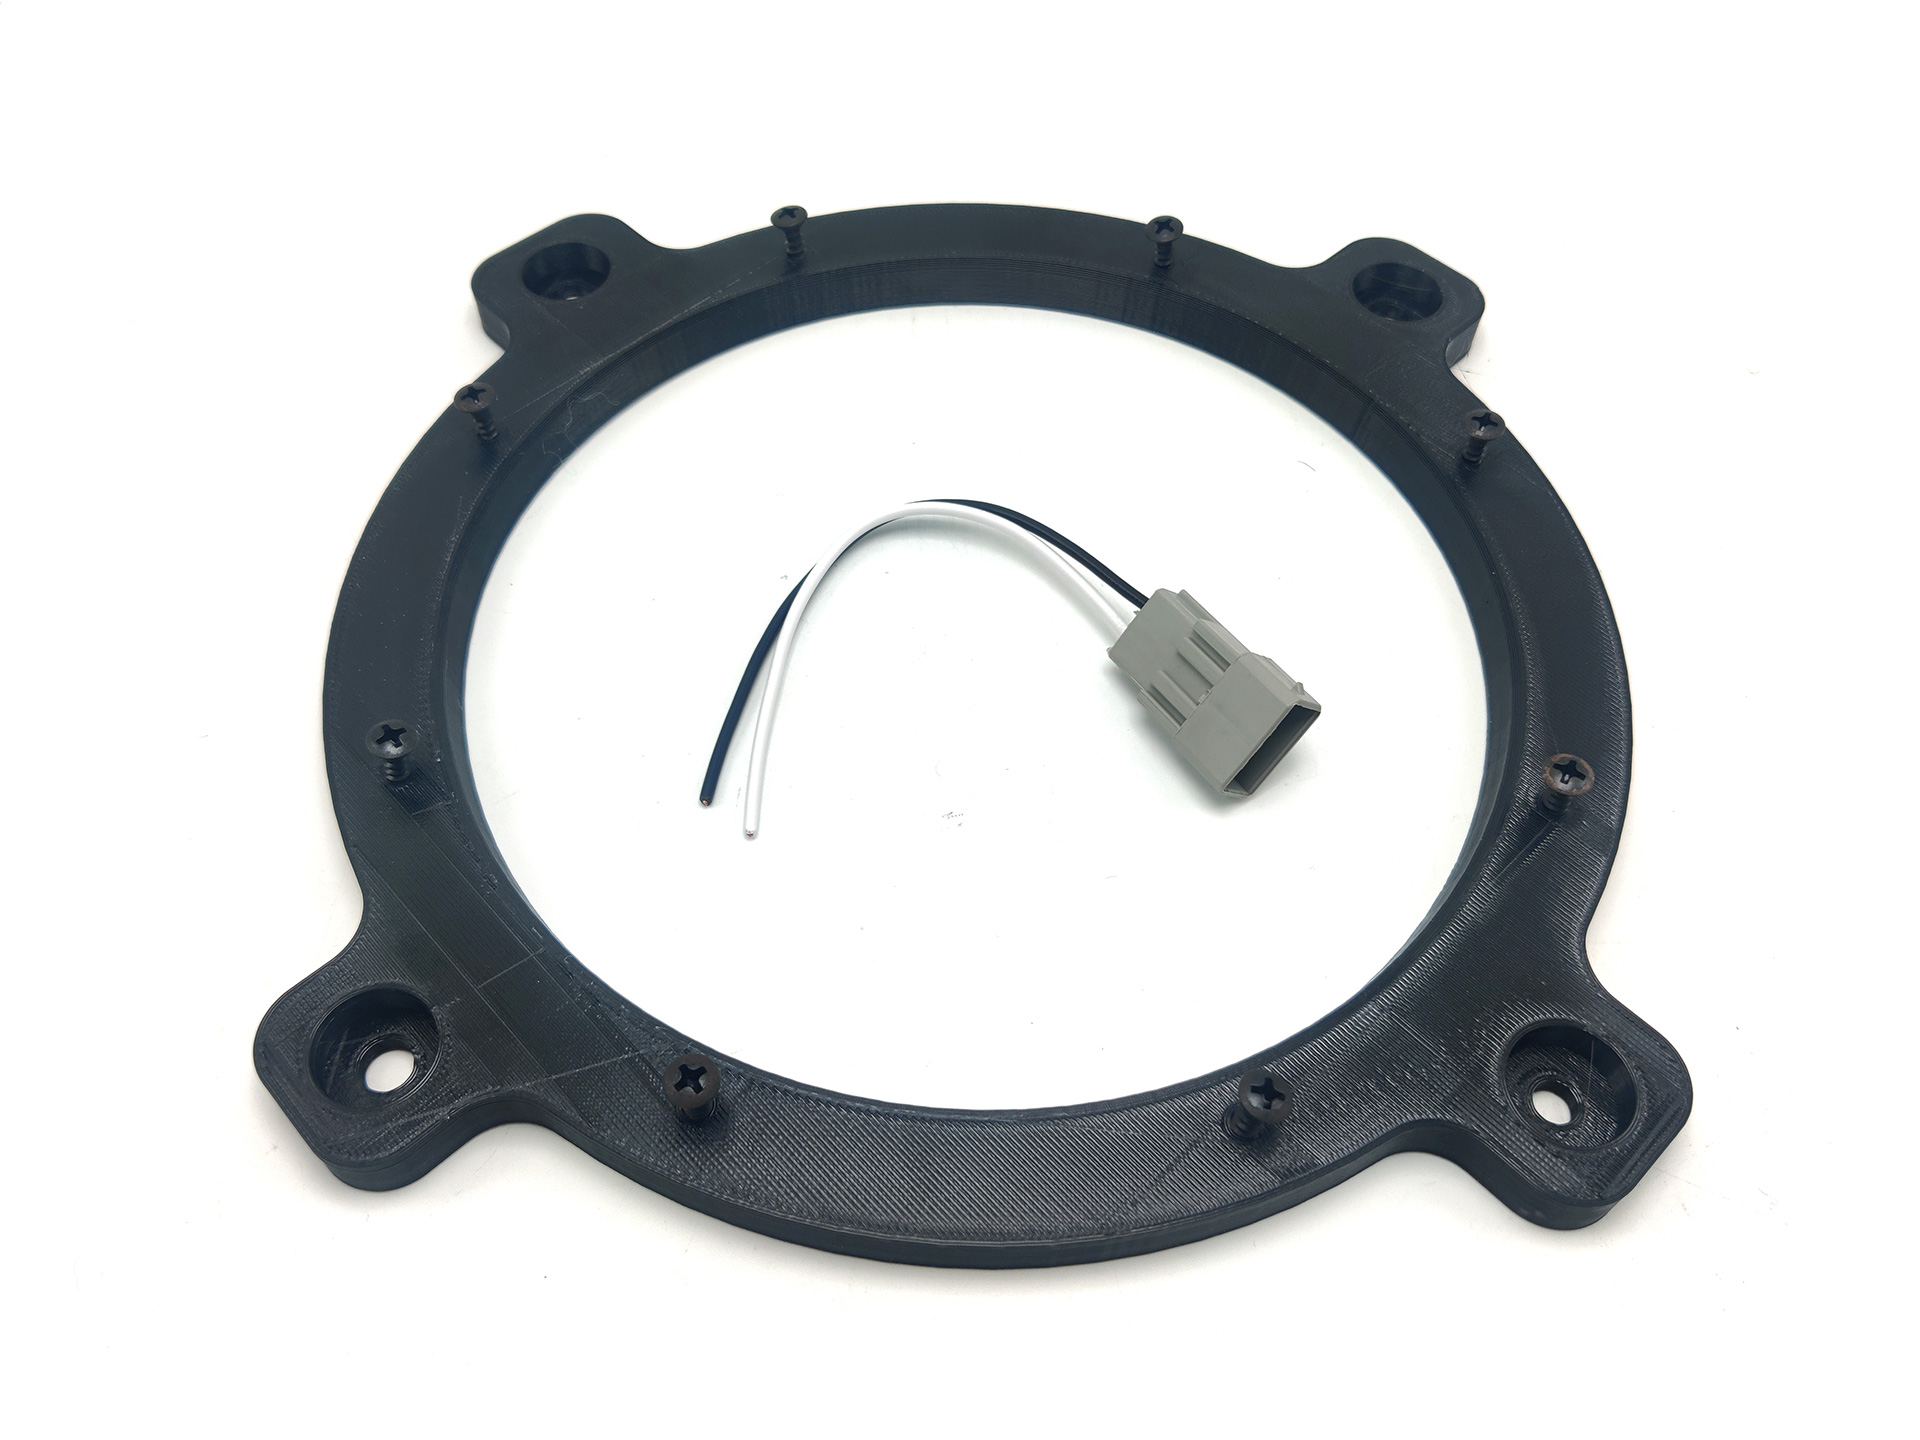
Easily replace the subwoofer on the rear deck of your Acura or Honda Sedan with our subwoofer mounting bracket. This bracket is compatible with the following Acuras: 2009-14 Acura TL, the 2009-2014 Acura TSX, the 2013-2022 ILX, the 2015-2020 Acura TLX, the 2015-2020 Acura RLX. This bracket is compatible with the following Hondas: 2008-2020 Honda Accord and the 2012 to 2020 Honda Civic.

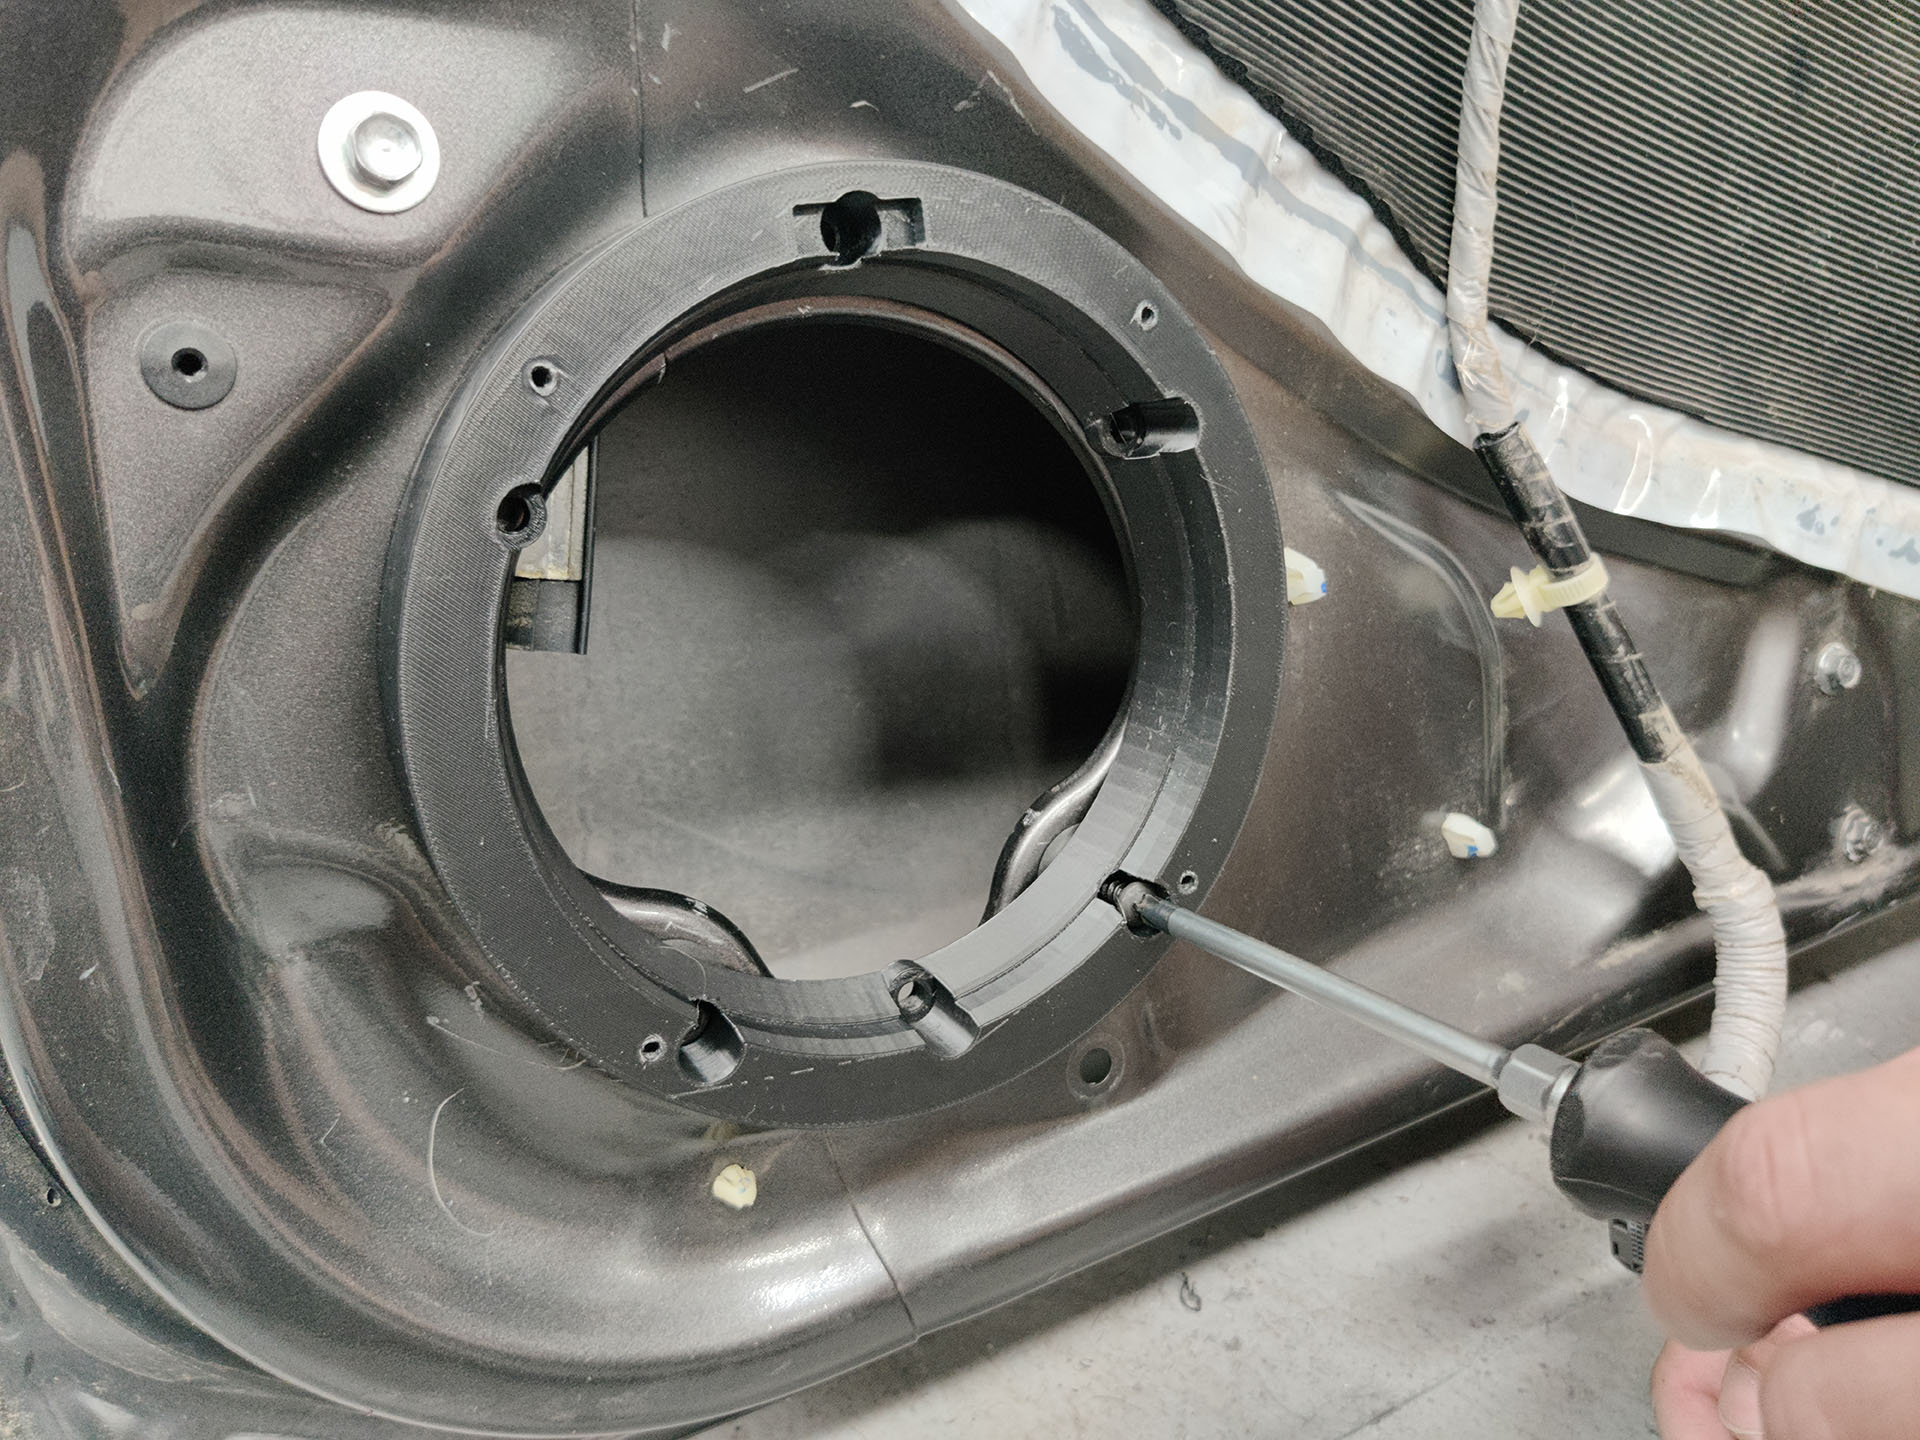
Acura and Honda sedans are often equipped with sound systems that include an 8 inch free air subwoofer on the rear deck. The factory subwoofer in these cars has a special mounting design. It mounts with 4 bolts located on the “ears” of the subwoofer. This means a traditional subwoofer will not mount correctly. In order to install and mount a new aftermarket subwoofer you either must create your own adapter or drill into metal at a weird angle because of the rear windshield. Our adapter makes it easier to mount your new subwoofer in the factory location. Our adapter bracket has the same mounting mechanism as the factory subwoofer but also has the holes necessary to install your aftermarket subwoofer. To install the adapter you will remove the factory subwoofer and with the same mounting bolts secure this new adapter in place. You will then use the supplied mounting screws to secure the aftermarket subwoofer to the bracket.
This adapter is roughly 1/4″ thick. It is this thick to properly secure the aftermarket subwoofer to this bracket. In some Acura’s and Honda’s the extra thickness causes the rear deck cover to touch the new aftermarket subwoofer surround after installation. If this is the case with your installation you will want to trim the rear deck cover interior surround bezel of the subwoofer. This surround is meant to direct sound from the subwoofer to the cabin but with your new aftermarket subwoofer it is not needed. You will need a box cutter to cut the plastic surround, make sure when you are cutting the surround that has no rough edges that can potentially damage your new aftermarket subwoofer.

Along with the bracket and the mounting screws, we also include the speaker harness connector so you don’t have to cut any wires when you replace the sub you can just plug the new sub in. The speaker adapter varies from model to model so please include the year and model of your Acura in the billing notes when you go to checkout.