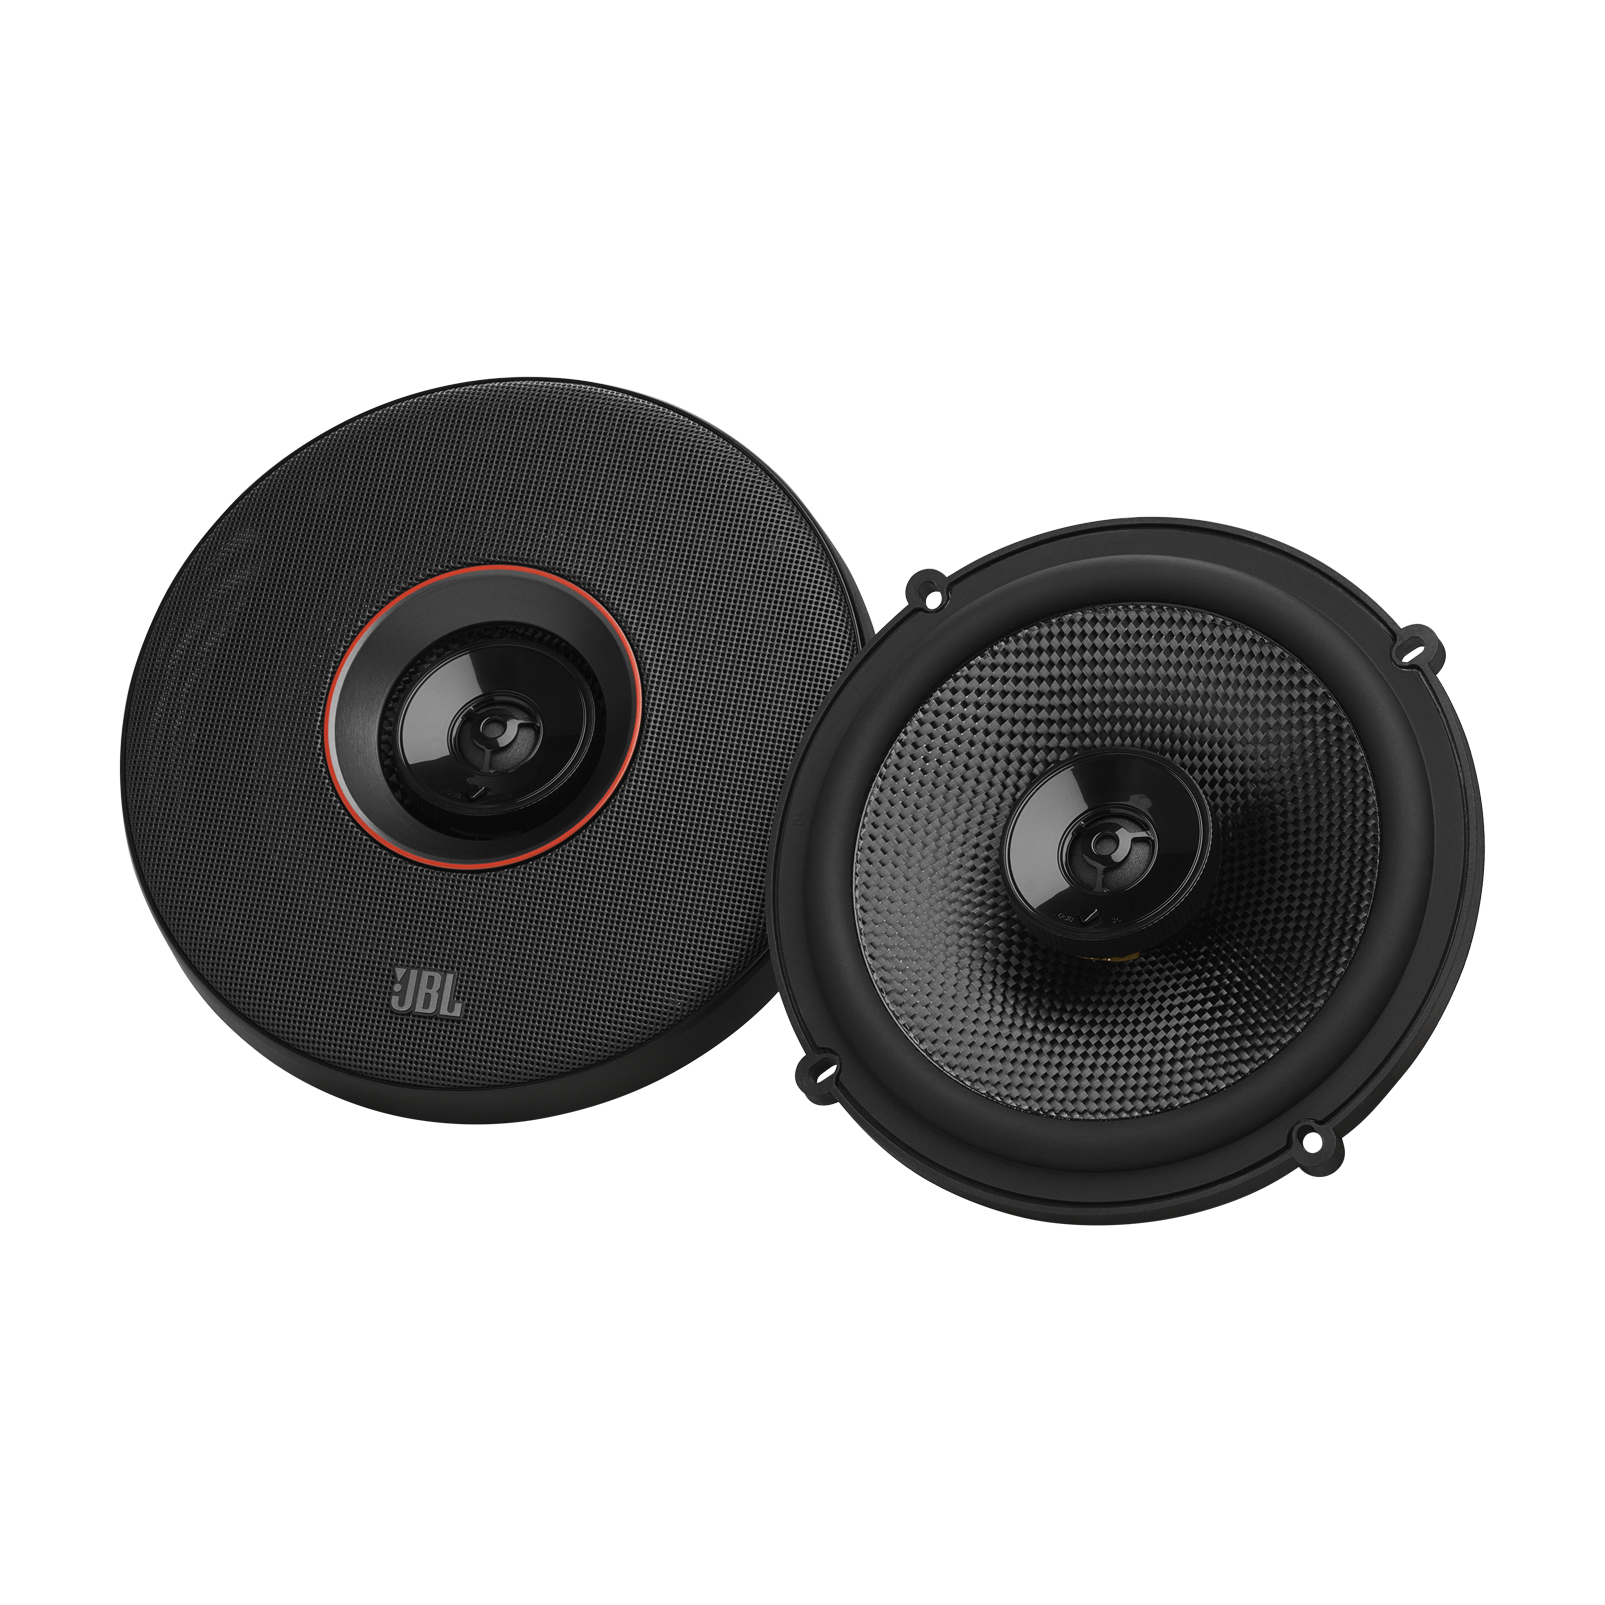
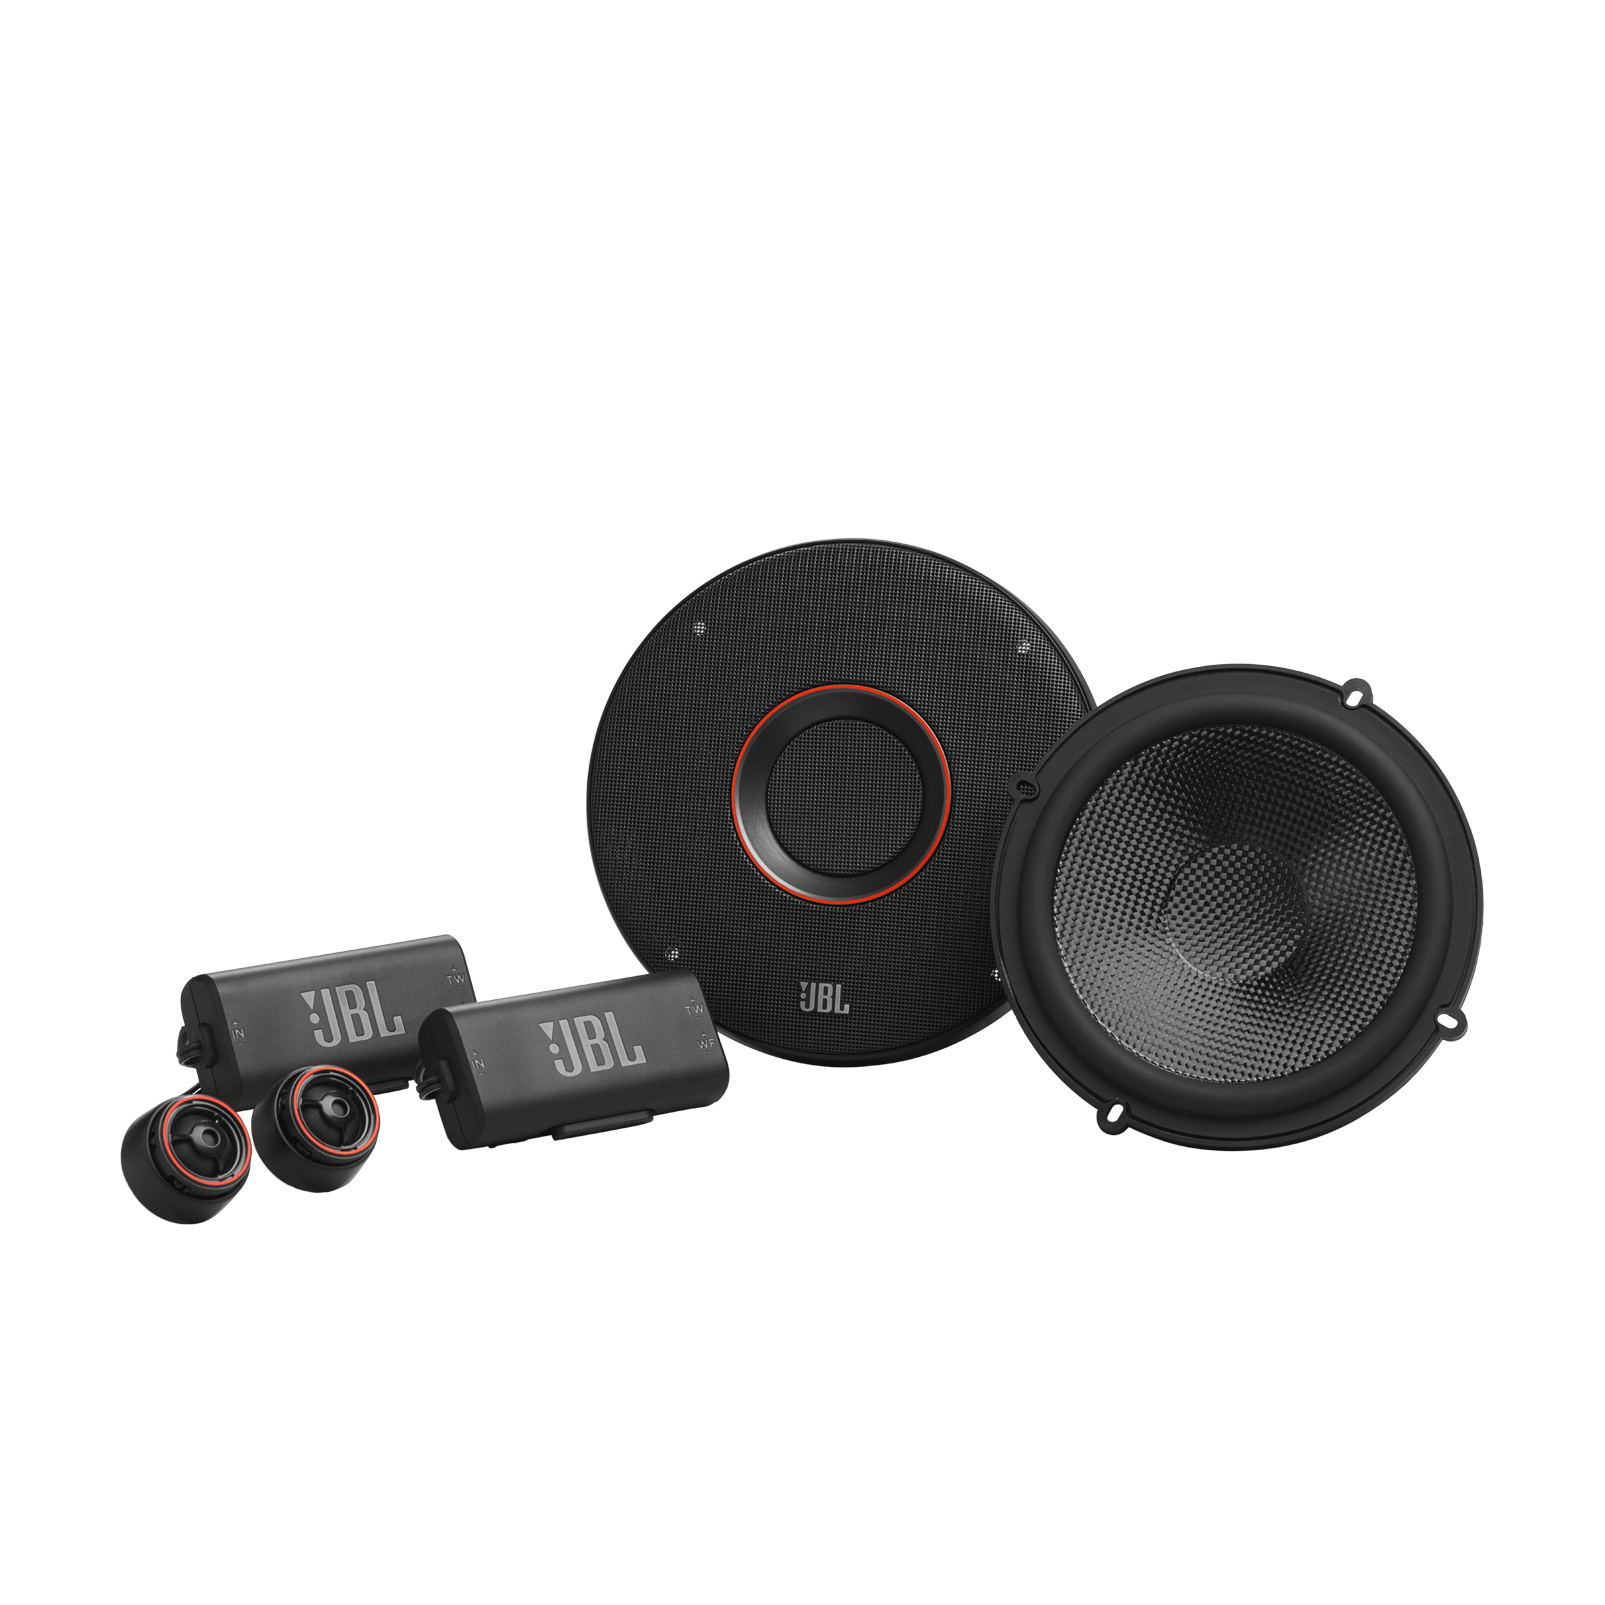
Acura CL TSX Accord Rear Deck 6×9 Coaxial Speaker Set – JBL 3OHM

If you are looking for speakers to replace the rear deck factory speakers in your Acura TSX without replacing the factory amplifier these speakers are a possible solution. These pair of speakers include a woofer and a built in tweeter. Please verify your factory speakers are 4ohms or it will result in less overall volume from your factory amplifier. These speakers are only used in the Acura TSX and from the factory they are treated as subwoofers.

These speakers have:

  • an impedance of 3 ohms
  • a frequency response of 50 – 20,000 Hz
  • power handling of 70 Watts RMS
  • sensitivity: 93 dB
  • 6×9 Overall Footprint

These speakers include the necessary:

  • speaker harness adapters x2

To make installation a breeze. There is no wire cutting necessary installation is plug and play.

Acura CL TSX Accord Rear Deck 6×9 Coaxial Speaker Set – Infinity 3OHM

If you are looking for speakers to replace the rear deck factory speakers in your Acura TSX without replacing the factory amplifier these speakers are a possible solution. These pair of speakers include a woofer and a built in tweeter. Please verify your factory speakers are 4ohms or it will result in less overall volume from your factory amplifier. These speakers are only used in the Acura TSX and from the factory they are treated as subwoofers.

These speakers have:

  • an impedance of 2.7 ohms
  • a frequency response of 46-21,000 Hz
  • power handling of 90 Watts RMS
  • sensitivity: 89 dB
  • 6.9 Overall Footprint

These speakers include the necessary:

  • speaker harness adapters x2

To make installation a breeze. There is no wire cutting necessary installation is plug and play.

Acura CL TSX Accord Rear Deck 6×9 Coaxial Speaker Set – Kicker 4OHM

If you are looking for speakers to replace the rear deck factory speakers in your Acura TSX without replacing the factory amplifier these speakers are a possible solution. These pair of speakers include a woofer and a built in tweeter. Please verify your factory speakers are 4ohms or it will result in less overall volume from your factory amplifier. These speakers are only used in the Acura TSX and from the factory they are treated as subwoofers.

These speakers have:

  • an impedance of 4 ohms
  • a frequency response of 30-20,000 Hz
  • power handling of 150 Watts RMS
  • sensitivity: 92 dB
  • 6.9 Overall Footprint

These speakers include the necessary:

  • speaker harness adapters x2

To make installation a breeze. There is no wire cutting necessary installation is plug and play.

2004 05 06 07 2008 Acura TSX PNP Amplifier Upgrade

The first-generation Acura TSX, spanning the years 2004–2005, 2006–2007, and 2008, comes equipped with a factory amplifier located below the factory radio inside the dashboard. The factory audio system in the Acura TSX consists of 8 individual drivers, including the front speakers, the dashboard tweeters, the rear door speakers and the rear deck speakers.

When the factory amplifier is working with no issues, the factory audio system sounds rich and full. When your amplifier begins to fail or has failed, the system sounds tinny, and the volume output is very low. If you want to upgrade your sound system or if your factory amplifier has failed, this is a great option to consider. Our plug-and-play amplifier works with the factory radio or with an aftermarket radio if installed with our accessories. The plug-and-play amplifier will work with your factory speakers or aftermarket 4 ohm speakers. This is a four-channel amplifier that will retain all your speakers by bridging speakers together with a full range signal.

This upgrade is plug-and-play so it doesn’t require any new power or ground lines. When installing the amplifier, you don’t have to run any wires to the speakers or to the battery.

These are the amplifier power ratings.

  • 4 OHM Speakers: 80 Watts per channel – 80 watts divided by 2 is 40 watts to each individual speaker.

Impedance is rated in ohms. Impedance changes in a speaker as it begins to play music. For the best results, you want speakers that have a resting impedance of 4 ohms. The amplifier will automatically send as much power as it can to each speaker, depending on the impedance of that speaker. There is no switch or setting on the amplifier for changing impedances; it is handled automatically by the electronics inside the amplifier. To take full advantage of this amplifier, we recommend installing new aftermarket 4 ohm speakers that are full range for the all the doors and deck. We sell 4 ohm Kicker and Pioneer speakers but you can use speakers from any brand you prefer.

The factory amplifier powers each speaker with roughly 15–30 watts, depending on the speaker; this results in a total power output of 140 watts. This amplifier has a total power output of 320 watts. The factory speakers are all 4 ohms in final impedance, so if your factory speakers are all in good condition, the amp will make them sound great. If some of your speakers are blown and you didn’t notice it before, this amplifier will make you notice it now.

When installing the amplifier, we highly recommend upgrading the rear deck speakers. The rear deck speaker are used as subwoofers from the factory. When the amplifier is upgraded the signal going to the speaker changes from a sub signal to a full range signal. This causes the rear deck speakers to distort easier at higher volumes. As for the factory door speakers, we have found they can handle the extra power as long as the high-pass filter is turned on. The amplifier is shipped pre-configured, so you don’t have to turn any knobs or flip any switches. We ship the amplifier configured based on the selections you make on this page. When shipped, the amplifier will have the proper level set along with the correct high-pass and low-pass filters selected for your application.

This amplifier combines the front tweeter and front door speaker into one channel and sends them a full range signal. This full range signal may damage your factory tweeter so make sure to upgrade the tweeters or protect them with a bass blocker. You can find our tweeter harness here. The rear door speakers and rear deck speakers are combined into channels three and four. This means your rear deck speakers will work as full range speakers and not just subwoofers. For the best results you will want to upgrade the rear deck speakers to full range coaxial speakers instead of just subwoofers.

A quick breakdown on the configuration of the amplifier and the speakers in your TSX.

Speakers
Channel 1 = Drivers Door Speaker + Drivers Tweeter
Channel 2 = Passenger Door Speaker + Passenger Tweeter
Channel 3 = Rear Left Door Speaker + Rear Left Deck Speaker
Channel 4 = Rear Right Door Speaker + Rear Right Deck Speaker

Impedance
Channel 1 = 4 ohms + 4ohms in parallel final impedance at amplifier is 2ohms
Channel 2 = 4 ohms + 4ohms in parallel final impedance at amplifier is 2ohms
Channel 3 = 4 ohms + 4ohms in parallel final impedance at amplifier is 2ohms
Channel 4 = 4 ohms + 4ohms in parallel final impedance at amplifier is 2ohms

Speaker Sizes
Channel 1 = 6.5 woofer + 1/2 tweeter
Channel 2 = 6.5 woofer + 1/2 tweeter
Channel 3 = 6.5 woofer + 6×9 woofer
Channel 4 = 6.5 woofer + 6×9 woofer

The amplifier is packaged with a plug-and-play harness and all the accessories you need to install it. To install this amplifier, you will need to remove the pocket below the factory radio and the bezel around the shifter. After that you can unbolt the two bolts that secure the amplifier and remove it. Then you can proceed to unplug it and connect our plug-and-play amp in its place. The amplifier shares the same connectors as the factory amplifier, so no wiring is necessary. To mount the amplifier you will use the supplied bracket so that it mounts in the factory location with no problem. The new amplifier will fit in the factory location. After securing the amplifier maneuver the wiring harness behind the amplifier so they are not pinched when you install everything back.

While this amplifier is louder than the factory amplifier, it does not shake the doors off your car or make your window flex from the bass output. This amplifier is a great choice for someone who has a failing amplifier or wants just a little bit more volume from their vehicle. If you are looking to make your car show stopping loud, you will want to check out our other high-power plug-and-play amplifier. This upgrade will make your car noticeably louder, and you will feel the bass, but you must have realistic expectations.

Please read this disclaimer. The loudness of sound can be subjective from person to person, along with the quality of sound. Almost all of our customers who have bought this amplifier have loved it, but there have been a select few who claimed it was not louder than the factory or that it did not sound better than the factory. We do not accept returns because you don’t like how it sounds or because the amplifier is not as loud as you expected. If you want loud and clear sound, check out some of our higher-end amplifier options.

If, after reading this description, you feel that this package does not have enough power, you can use our amplifier bypass kit to easily install your own amplifier. Please keep in mind that if you are going to power each speaker with more than 125 watts RMS, then we recommend running new speaker wires and suggest you do not use our amplifier bypass.

If you have questions regarding shipping or product availability, please check out our FAQ section.

  1. Can I use the factory radio and factory speakers with this amplifier?
    Yes, you can use this amplifier with the factory radio and factory speakers.
  2. Can I use an aftermarket radio with this amplifier?
    Yes, but you must have installed that radio using our accessories.
  3. Can I use aftermarket speakers with this amplifier?
    Yes, we recommend using speakers from Pioneer or Kicker.
  4. Does the Chinese Android radio work with this amplifier?
    Yes, but you will not have fader and balance controls. And you must run new RCAs from the radio to the amplifier.
  5. Can I run this amplifier and another amplifier for subwoofers?
    Yes, you can split the RCA signal that is going to the amplifier and tap the blue wire to power your additional amplifier.
  6. Is this amplifier louder than the factory amplifier?
    Yes, this amplifier is louder than the factory amplifier.
  7. If my factory amplifier has low audio, is it the amplifier or the factory radio?
    If you are having audio volume issues, it’s almost always the amplifier.
  8. How do I know if my speakers are blown?
    If you turn your radio up and set the bass to +3, your speakers should not make any weird noises. If they do, they might be blown.
  9. How do I mount this amplifier?
    The amplifier comes with a mounting bracket that allows it to be installed in the factory location.
  10. What speakers should I upgrade if I get this amplifier?
    We recommend upgrading your rear deck speakers to full range speakers.

2004 2005 2006 2007 2008 Acura TSX Complete Installation Kit

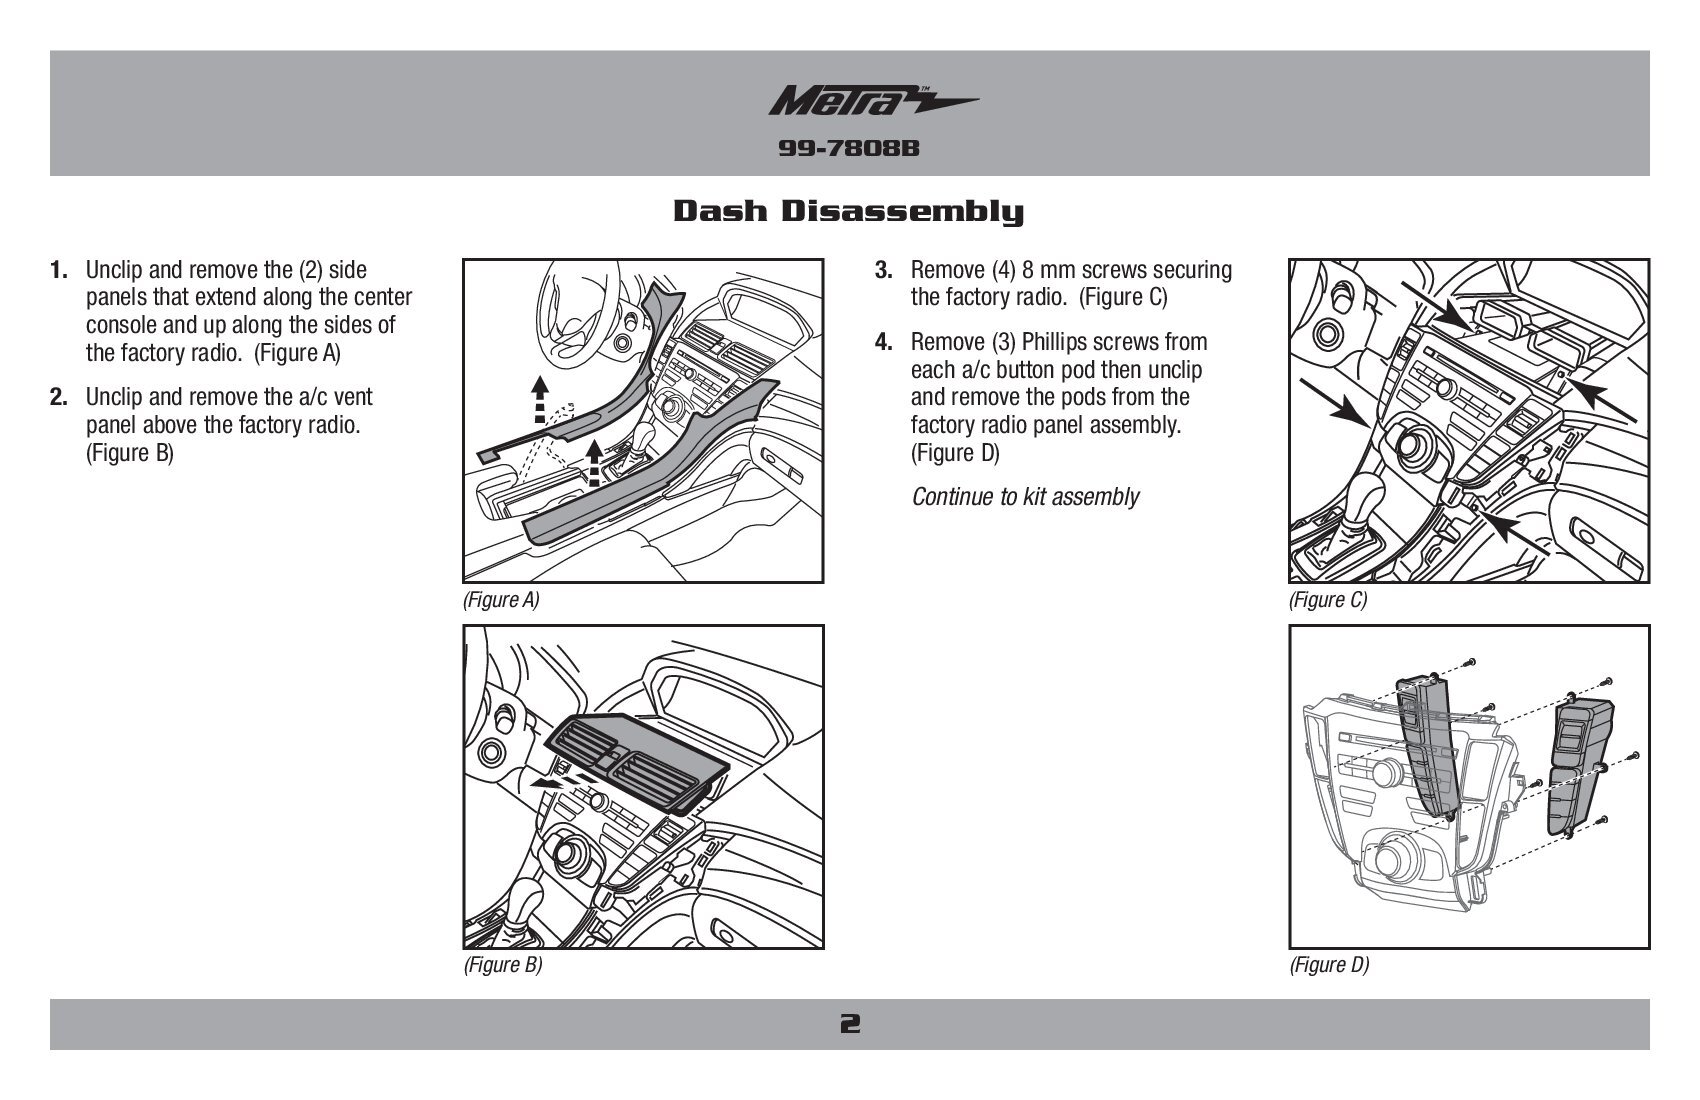
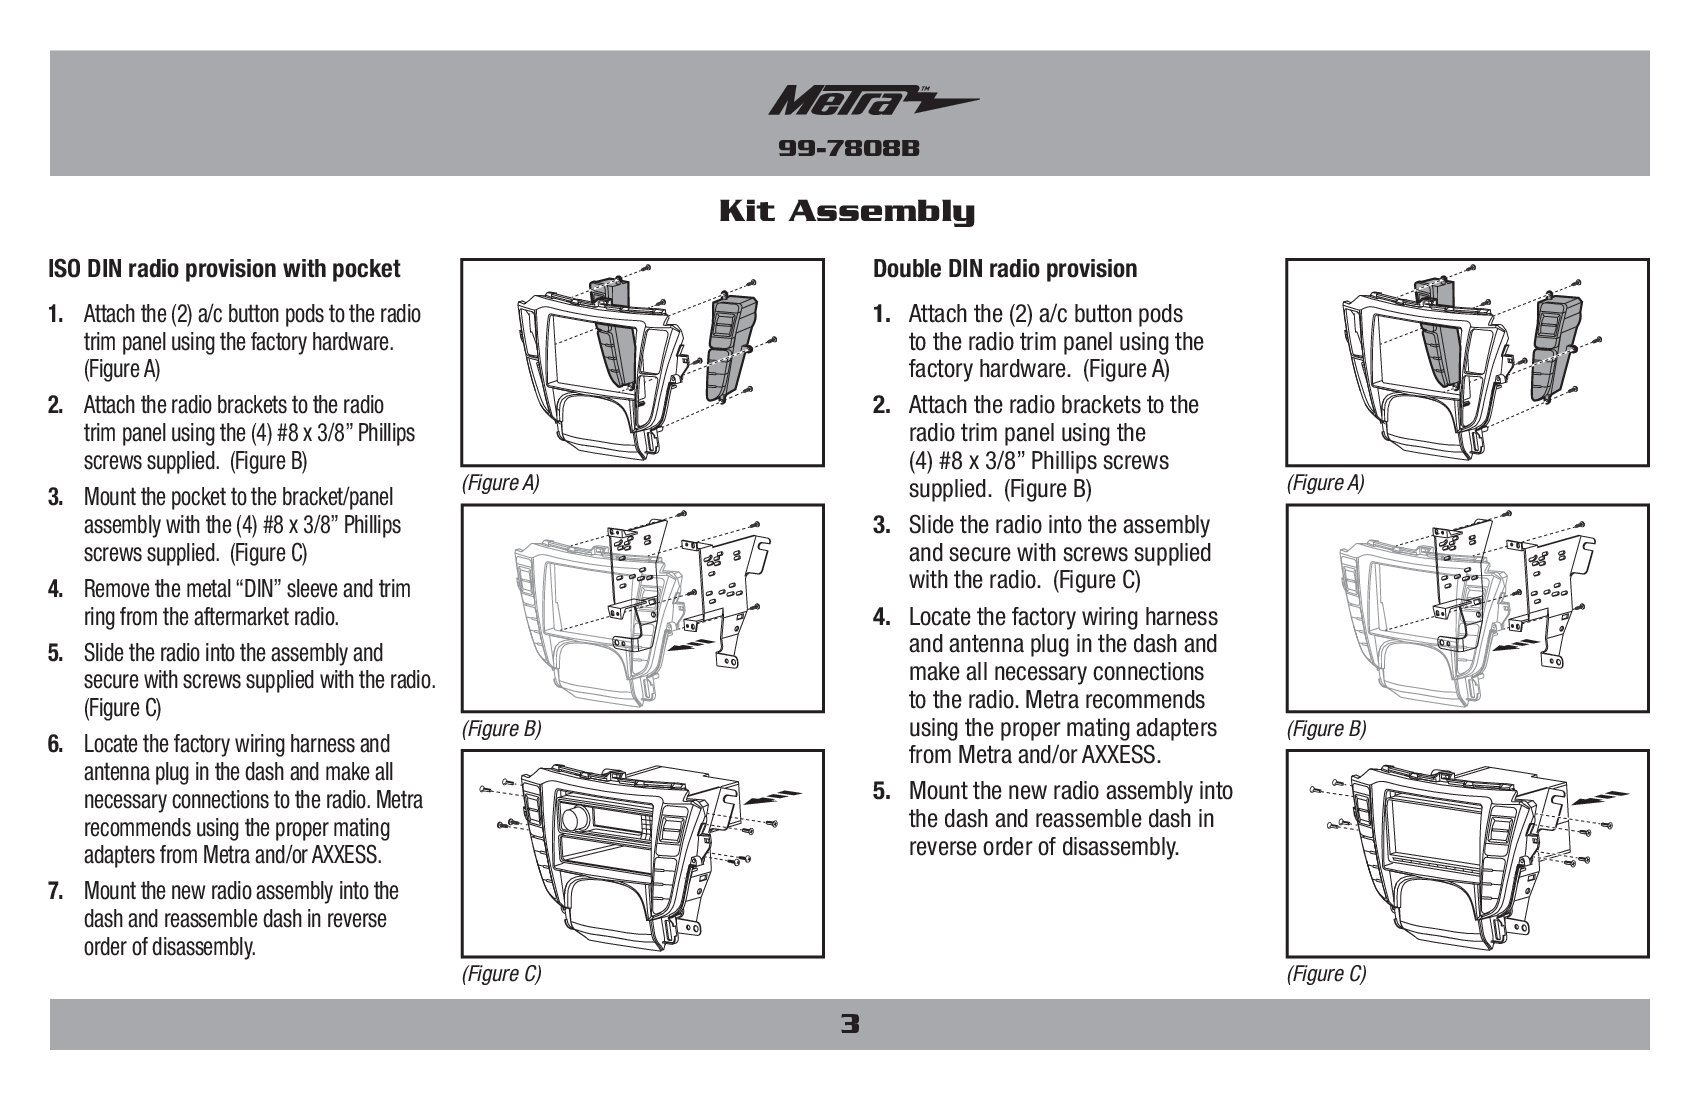
The link below will take you to Amazon where you can buy the dash kit necessary to install an aftermarket radio in your Acura TSX from years 2004 to 2008. This kit comes with the dash kit and a wiring harness that needs to be modified to replace the factory radio and keep all of the factory speakers working and your steering wheel controls. You will get a new climate control console with a dedicated LCD screen to help you control your vehicles heat and a/c. This kit works on TSX with and without navigation.

This kit can accommodate a double din or single din radio. A short chassis radio or mechless receiver is encouraged so you don’t have to cut the factory trim behind the radio. The other option from this kit is to install a radio below the factory radio. You will also need to buy the AXSWC.

2004 2005 2006 2007 2008 Acura TSX Factory Amplifier Bypass

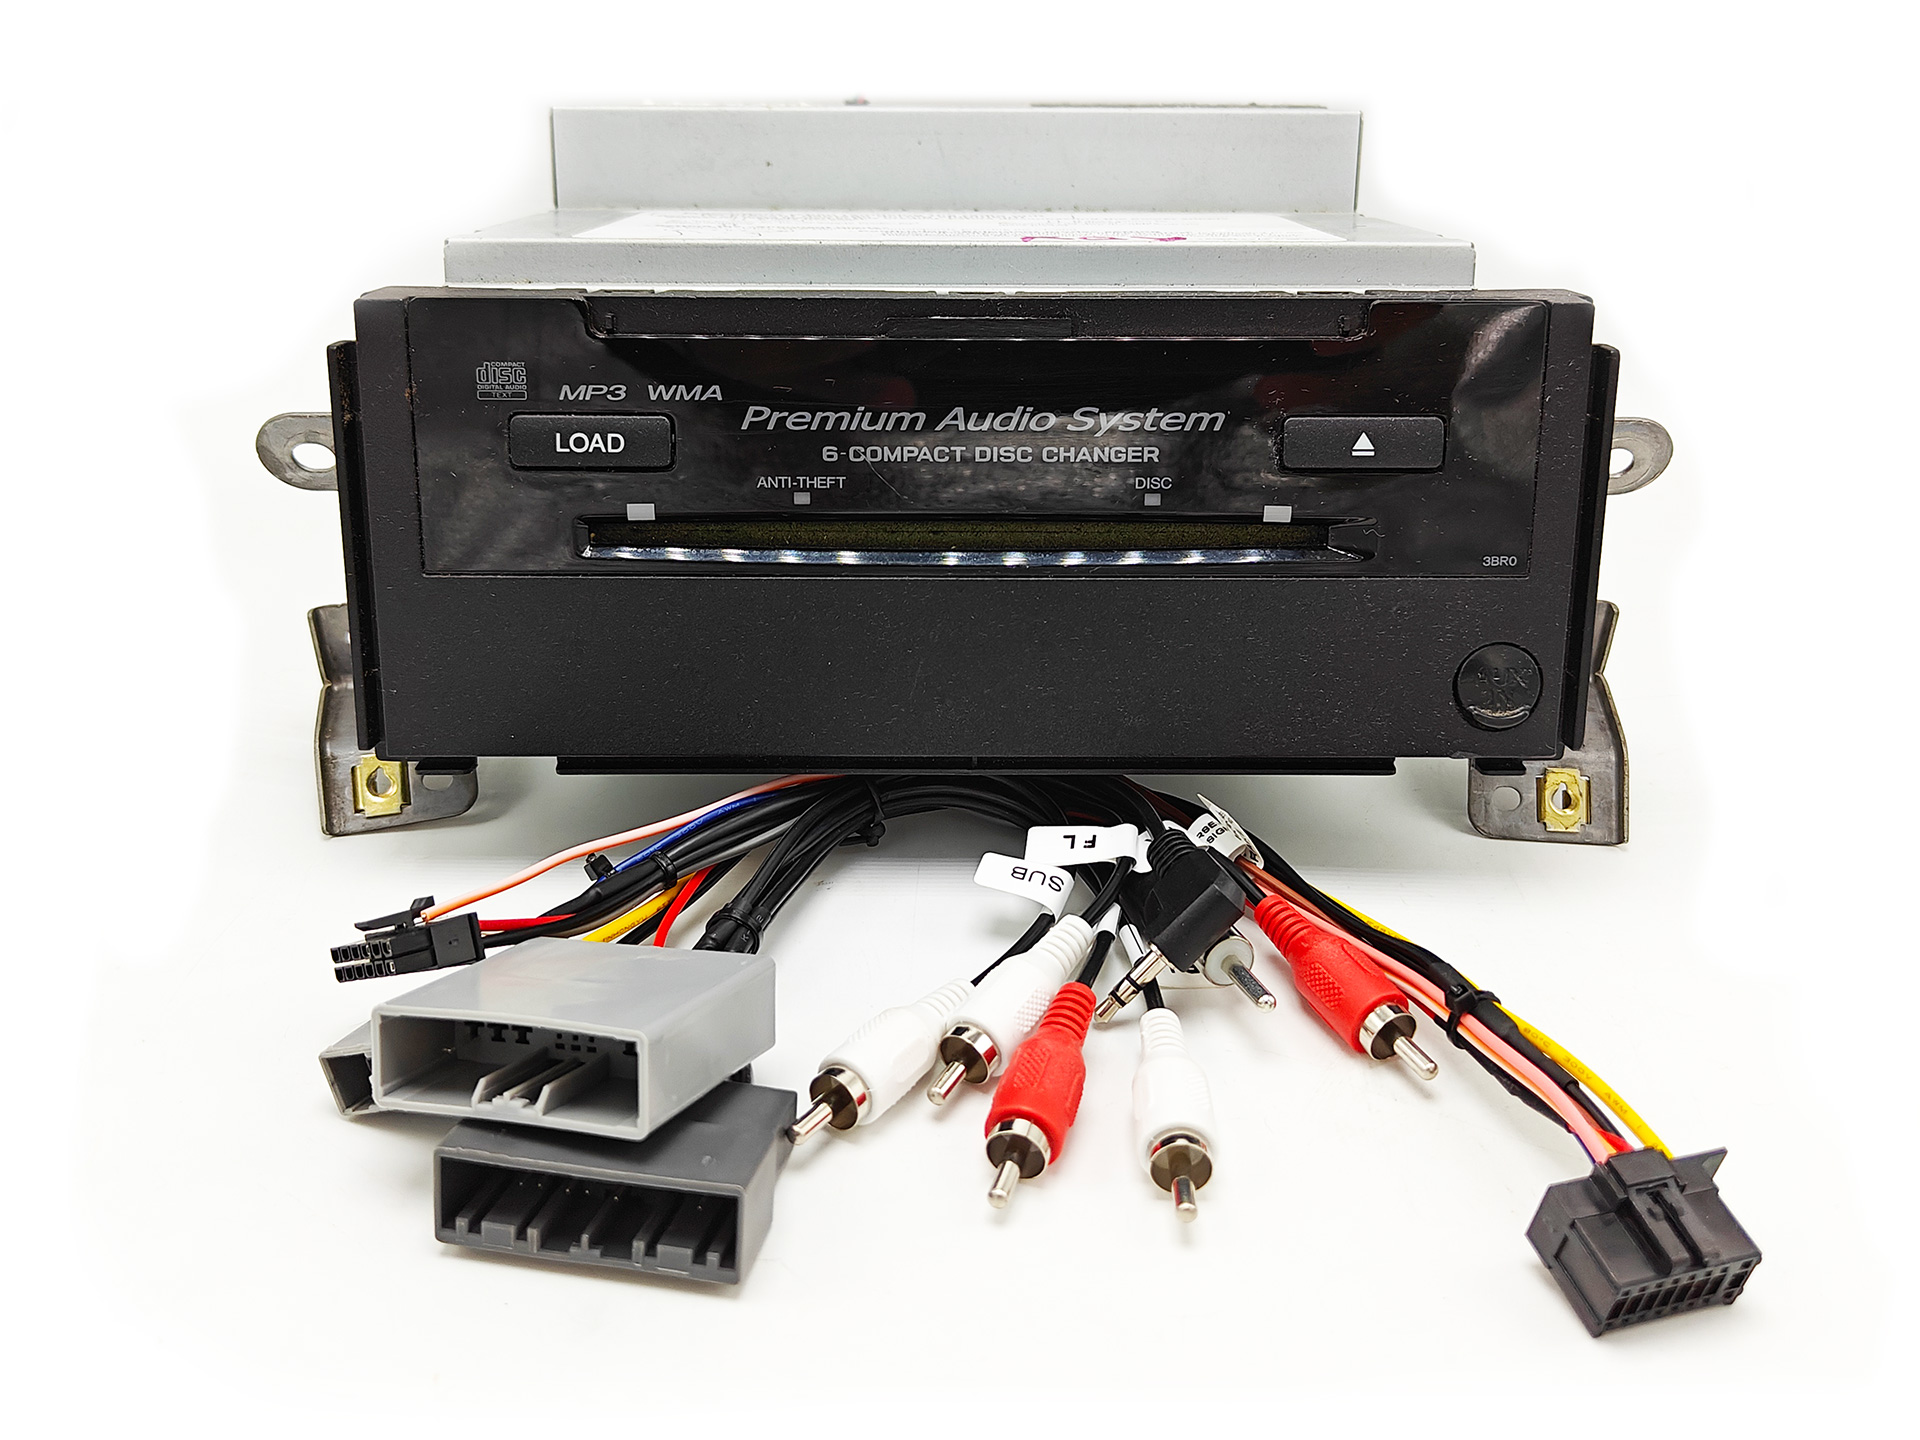
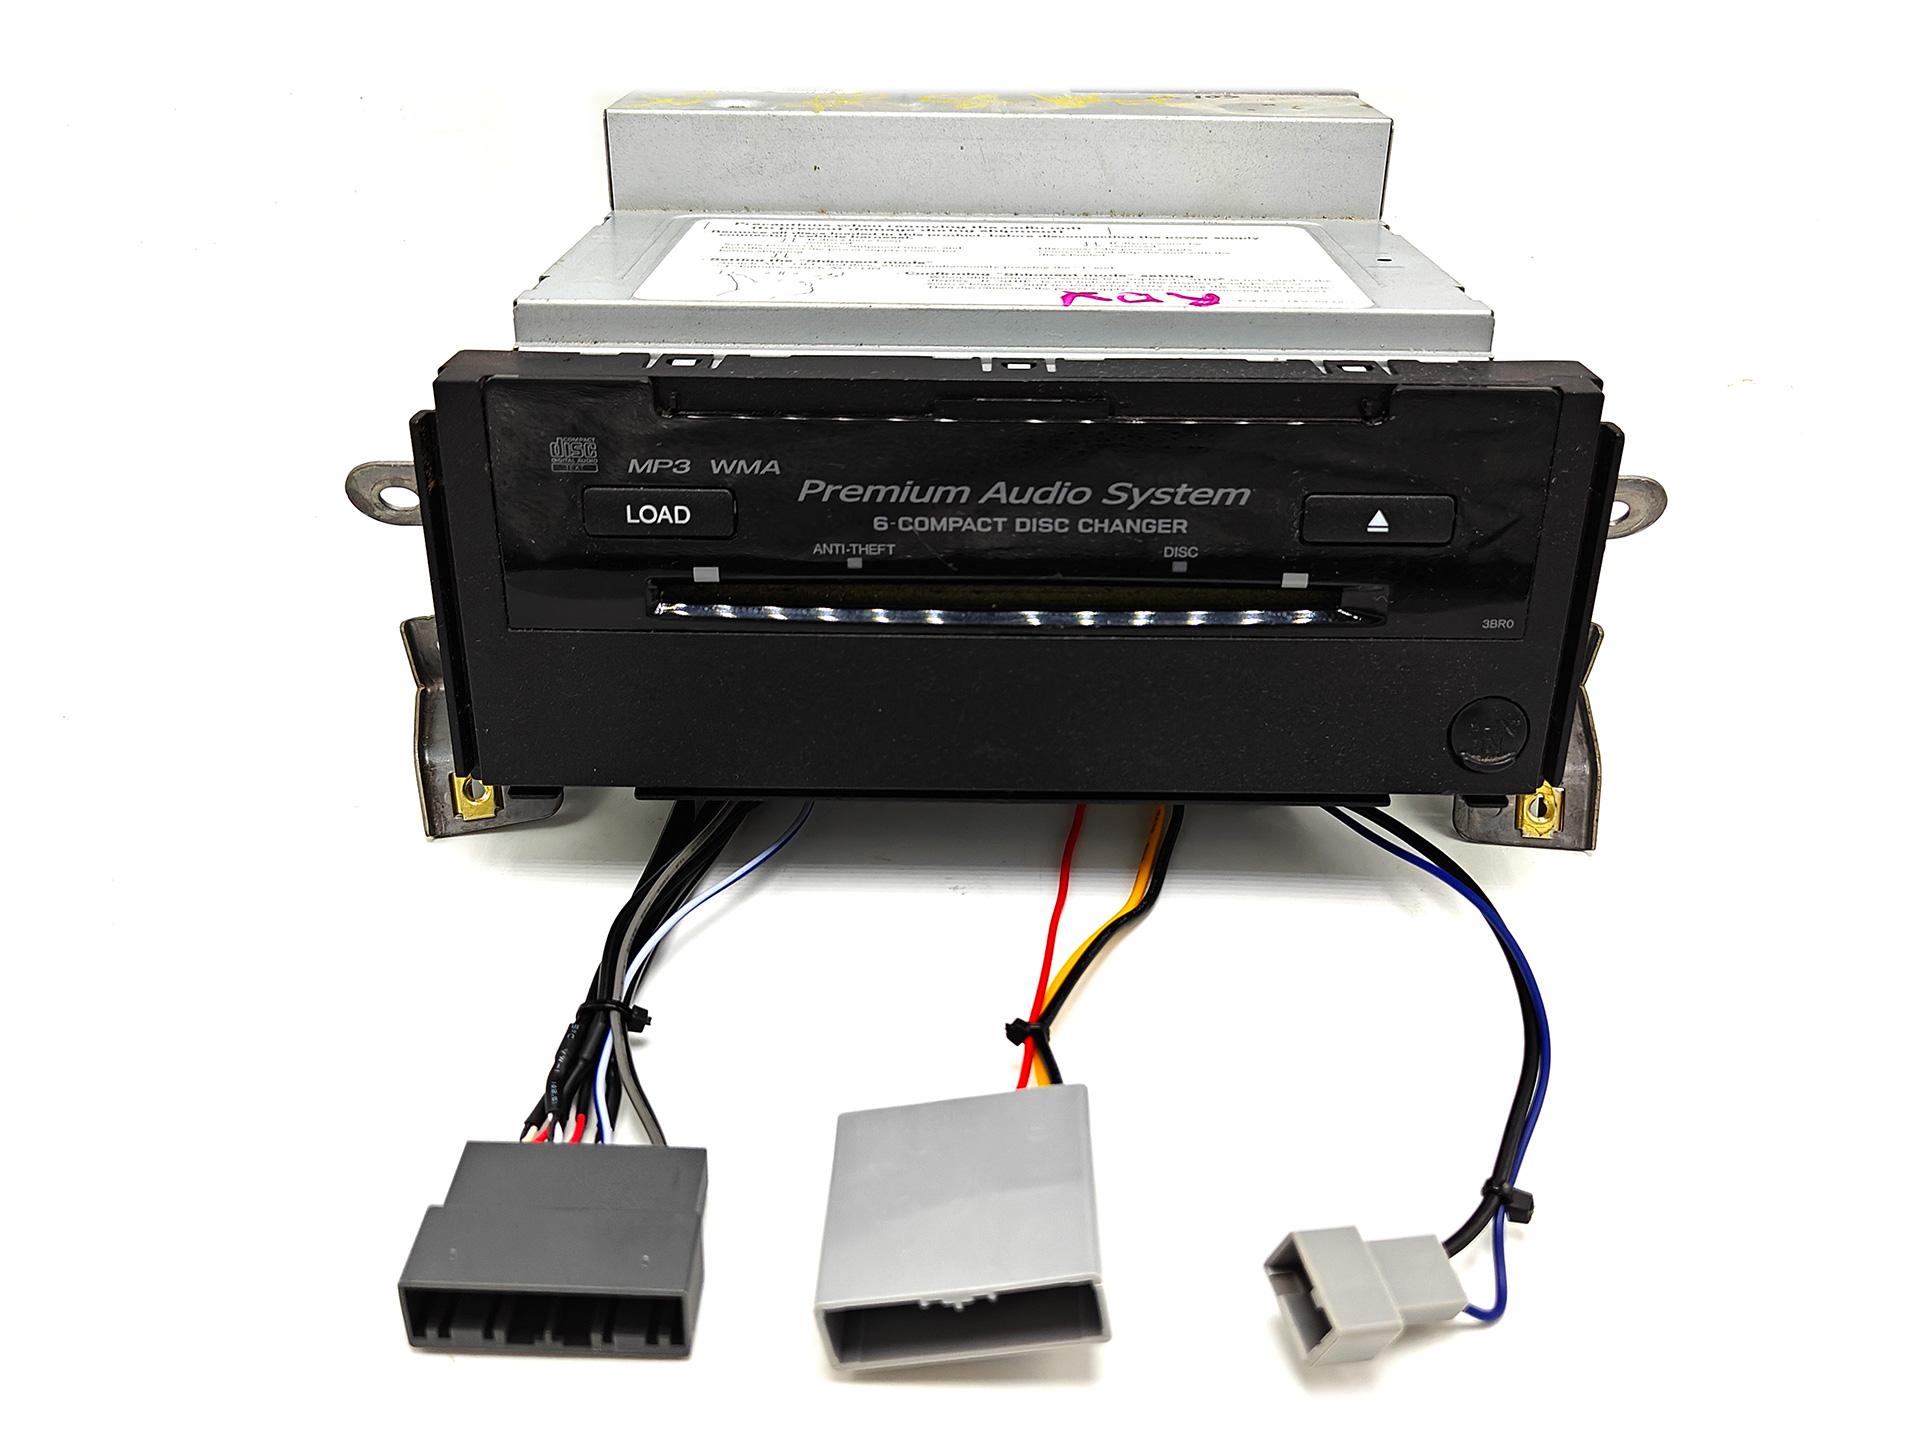
If you are looking to replace the factory amplifier in your first generation Acura TSX our harness makes it easy to install another amplifier to takes it place. This bypass package comes with two harnesses. One with 4 RCAs labeled FL, FR, RL and RR. These RCAs will provide your aftermarket amplifier an audio signal from the factory radio. The second harness in the package is the input to every speaker. If you want to use the factory radio to run speakers with this harness that is not possible.

The TSX has separate speaker lines for the front tweeters, door speakers and rear speakers all which come together at this one plug for easy connectivity to your aftermarket amplifier. Every speaker has a separate pair of wires for you to connect to your aftermarket amplifier. We recommend that you don’t exceed 125 Watts RMS with this package or with the factory speaker wiring to ensure the best performance out of your aftermarket audio components. The TSX does not have a dedicated subwoofer output from the radio, the factory amplifier created the low pass filter on the rear channels to send the factory 6×9 subwoofers.

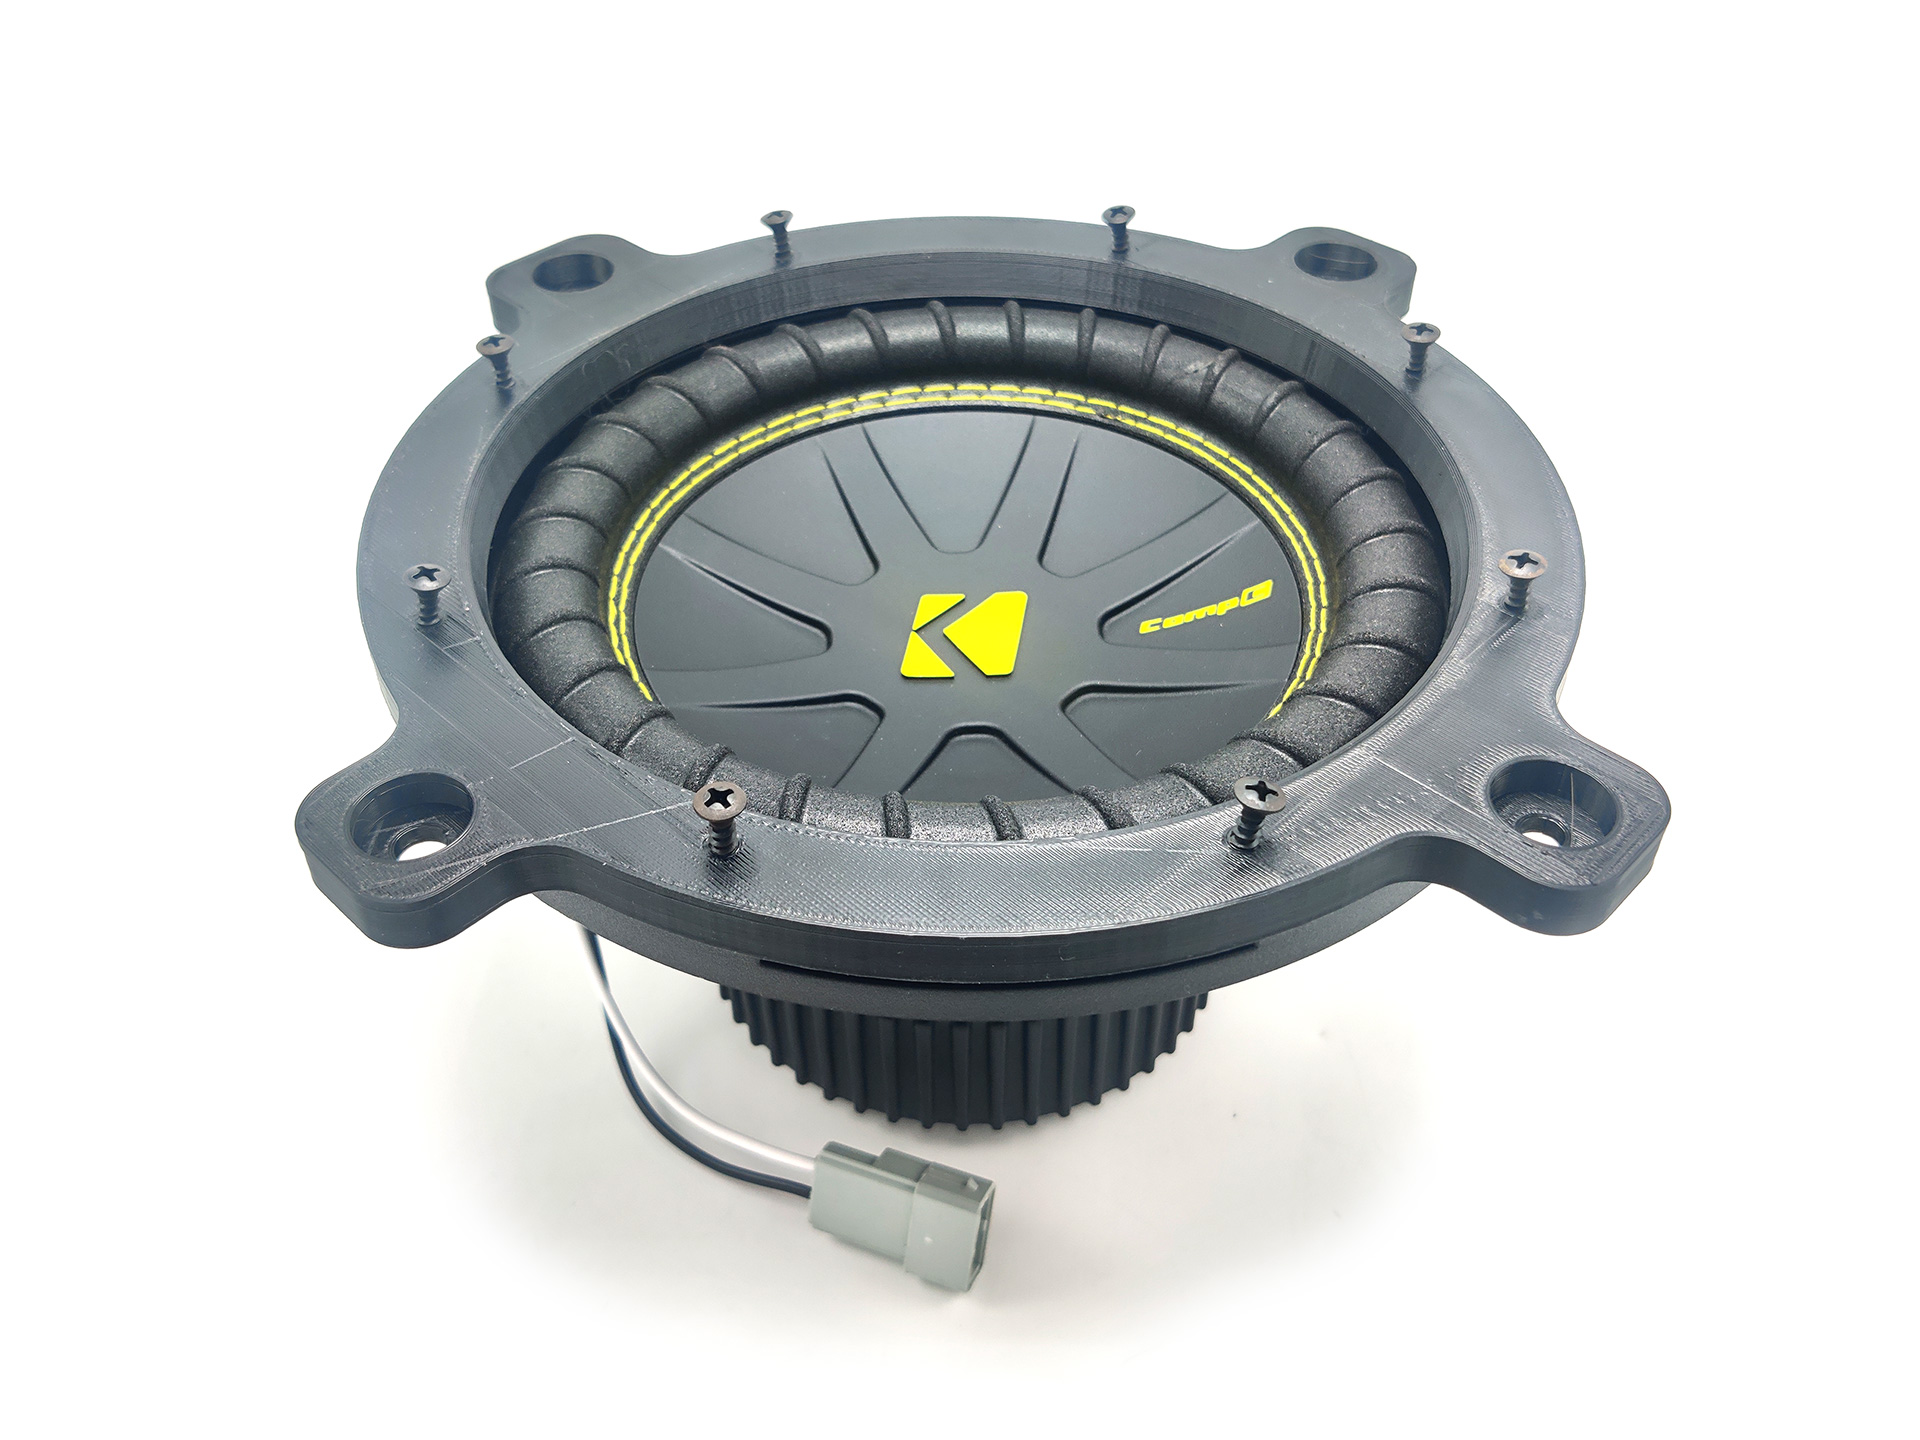
Acura ILX TL TSX TLX RLX Factory 8 Inch Subwoofer PNP Upgrade Package

This subwoofer package includes the Kicker 8 inch subwoofer, the subwoofer mounting bracket, and the subwoofer wiring to make installation plug and play. This subwoofer can work with the factory amplifier or our plug and play amplifiers. This subwoofer package works with the following Acuras. Acura TL from years 2009 to 2014, Acura TSX from 2009 to 2014, Acura ILX from years 2013 to 2022, Acura TLX from years 2015 to 2020 and Acura RLX from years 2014 to 2020. This subwoofer package will work for on a base, premium or ELS sound system . Our subwoofer packages ship next day and arrive within 3-5 business days to most US states. Your subwoofer is covered with a one year warranty. If you have a 2021 or 2022 Acura ILX please choose the 2020 option from the dropdown.

While this subwoofer upgrade package won’t rattle the windshield in your car it does provide better bass response than the factory subwoofer. If your factory subwoofer is blown the difference in bass output will be extreme. If you are looking to get the most out of this subwoofer upgrade we also recommend upgrading the amplifier that powers this subwoofer. You can save your self some money by installing this subwoofer yourself following the guides below. If you want to have this subwoofer installed professionally it is about 2 hours of installation time on the Acuras mentioned above.

When replacing your factory subwoofer there are three main specifications your new must subwoofer must meet. One is that it must be a free air subwoofer as the factory subwoofer is not fully enclosed. The second is that it must be 8 inches and not exceed 6 inches in depth so that it may fit in the factory location. The last specification is that its final impedance must be two ohms to not cause any issues with the factory amplifier. This Kicker subwoofer meets all of those specifications and fits into the factory location with the use of our adapter bracket. The kicker subwoofer also has a flat surround which stops it from rubbing against the rear deck.

In order to achieve the best bass output we recommend applying sound treatment to the rear deck and the rear deck cover. This sound treatment is to minimize rattle and increase acoustical output to your ears. The sound treatment is an additional purchase. We offer some options you can check them out here.

Installation

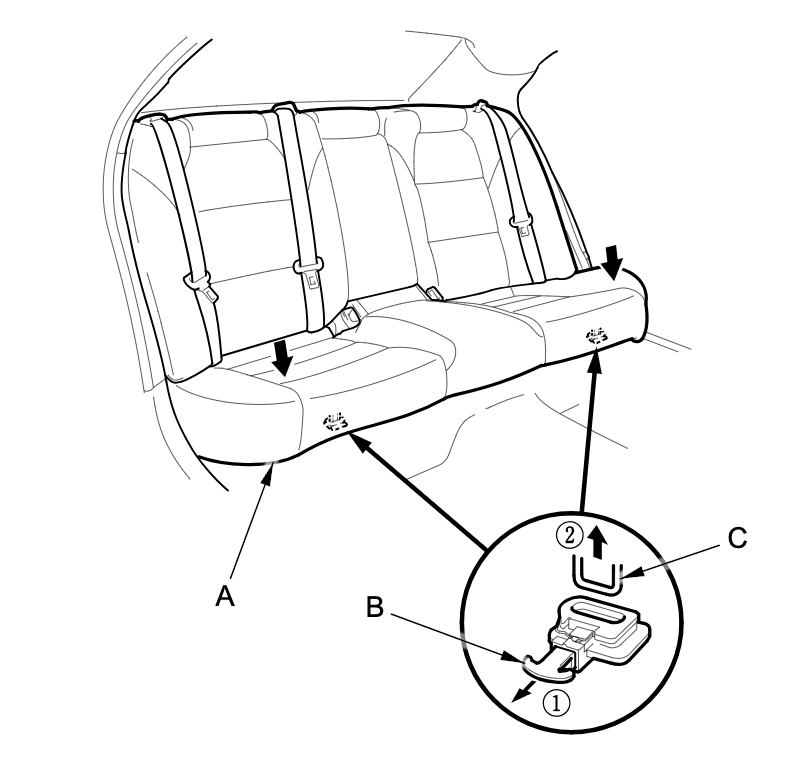
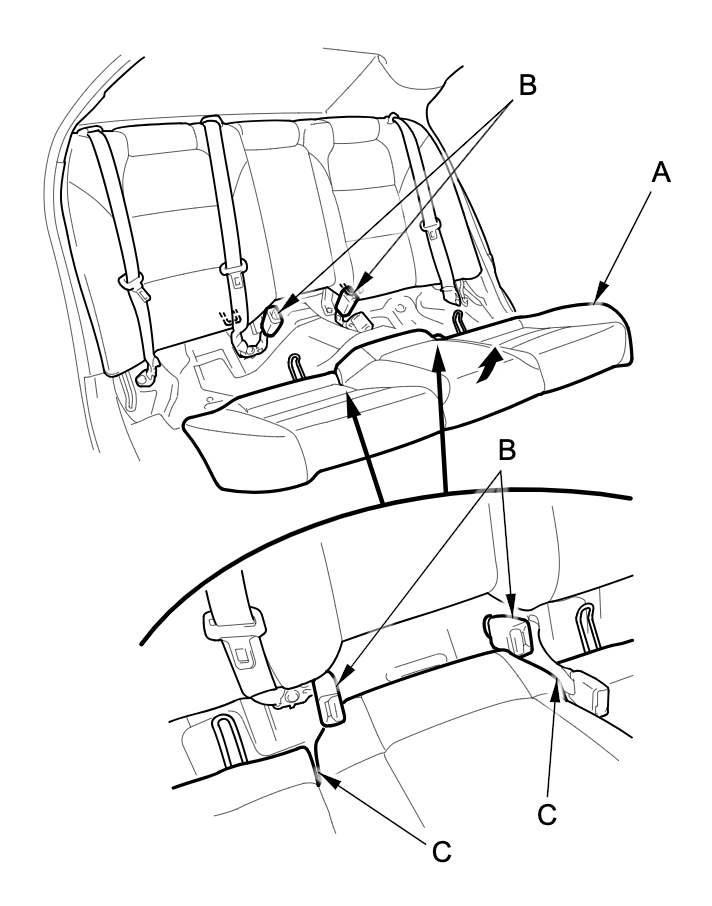
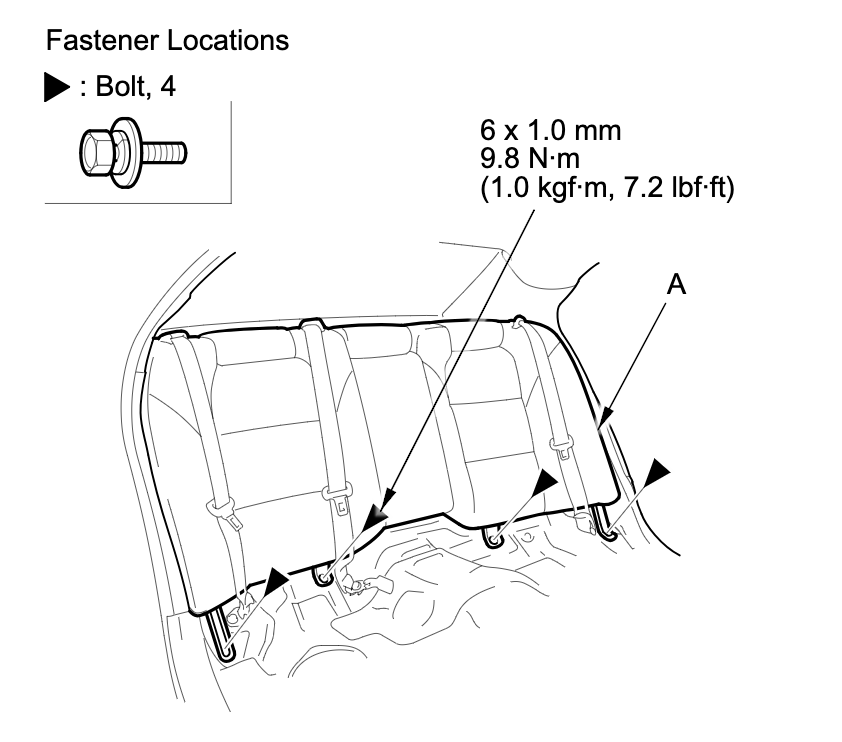
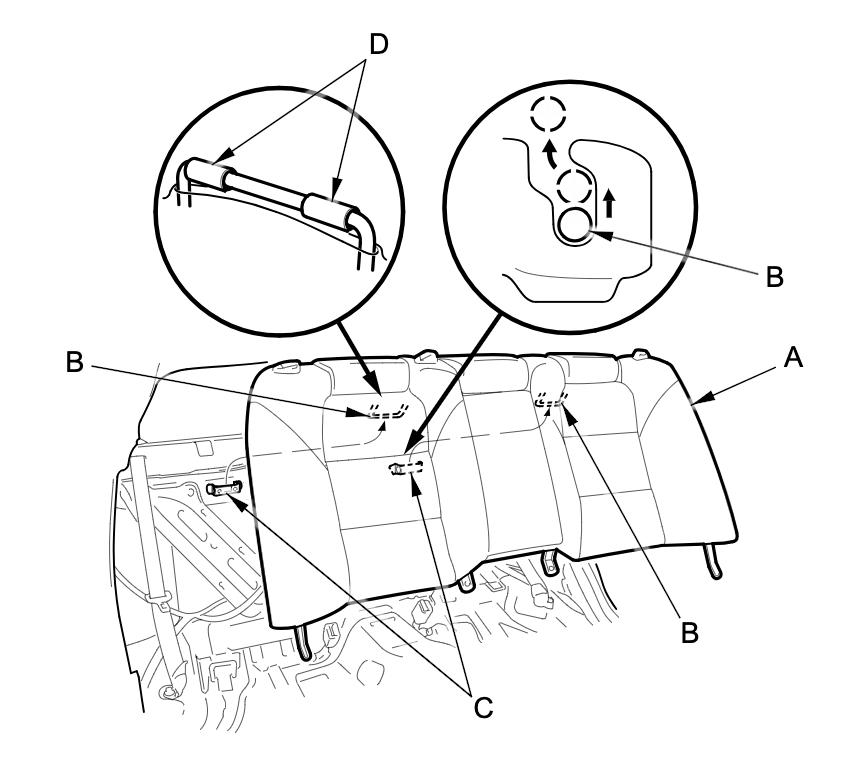
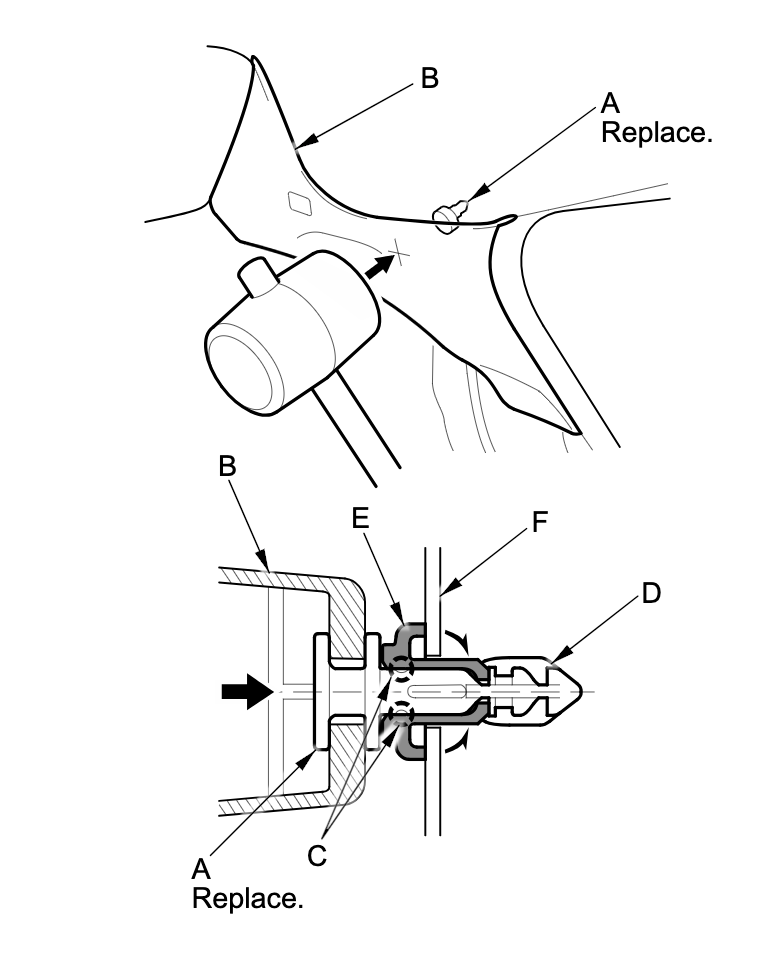
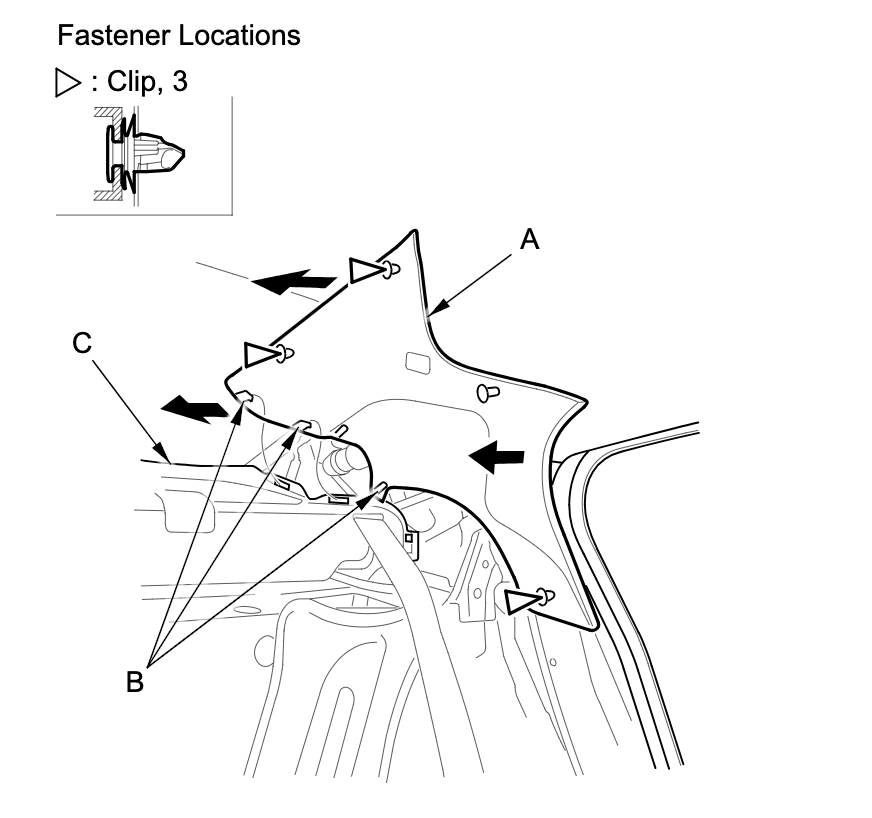
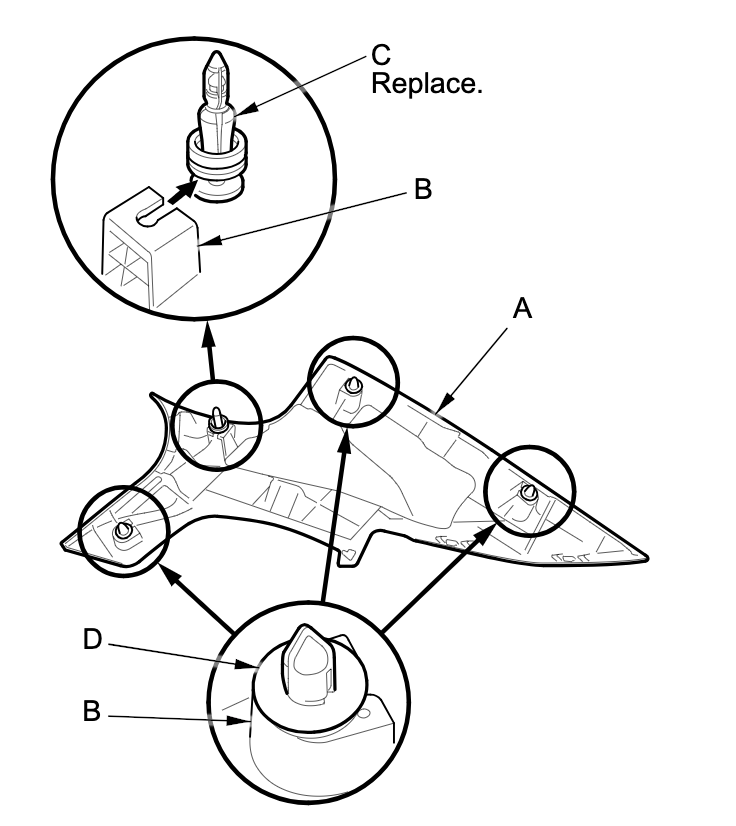
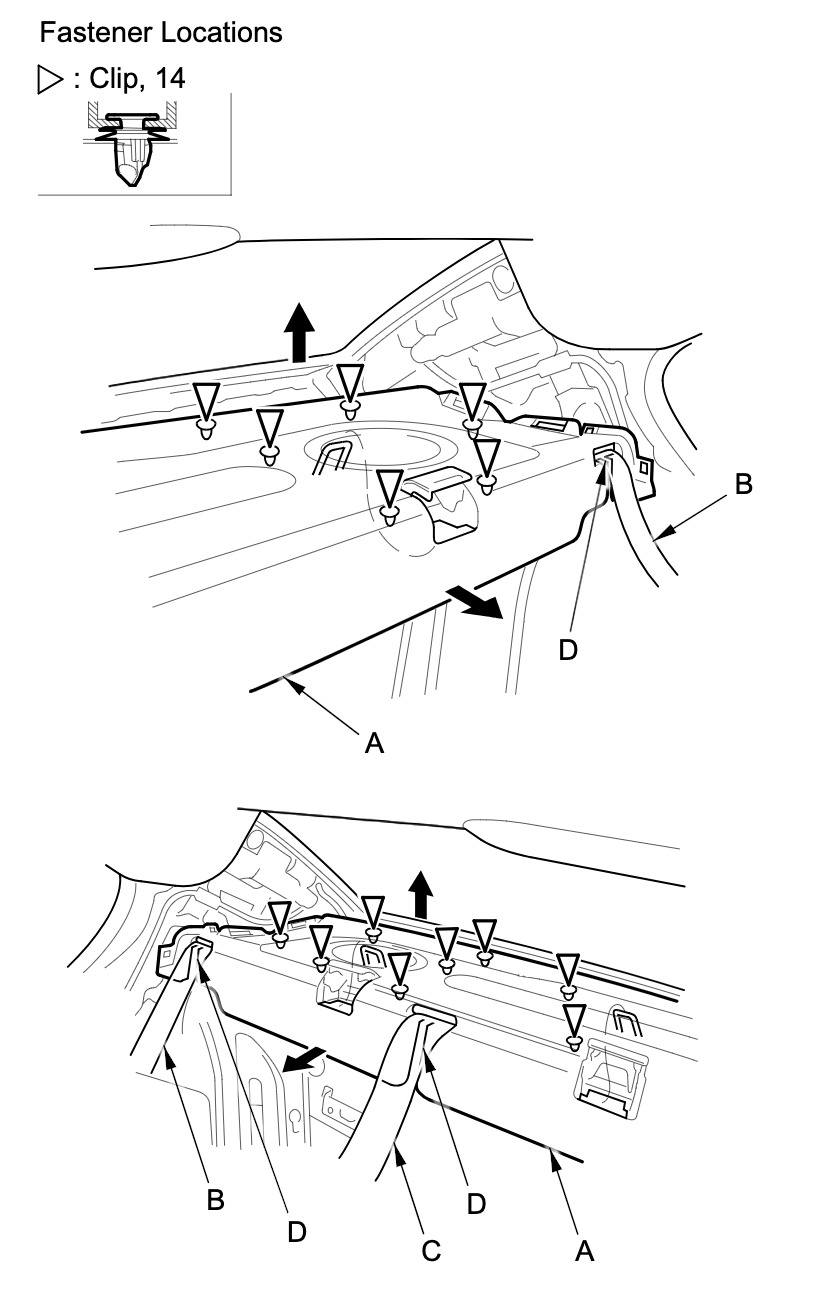
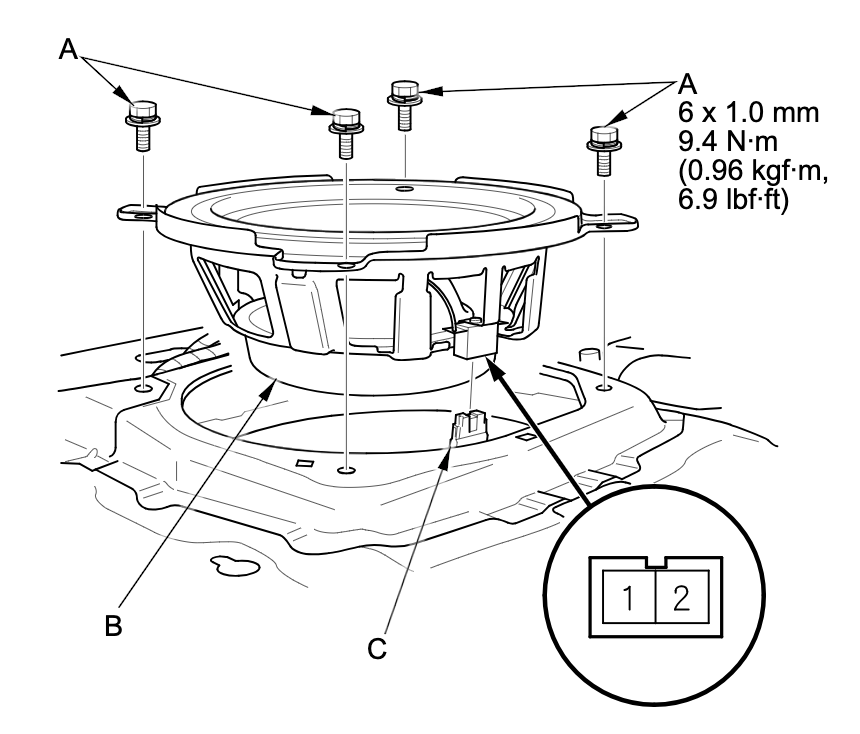
To install the subwoofer upgrade you will need to remove the rear seats if they do not fold down. You will then need to remove the C-Pillar covers, and the rear deck cover. The tools you will need include a ratchet, ratchet extensions, a 10mm socket, a panel removal tool, a clip removal tool and a towel or blanket to protect parts of your interior. If you are completing the install your self and its the first time removing the rear seats, we suggest setting aside 2-4 hours to complete the installation. If you are looking for instructions you will find them down below. If you have questions regarding installation or the product please call us at 877-542-2872.

If you are looking to install a different subwoofer but need the adapter bracket you can find it here.

2009 – 2014 Acura TSX Instructions

2010 – 2014 Acura TL Instructions

2013 – 2022 Acura ILX instructions

2015 – 2022 Acura TLX Instructions

2014 – 2022 Acura RLX Instructions

Frequently Asked Questions

  1. Is this subwoofer louder than the factory subwoofer?
    A: Yes this subwoofer is slightly louder than the factory because it is more efficient.
  2. Does this subwoofer handle more power than the factory subwoofer?
    A: Yes this subwoofer is rated for 200W RMS
  3. How much power does the factory amplifier output to the subwoofer?
    A: About 50-60 Watts
  4. If I install this subwoofer will it shake my car?
    A: This subwoofer has the potential to shake your car but it will need another amplifier to power it to its full potential.
  5. I installed this subwoofer but its not much louder than the old one, what did I do wrong?
    A: Upgrading the subwoofer only doesn’t give your vehicle more bass, you also need to upgrade the amplifier powering the subwoofer.
  6. How does my warranty work?
    A: As long as there is no physical damage to your subwoofer and you are within your warranty period you can exchange your subwoofer for a new one.

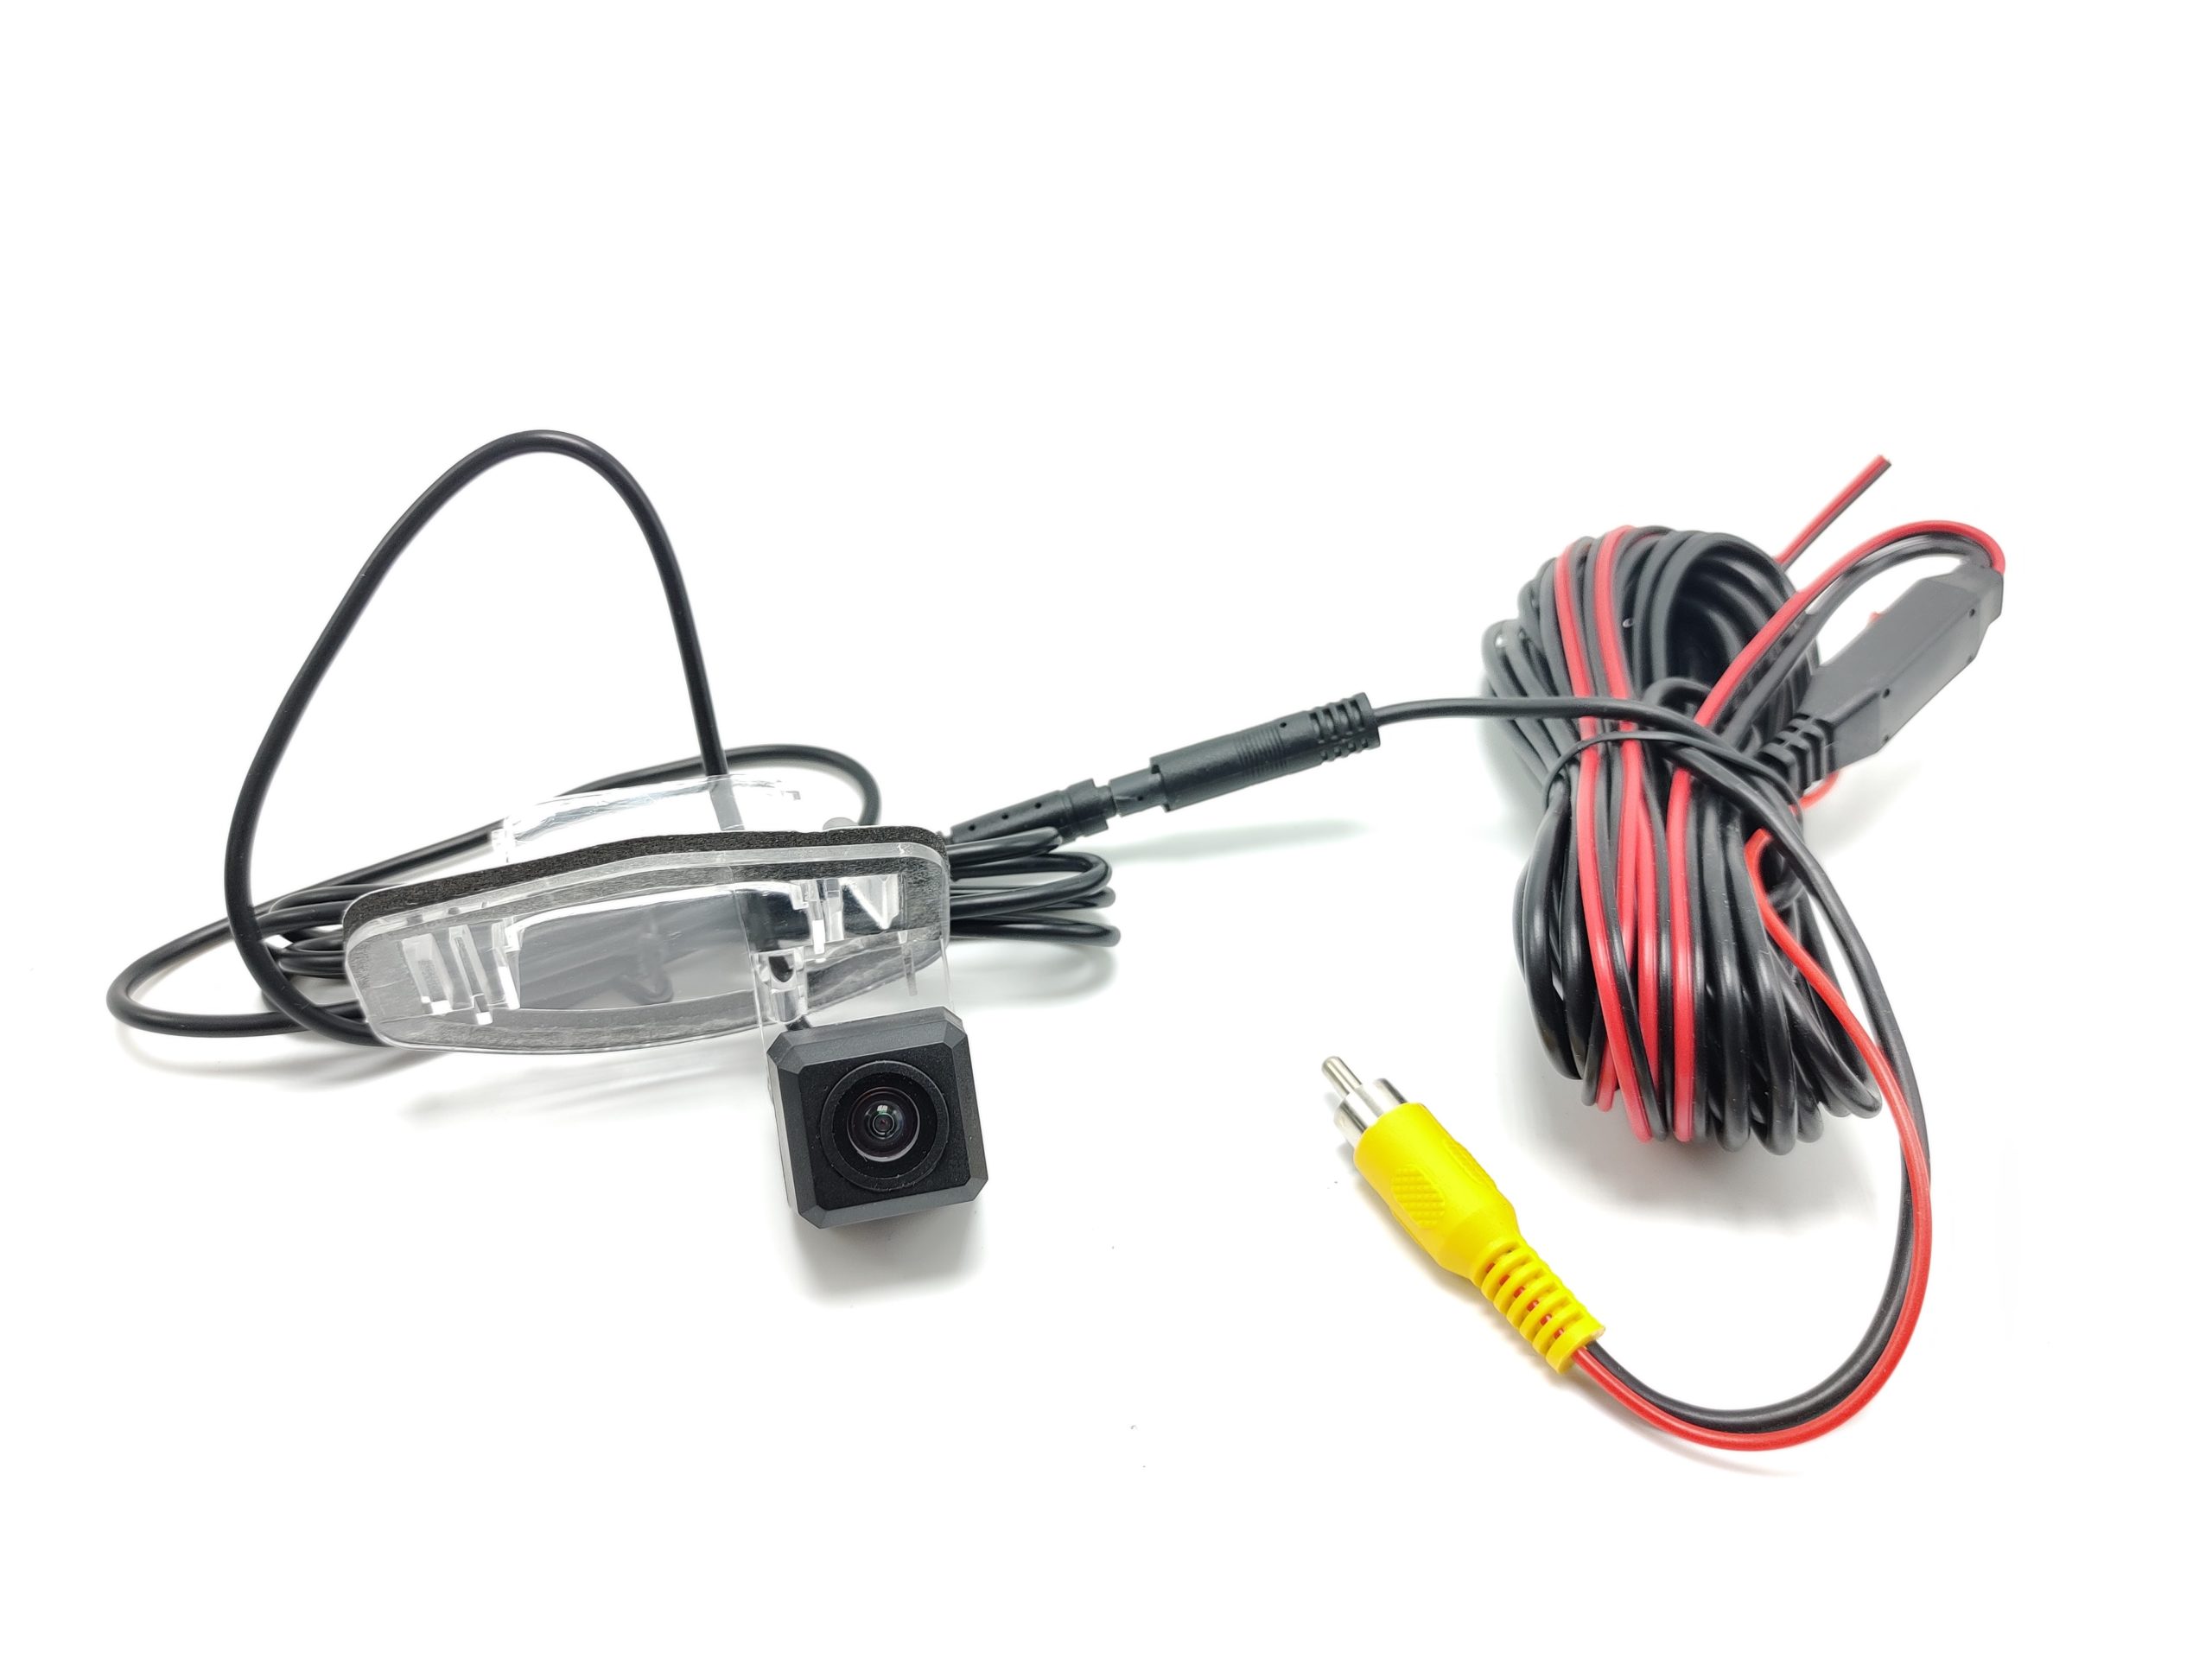
Acura TL MDX TSX License Plate Light Backup Camera

If you are thinking about adding a backup camera to your Acura this camera installs with ease. By replacing the license plate light housing with the housing provided with the camera you are able to install the backup camera without having to drill any new holes and the final installation looks OEM.

This camera comes in two options with fixed parking lines or with active parking lines. If you are going to be using the parking line adjustments on your radio we recommend you get the fixed parking line version and then disable them. You can view the difference in the parking lines in the images.

There are two ways to install this camera. You can set it up to always be on so you can hit the camera button on your radio and view it at anytime or have the power only power on when you are in reverse. The reverse only installation is easier to complete.

Below are the specifications of the cameras

The specs of the fixed parking line camera are as follows:

  • IP Rating: IP68
  • Resolution (TV lines): 800
  • Lens Angle (Deg.): 170°
  • Power Supply (DCV): 12V
  • Minimum Illumination: 0.1LUX

The specs of the active parking line camera are as follows:

  • IP Rating: IP67
  • Resolution (TV lines): 600
  • Lens Angle (Deg.): 170°
  • Power Supply (DCV): 9V-12V
  • Minimum Illumination: 0.1LUX

You can view our installation video here.

This camera works with the following Models:

  • 2007 2008 2009 2010 2011 2012 Acura MDX
  • 2004 2005 2006 2007 2008 Acura TL
  • 2004 2005 2006 2007 2008 Acura TSX
  • 2009 2010 2011 2012 2013 2013 Acura TSX Sedan
  • 2007 2008 2009 Acura RDX

2007 2008 2009 Acura RDX Navigation Display Screen Upgrade

Summary

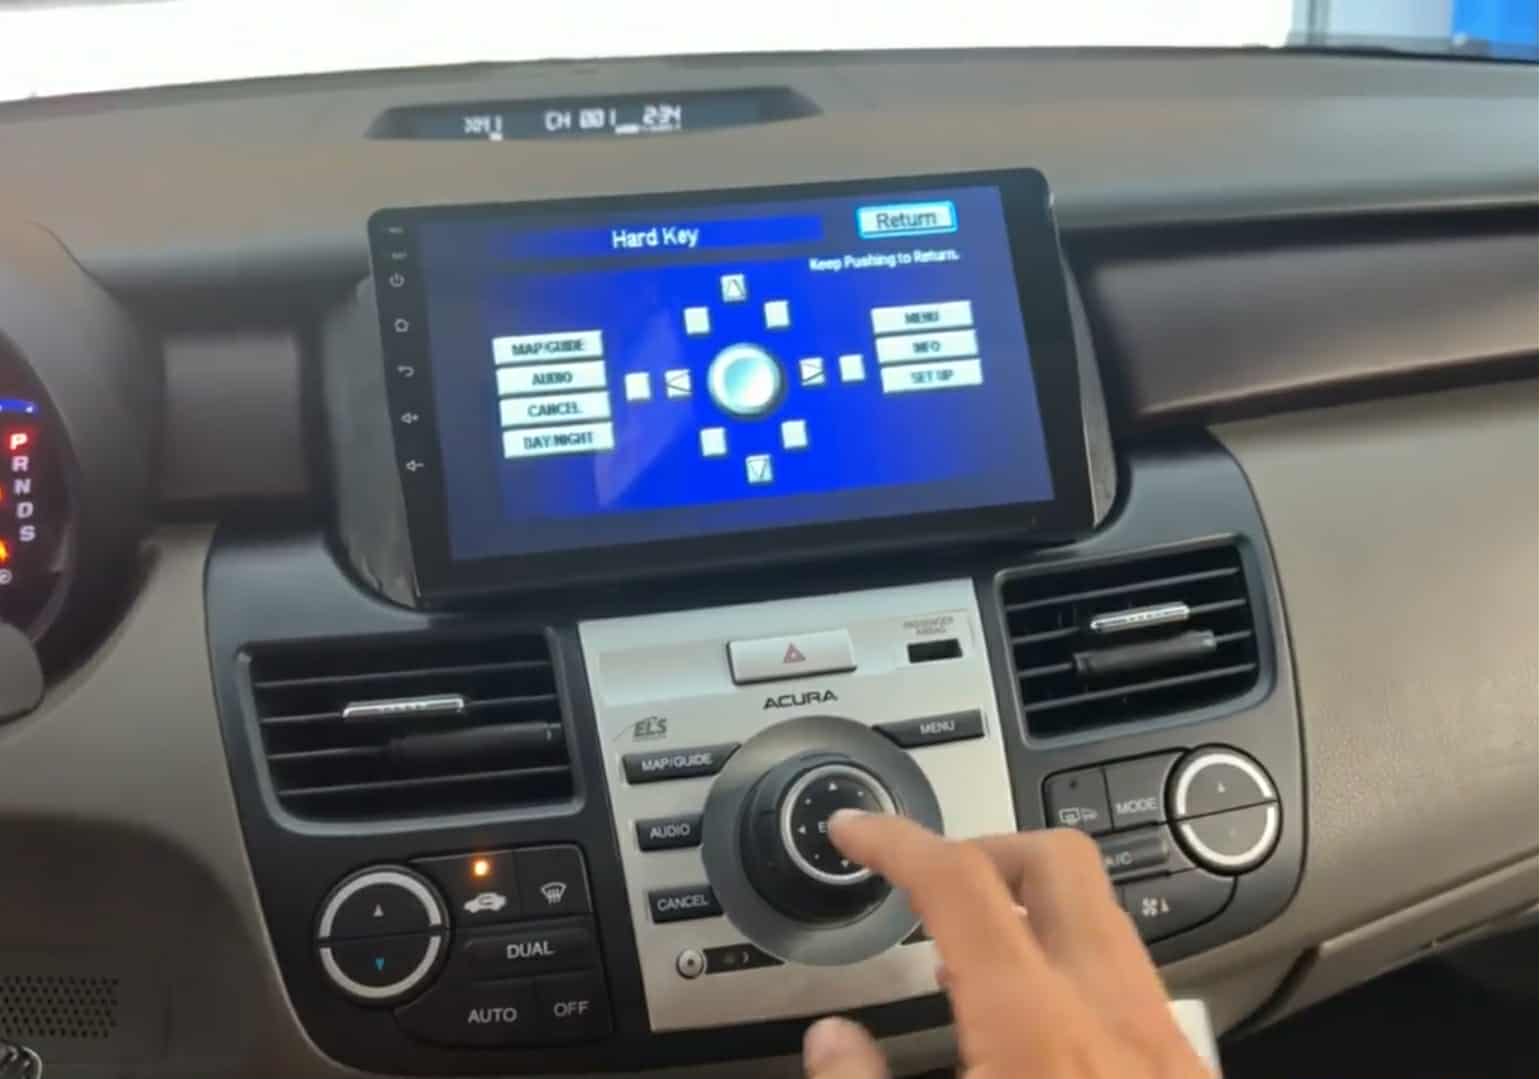
Modernize your infotainment system in your Acura RDX with our navigation display screen upgrade. This upgrade is completely plug and play. The new upgraded navigation display is touchscreen and runs a modern operating system that allows you to enjoy Apple CarPlay, Android Auto and Bluetooth Audio Streaming. The new display also allows you to run native apps like youtube and Netflix while connected to the internet.

Installation of the new screen requires completely disassembly of the vehicles factory infotainment system and is quite lengthy. You don’t have to modify and of the vehicles factory wiring but you will have to snake wires and connect them together at different points shown in the installation video. The new upgraded display screen has the ability to show the factory navigation system but it does require a video converter to be added to your harness. The video converter is optional and you don’t need it unless you want to keep the factory navigation system operational. If you install this new display screen you will lose the ability to adjust the factory equalizer inside the factory radio. You can adjust the equalizer from the new display screen to achieve your sound goals but if you like to adjust the factory subwoofer level from song to song that will no longer be possible.

This screen can be installed in vehicles with or without navigation. If you don’t have navigation you will lose the ability to see the current climate information. You can still control the blower speed and temperature inside the car but you will not be able to see the current settings in vehicles without navigation. If you have navigation you can see from the video below that the climate information continues to work like it did before. If you car is a 2010 2011 or 2012 please email us or call us to place your order as this product has not been fully tested on those vehicles yet. The installation should be similar but some parts are different and we want to ensure you get the desired result when you install this item.

Product Configurations

The first configuration listed: DROID-464GB-NAV-SWC-CAM is exactly what you see in the video below. This configuration converts the OEM navigation video with a video converter so you can see it on the new display, it changes the steering wheel controls to the new display, and keeps the factory backup camera on the new display.

The second configuration listed DROID-464GB-CAM is different from the video. This version does not keep the factory navigation video. This version keeps the steering wheel controls on the factory radio. This configuration does retain the factory backup camera on the new display.

The third configuration listed DROID-464GB is also different from the video. This version does not keep the factory navigation video. This version also does not keep the OEM backup camera. This version keeps the steering wheel controls on the OEM radio.

The fourth configuration listed is DROID-464GB-BASE-SWC is nothing like the video. This version is meant for vehicles without factory navigation. This version changes the steering wheel controls to work the new display.

On any of these version you can install an aftermarket backup camera. If you want to upgrade the OEM camera with our plug and play camera you will need to retain the OEM backup camera first. If you buy the screen first and then decide you keep the OEM camera that is possible as well, we sell the camera harness separately.

At this time we are not selling just the harnesses or brackets. We are only selling complete packages.

Installation

Installing the system requires you to make connections behind the OEM radio and at the factory navigation ROM drive. The factory radio is located right in front of the shifter and you will need to connect wires from the radio to the new display screen. There is plenty of space to run wires behind the OEM radio and display so you can connect everything without issue. The primary power connection for the new display is behind the OEM navigation display. The audio connections for the new display are behind the OEM radio. If you want the steering wheel controls to control the new upgraded display and not the factory radio you will need to connect an additional connector behind the radio and also another wire behind the new display screen. Our recommendation is that you keep the steering wheel controls on the factory radio and only use the audio connector behind the radio. This means you will make one connection behind the radio and one connection behind the screen.

If you are planning on keeping the factory navigation video on the new display screen you will also need the video converter we have available which will raise the price of the product. This is optional and not required but if you do purchase it, it will be wired already you won’t have to make any connections for it. If you want to keep the factory backup camera then you will also need to connect wires at the navigation drive located next to the gas pedal. Follow the instructions shown in the video to make sure all of your connections are correct. Then snake the wire from the navigation drive up the new navigation display.

Non Navigation Vehicles

If your RDX does not have navigation it is referred to as the base model. If you own a base model RDX you can still change the OEM monochrome display with this new touchscreen display but you will lose the ability to see the climate information. Installation is a bit different as all connections are done behind the OEM radio and you will snake the wires from behind the OEM radio up to the new display. With the OEM display removed you won’t be able to see the climate or any of the factory radio information such as radio stations or cd tracks. Instead the OEM radio will just be used as a passthrough for audio. You will leave the factory radio in XM mode and control all audio through the tablet. If you have a base model it makes sense to change the steering wheel controls from the OEM radio to the new tablet by connection the additional harness behind the OEM radio and at the display screen.

Product Feedback

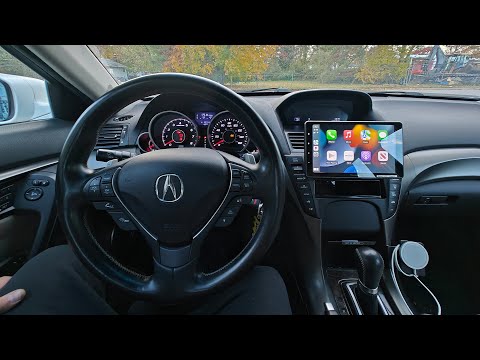
We sell a similar product for the Acura TSX and people really like it. This product is great for those who want a new display and the ability to use Apple CarPlay or Android Auto. This is a perfect fit especially if your factory navigation system is already broken and you don’t care about it. This product is not recommend to anyone who wants build any sort of competition system in audio quality or loudness. You are still limited by the factory amplifier when you install this product and while the system sounds good. If you have to add amplifiers to the system you still have to work with the factory radio and that is always a challenge. If you are more interested in sound quality over software features I recommend replacing the OEM stereo and amplifier we will have videos on how to do that coming soon.


Honda Acura XM AUX Audio RCA Harness

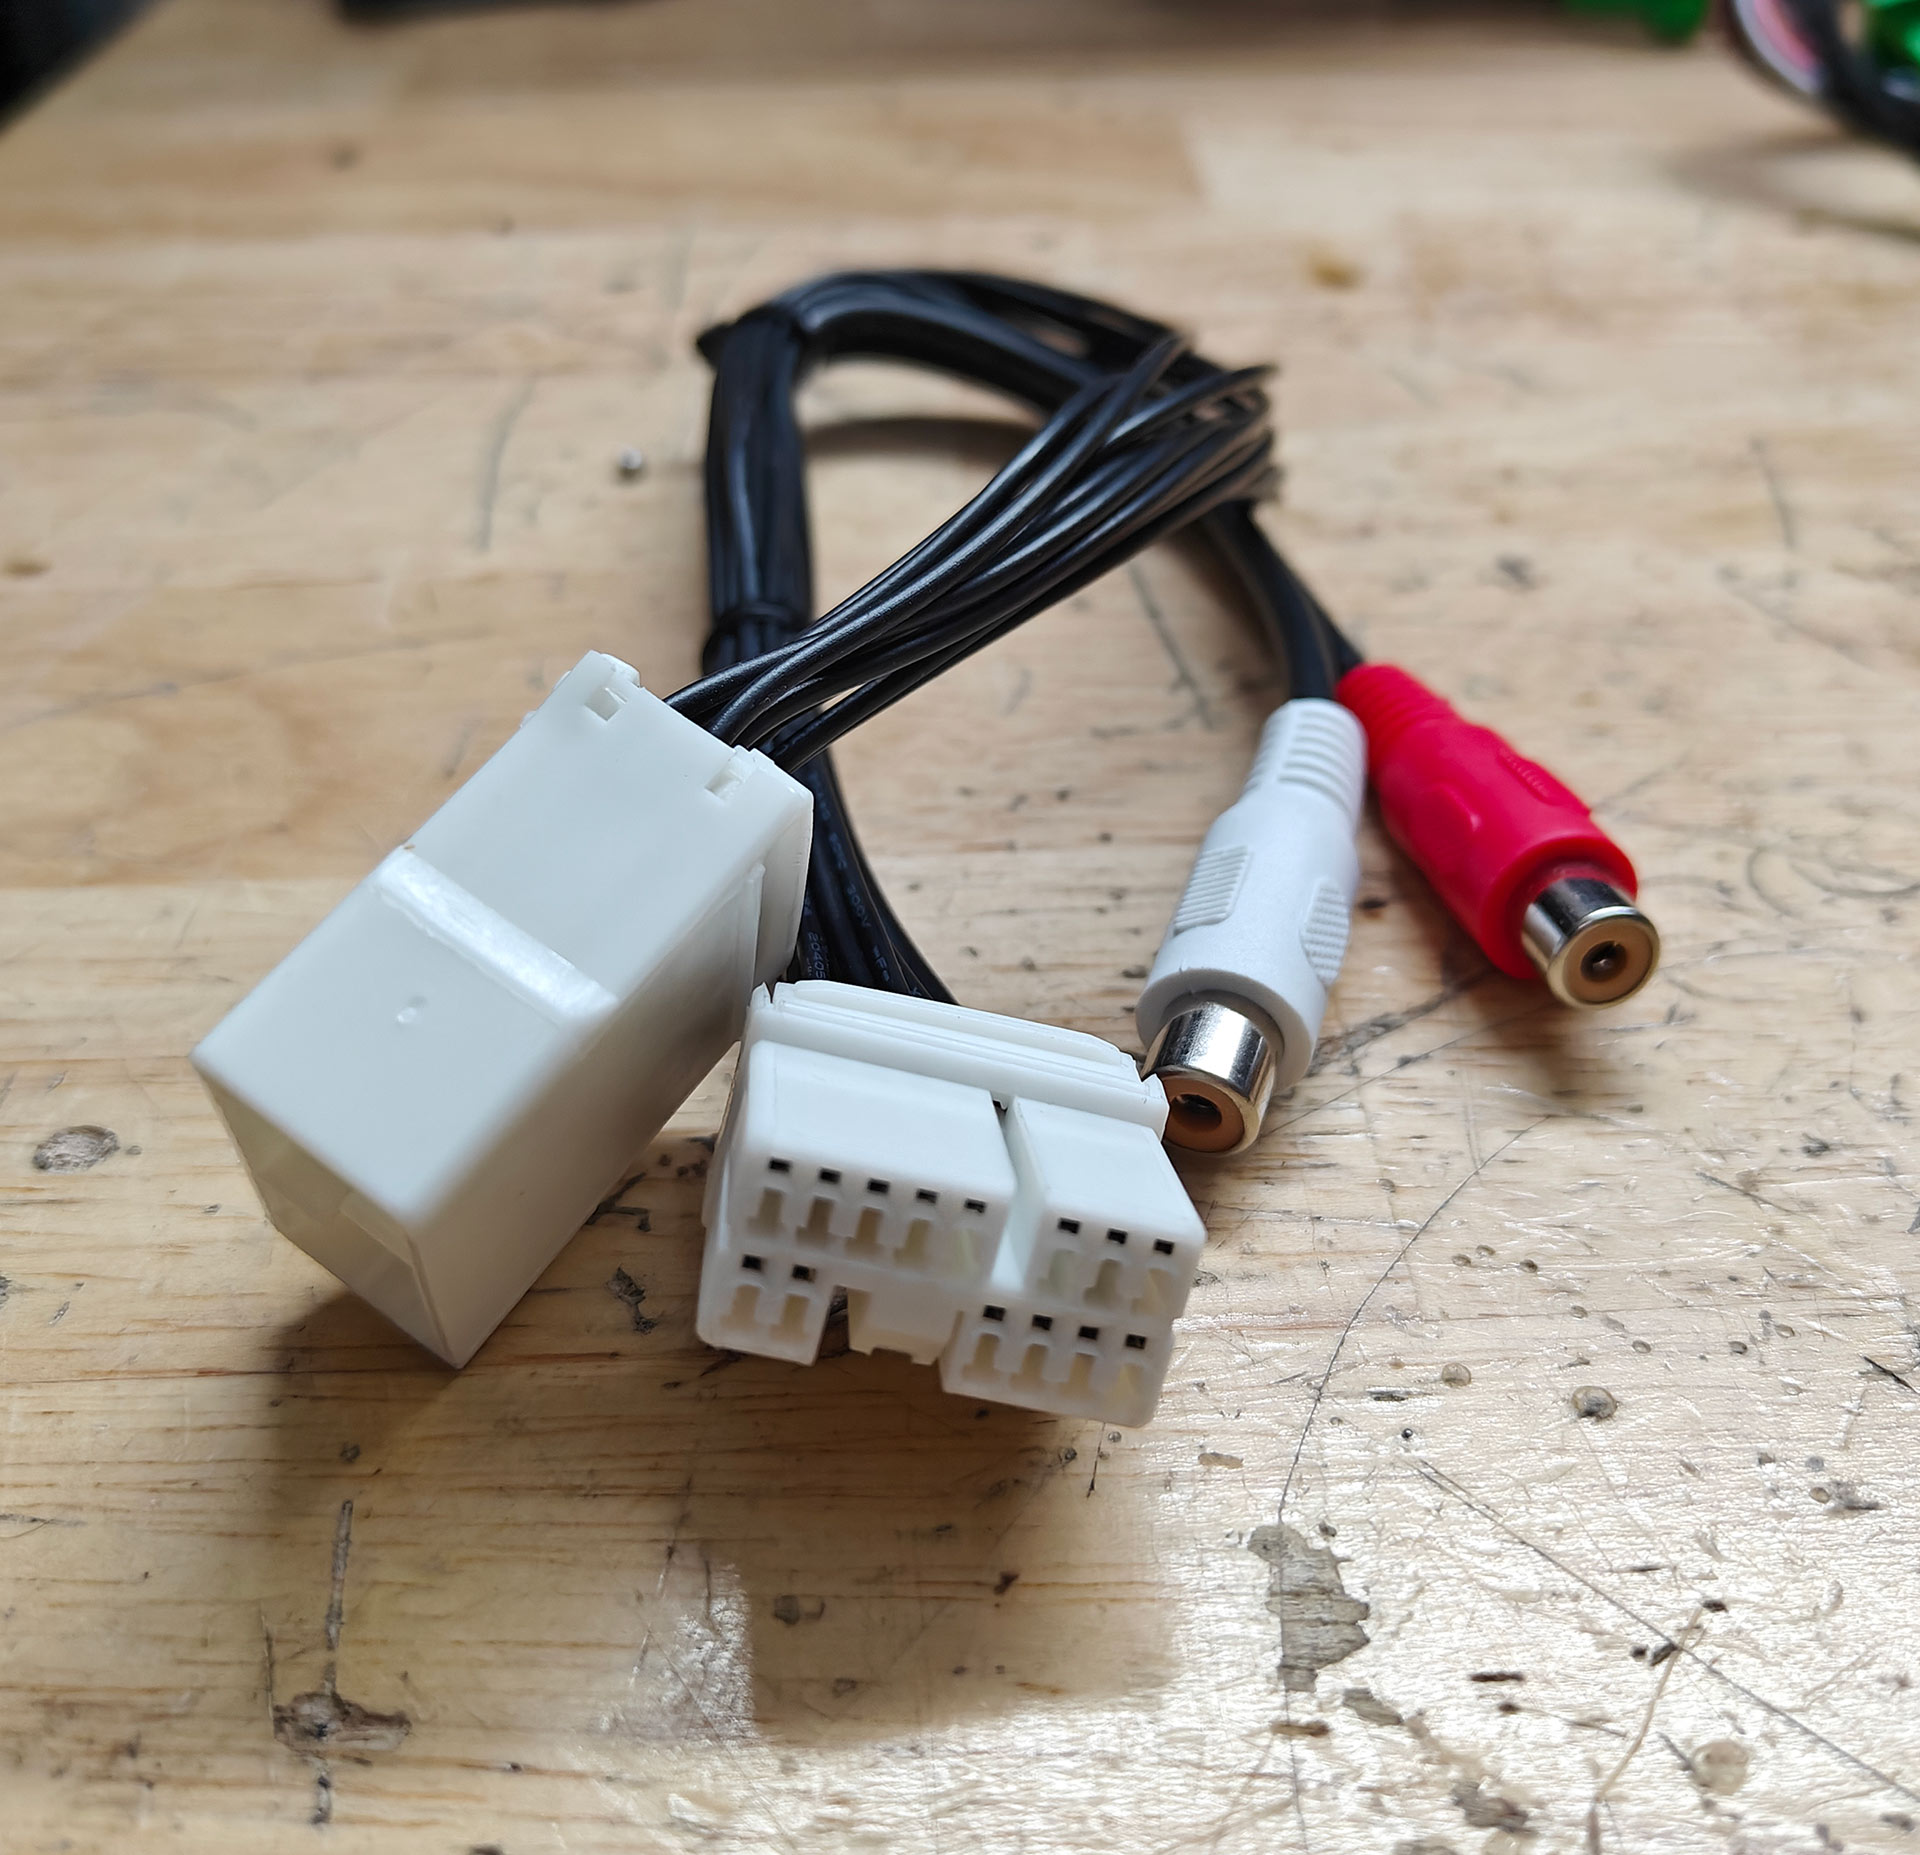
If you want to send audio to your factory radio in your Acura or Honda you can inject audio into the XM audio feed with this harness. This harness will disable the XM radio functionality and instead play your audio source through the XM port. The information shown on the screen will still be from the XM radio so it will either say a radio station or show the subscribe messages but you will hear the audio from your source instead.

This harness is used with the 9″ android screens that are available online in the Acura TL, TSX and MDX currently but you could use it for other stereos. This harness will only work if your car has the factory XM unit.

Acura Honda Door Speaker Spacer Adapters w/ Speaker Harnesses

When replacing the door speakers in your Acura/Honda most speakers require the need to create new holes or to cut the metal of the door. The factory speakers in your Acura are often between 5.25 and 6 inches making installing new speakers complicated.

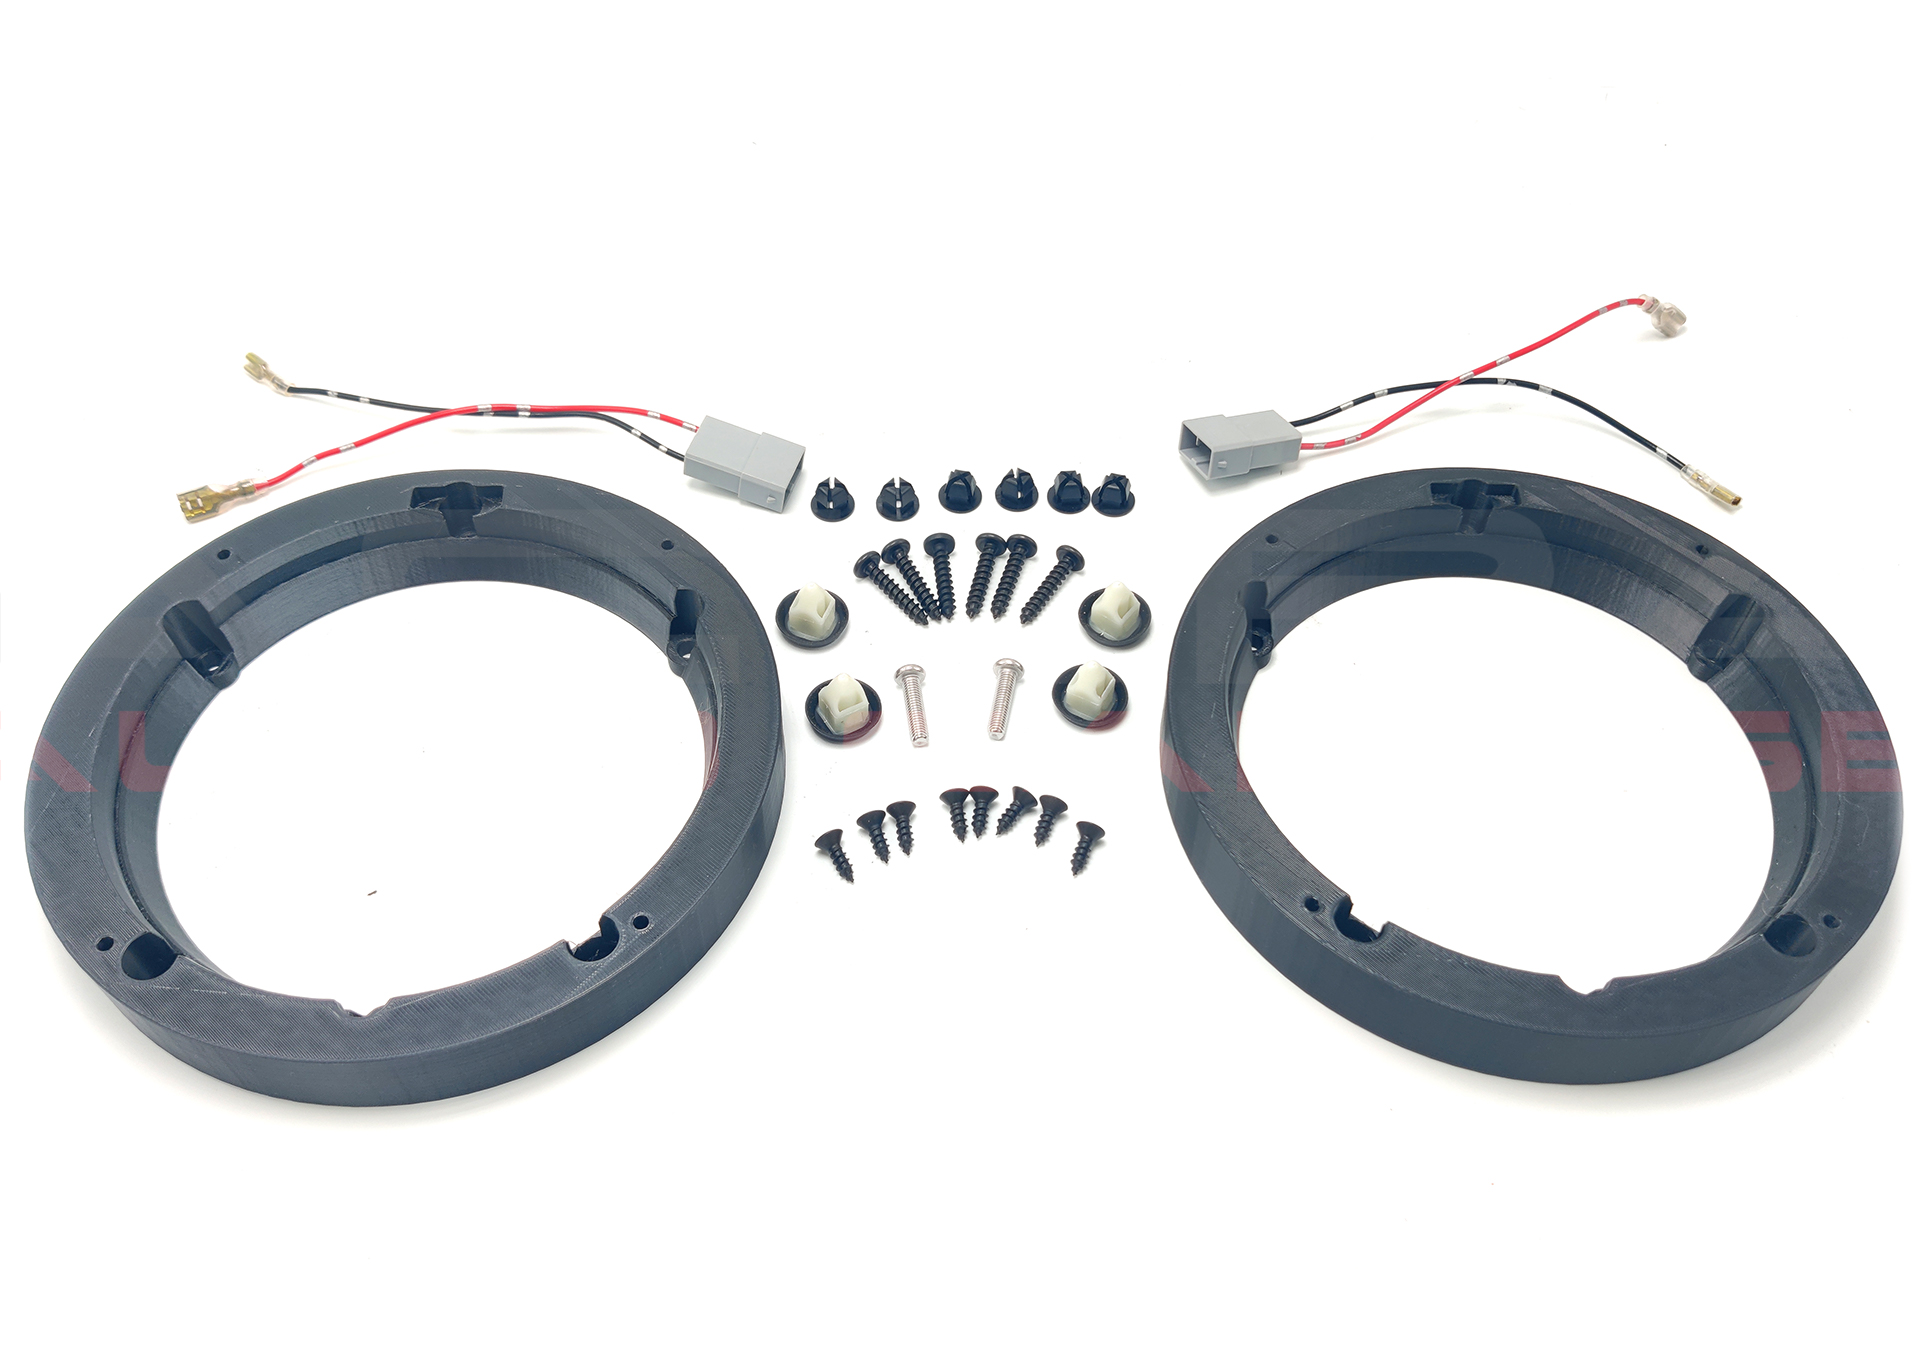
Our speaker spacer adapters come with the necessary hardware to install onto the factory mounting locations removing the need to cut or drill any metal. Our design utilizes the factory mounting holes to secure the spacer to the door and provide you with new mounting holes for your 6.5 aftermarket speakers. There is no need to cut or modify the door in any way. Our spacer adapter and speaker harness simplifies the install making the speaker installation plug and play. If you are looking to also replace your tweeters we have the tweeter harness necessary to do so.

These spacers are designed to fit traditional full range 6.5 speakers from major brands like Kicker, JBL, Pioneer, Kenwood, JVC, Alpine, Infinity, Sony, Rockford Fosgate, Focal, Audison, Hertz and others. Loudspeakers with large magnets will not fit into these spacers or into the cavity of your door. Often brands likes DS18, PRV, Massive, Timpano, Skar, CT Sounds, Deaf Bonce and others make speakers with oversized magnets these are not recommend for your Honda/Acura because of the fitment issues.

These spacers are for

Acura
1999-2003 Acura CL Front Doors Only
2001-2006 Acura MDX Rear Doors Only
2014-2022 Acura ILX All Doors
2023-2025 Acura Integra Front Doors Only
2014-2020 Acura TLX All Doors
2021-2025 Acura TLX All Doors
2009-2013 Acura TL All Doors
2004-2008 Acura TL Front Doors Only
1999-2003 Acura TL All Doors
2004-2013 Acura TSX All Doors
2006-2013 Acura RL Front Doors Only
2007-2020 Acura RDX All Doors
2014-2020 Acura RLX All Doors
2002-2006 Acura RSX Front Doors Only

Honda
2003-2007 Honda Accord Front Doors Only
2008-2022 Honda Accord All Doors
2001-2020 Honda Civic All Doors
2002-2020 Honda CRV All Doors
2014-2020 Honda HRV All Doors
2007-2020 Honda Insight All Doors
2011-2020 Honda Odyssey All Doors
2018-2020 Honda Passport All Doors
2001-2020 Honda Pilot All Doors
2006-2020 Honda Ridgeline All Doors


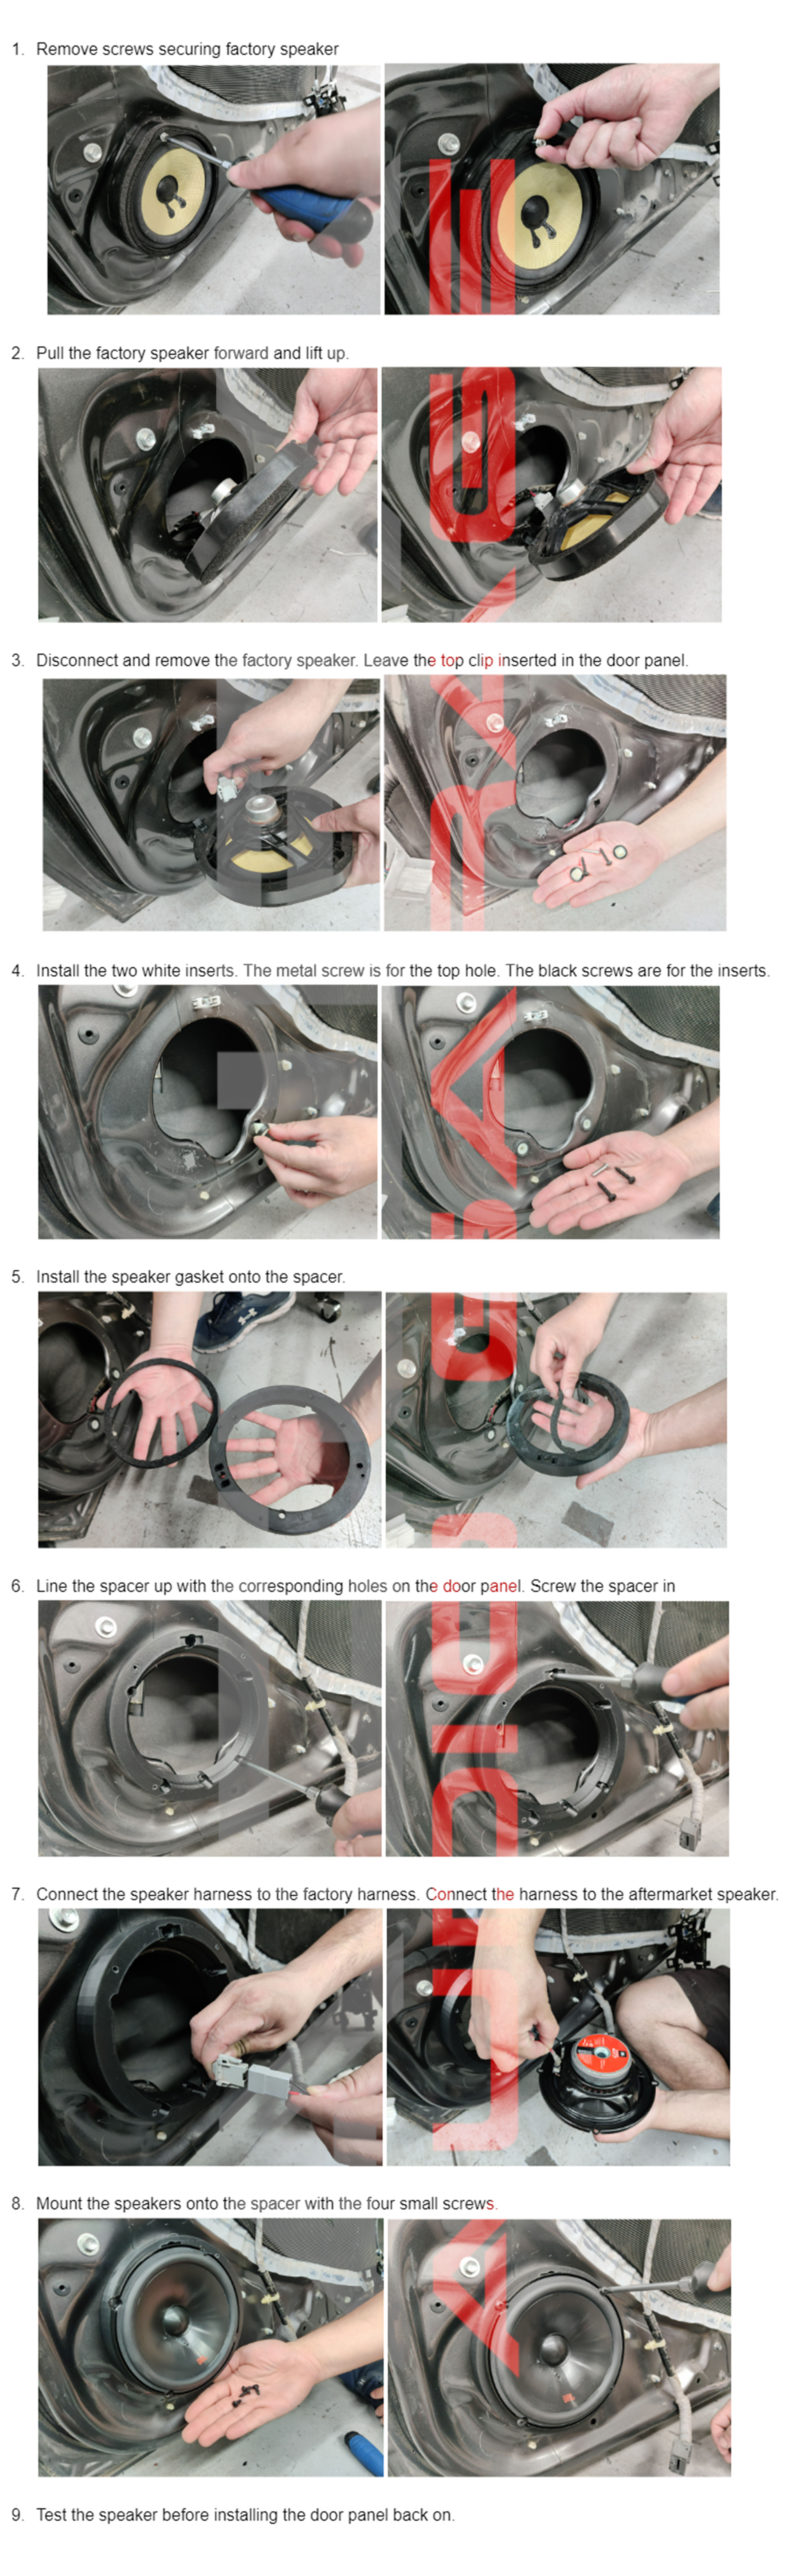
How to Install Spacers

Acura ELS Audio System DSP Package for Aftermarket Amplifiers

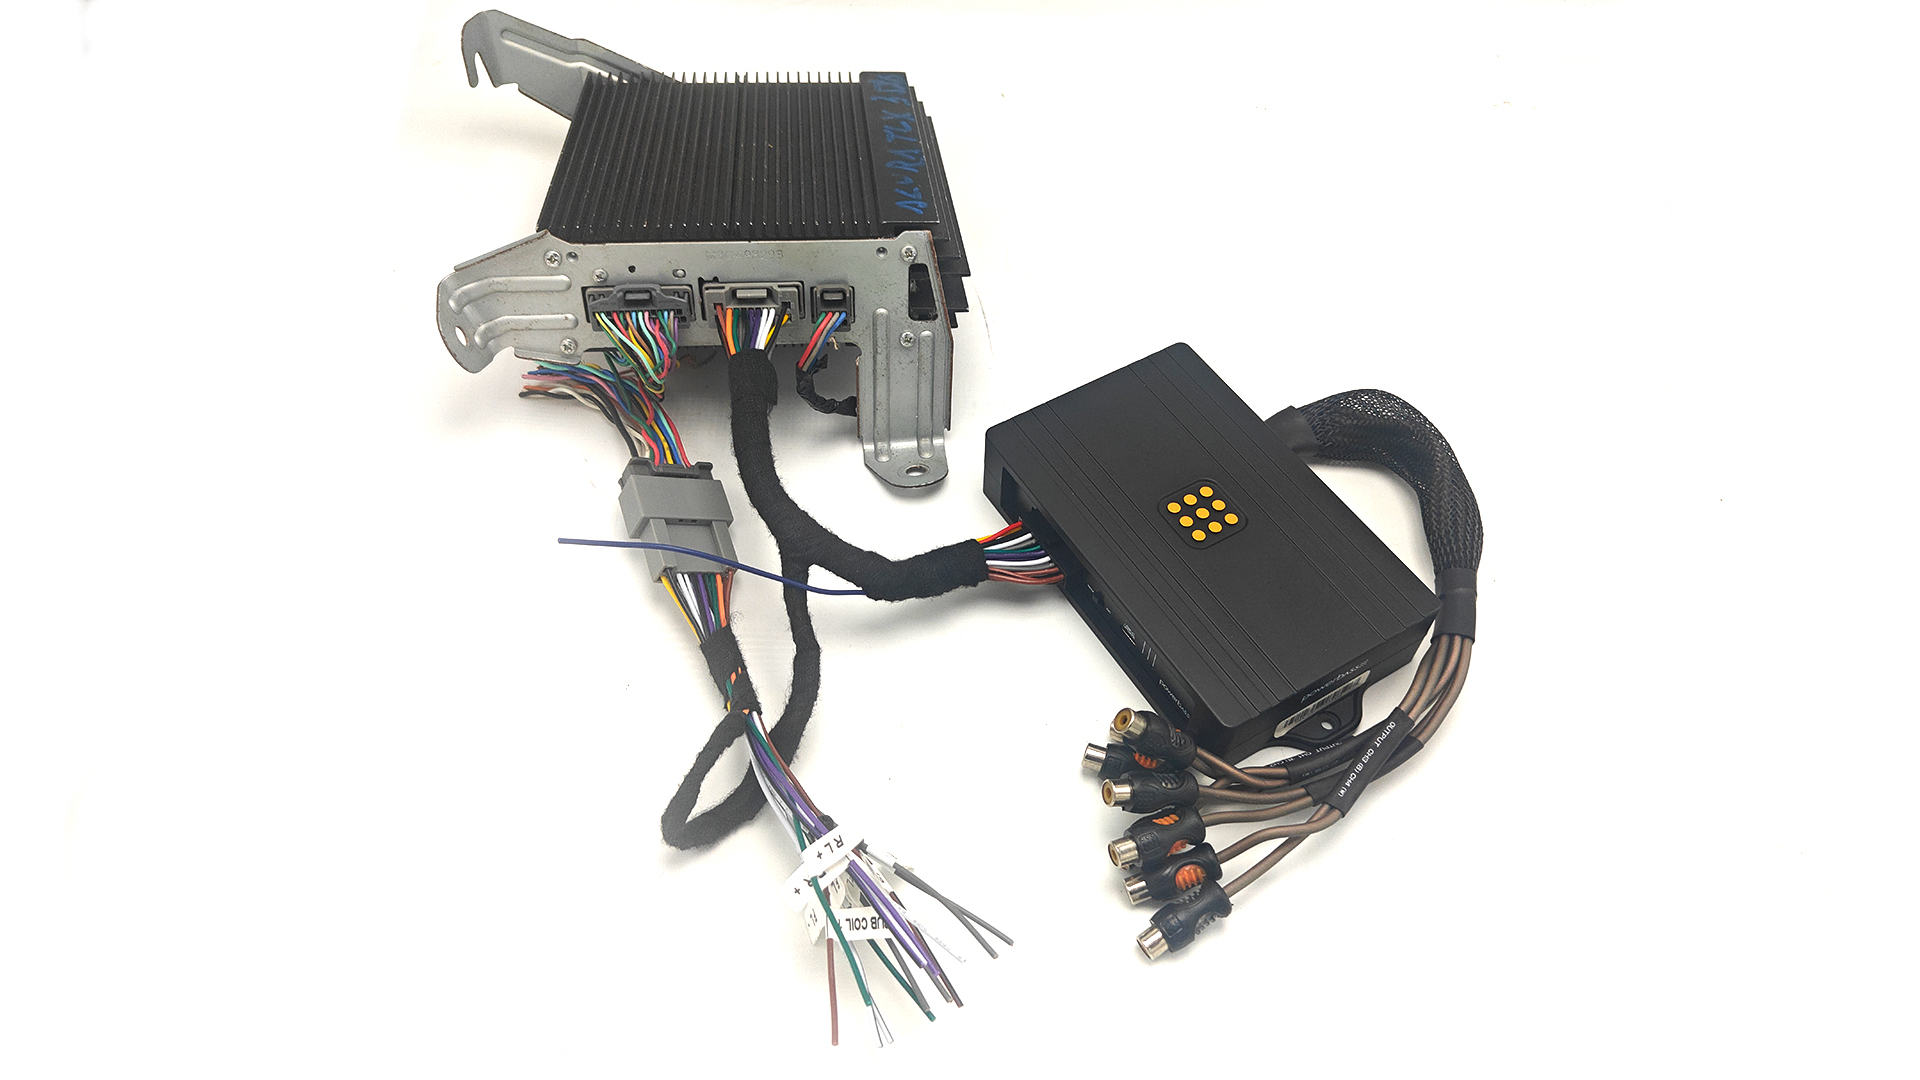
Easily integrate into the factory ELS Audio system in your Acura with our DSP Package designed specifically for your use case. This package is extremely versatile allowing you to install multiple amps or a single amp for your sound system goals. The Powerbass DSP used in this package has 8 inputs and 8 outputs perfect for your Acura’s ELS Audio System. The amplifier used in the ELS system of your Acura is most likely can-bus controlled. This can-bus communication results in the inability to remove the factory amplifier. If you want to make your car sound better or louder you need to integrate into the factory amplifier.

This DSP packages comes wired with the proper harnesses that will allow you to convert the factory amplifiers output signals to a useable RCA signal for your aftermarket amplifiers. The harnesses in this package plug into the factory amplifier and then into the DSP. On the other side of the harnesses there are RCAS outputs that will connect to the input side of your aftermarket amplifier. The last part of the harness is the speaker wire inputs that lead to each speaker in the car they are all labeled and will connect to the output side of your amplifier. The DSP package also has a remote output to turn all of your amplifiers as needed. The turn on signal is delayed and generated by the DSP.

The standard configuration of this package is to leave the center speaker powered by the factory amplifier and capture the output of all the other speakers. The front left door speaker and front left tweeter are summed together to create RCA output 1. The right front door speaker and front right tweeter are summed together to create RCA output 2. The rear door speakers are then set to outputs 3 and 4. The rear deck speakers are set to outputs 5 and 6 and finally the subwoofer is setup as outputs 7 & 8. This configuration is meant for those who want to run multiple amps to power the front doors, rear doors and rear deck speakers and the factory or aftermarket subwoofers.

The second configuration this package offers is to leave the center speaker and the rear door/pillar speakers powered by the factory amplifier and only capture the output of the front speakers/tweeters, the rear deck speakers and the factory subwoofer. This configuration will set RCAs 1 and 2 to the front left and front right outputs, RCA 3 and 4 are the rear deck outputs and outputs 5 & 6 for the subwoofer. This leaves 2 outputs free for any additional purposes. This configuration is usually meant for someone who wants to run a five channel amp to power the entire system.

There are other configurations that are available but these are the main ones. Once your place an order a technician on our team will reach out to you to confirm the configuration for your project. The DSP used in the package is the Powerbass DSP8 it has the ability to sum channels together, remove EQ curves, process time alignment and has a Bluetooth app to make setup easy and simple.

This DSP package installs in the factory amplifier location and is compatible with the following vehicles.
2009-2014 Acura TL
2009-2014 Acura TSX
2007-2013 Acura MDX
2007-2012 Acura RDX
2013-2022 Acura ILX
2015-2022 Acura TLX
2014-2020 Acura RLX

Its possible this DSP package may work with other vehicles not listed here but we have not been able to confirm.