
GENERAL
Get rid of that hazy low resolution backup camera and upgrade to a higher quality camera using our plug and play package. Our package will allow you to easily install a new camera to the factory camera connection with a custom wiring harness. Then you can mount your new camera on the factory camera housing or with a universal mount anywhere you choose on your car.
IMPORTANT DISCLAIMER
If you have a multi view camera this upgrade is compatible but will only provide one view angle and you will not be able to switch angles anymore. If your factory screen has fixed parking lines that overlay over the new camera and will not line up properly. You will need to turn the lines off in the factory navigation settings.
INSTALLATION
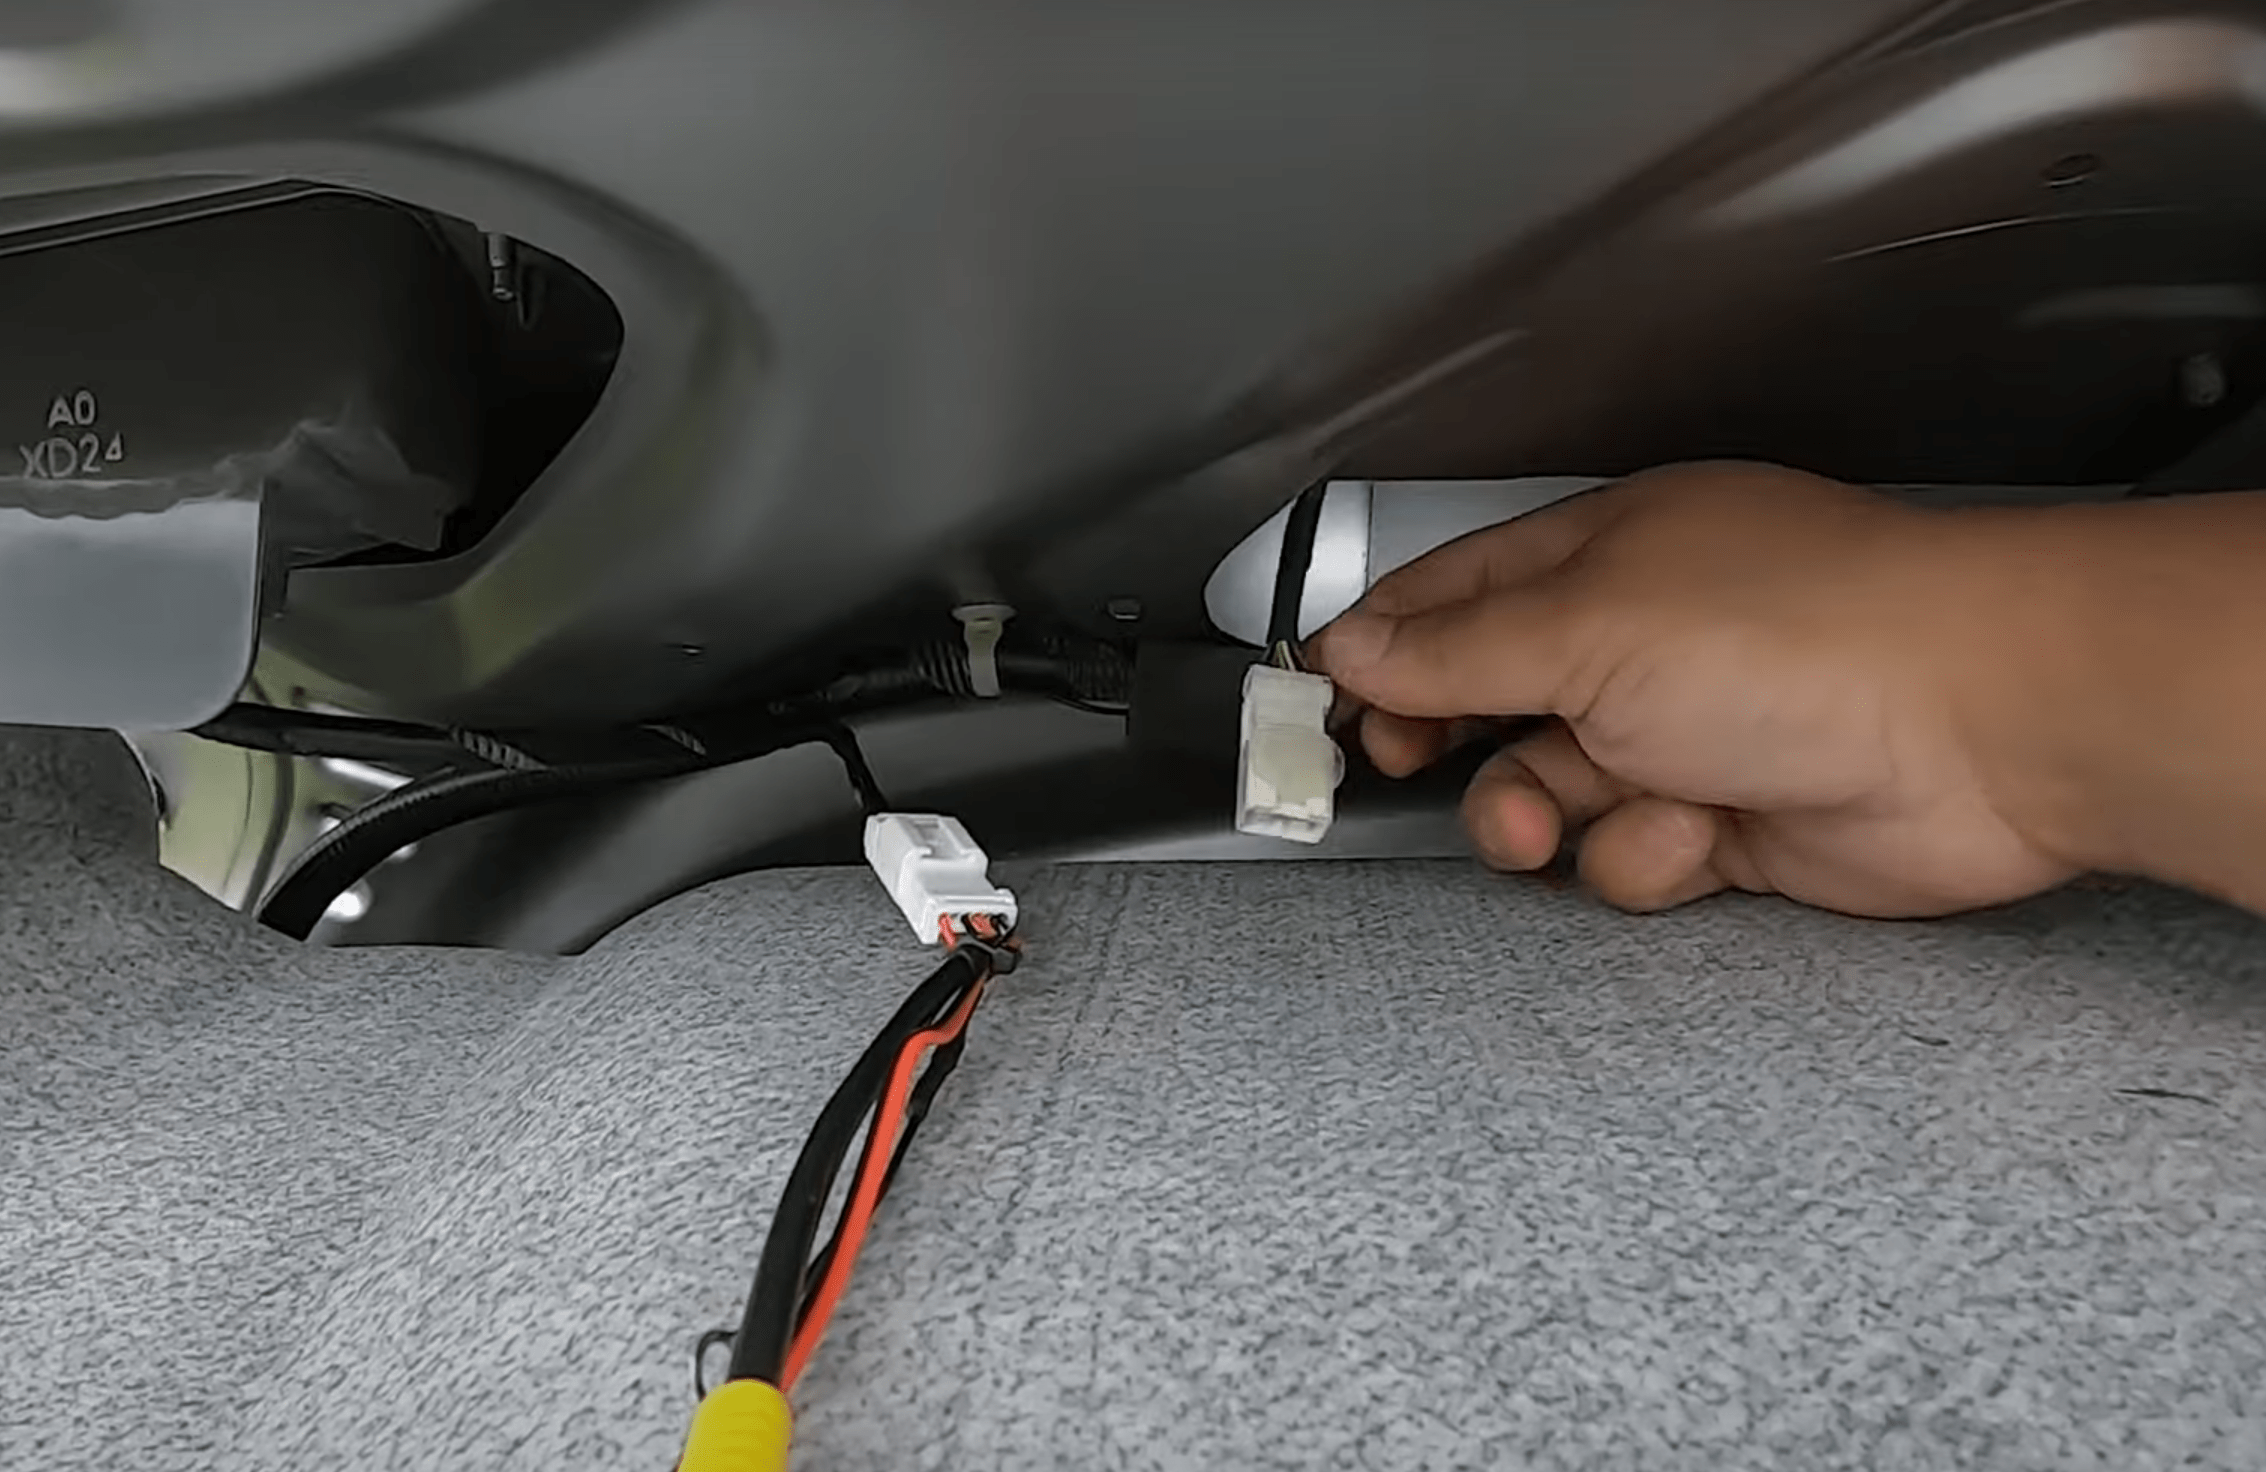
Your OEM camera has a white connector located in the trunk within 12inches of the actual camera. You will need to access this connector to plug in the new camera harness. Also the harness requires a ground connection which can be secured to any nut or bolt in the trunk. After connecting the harnesses together and securing the ground the new camera will begin working. The next step is to secure the new camera to the vehicle. We have different mounts available as shown in the pictures but it is up to you which one you would like to use or if you would like to fabricate one on your own.
FAQ
- Can I upgrade the camera and still keep the parking lines from the factory?
A: Yes but the new camera has a wider angle of view so the parking lines might not make sense. - Does your camera have parking lines?
A: Yes but the parking lines might not match up correctly to the vehicle, you can enable them and disable them by cutting or connecting the green wire on the camera. - Can I mount the camera where the factory camera goes?
A: Yes but this requires you to remove the OEM camera from its factory mount and then attach the new camera to it. It’s normally simple with just a few screws holding it on. - Do you have a camera with active parking lines?
A: Yes but this camera cannot be installed in a plug and play fashion it will require you to tap the reverse light. - What kind of lines does the camera I am purchasing have?
A: It has fixed parking lines that are disabled by default.