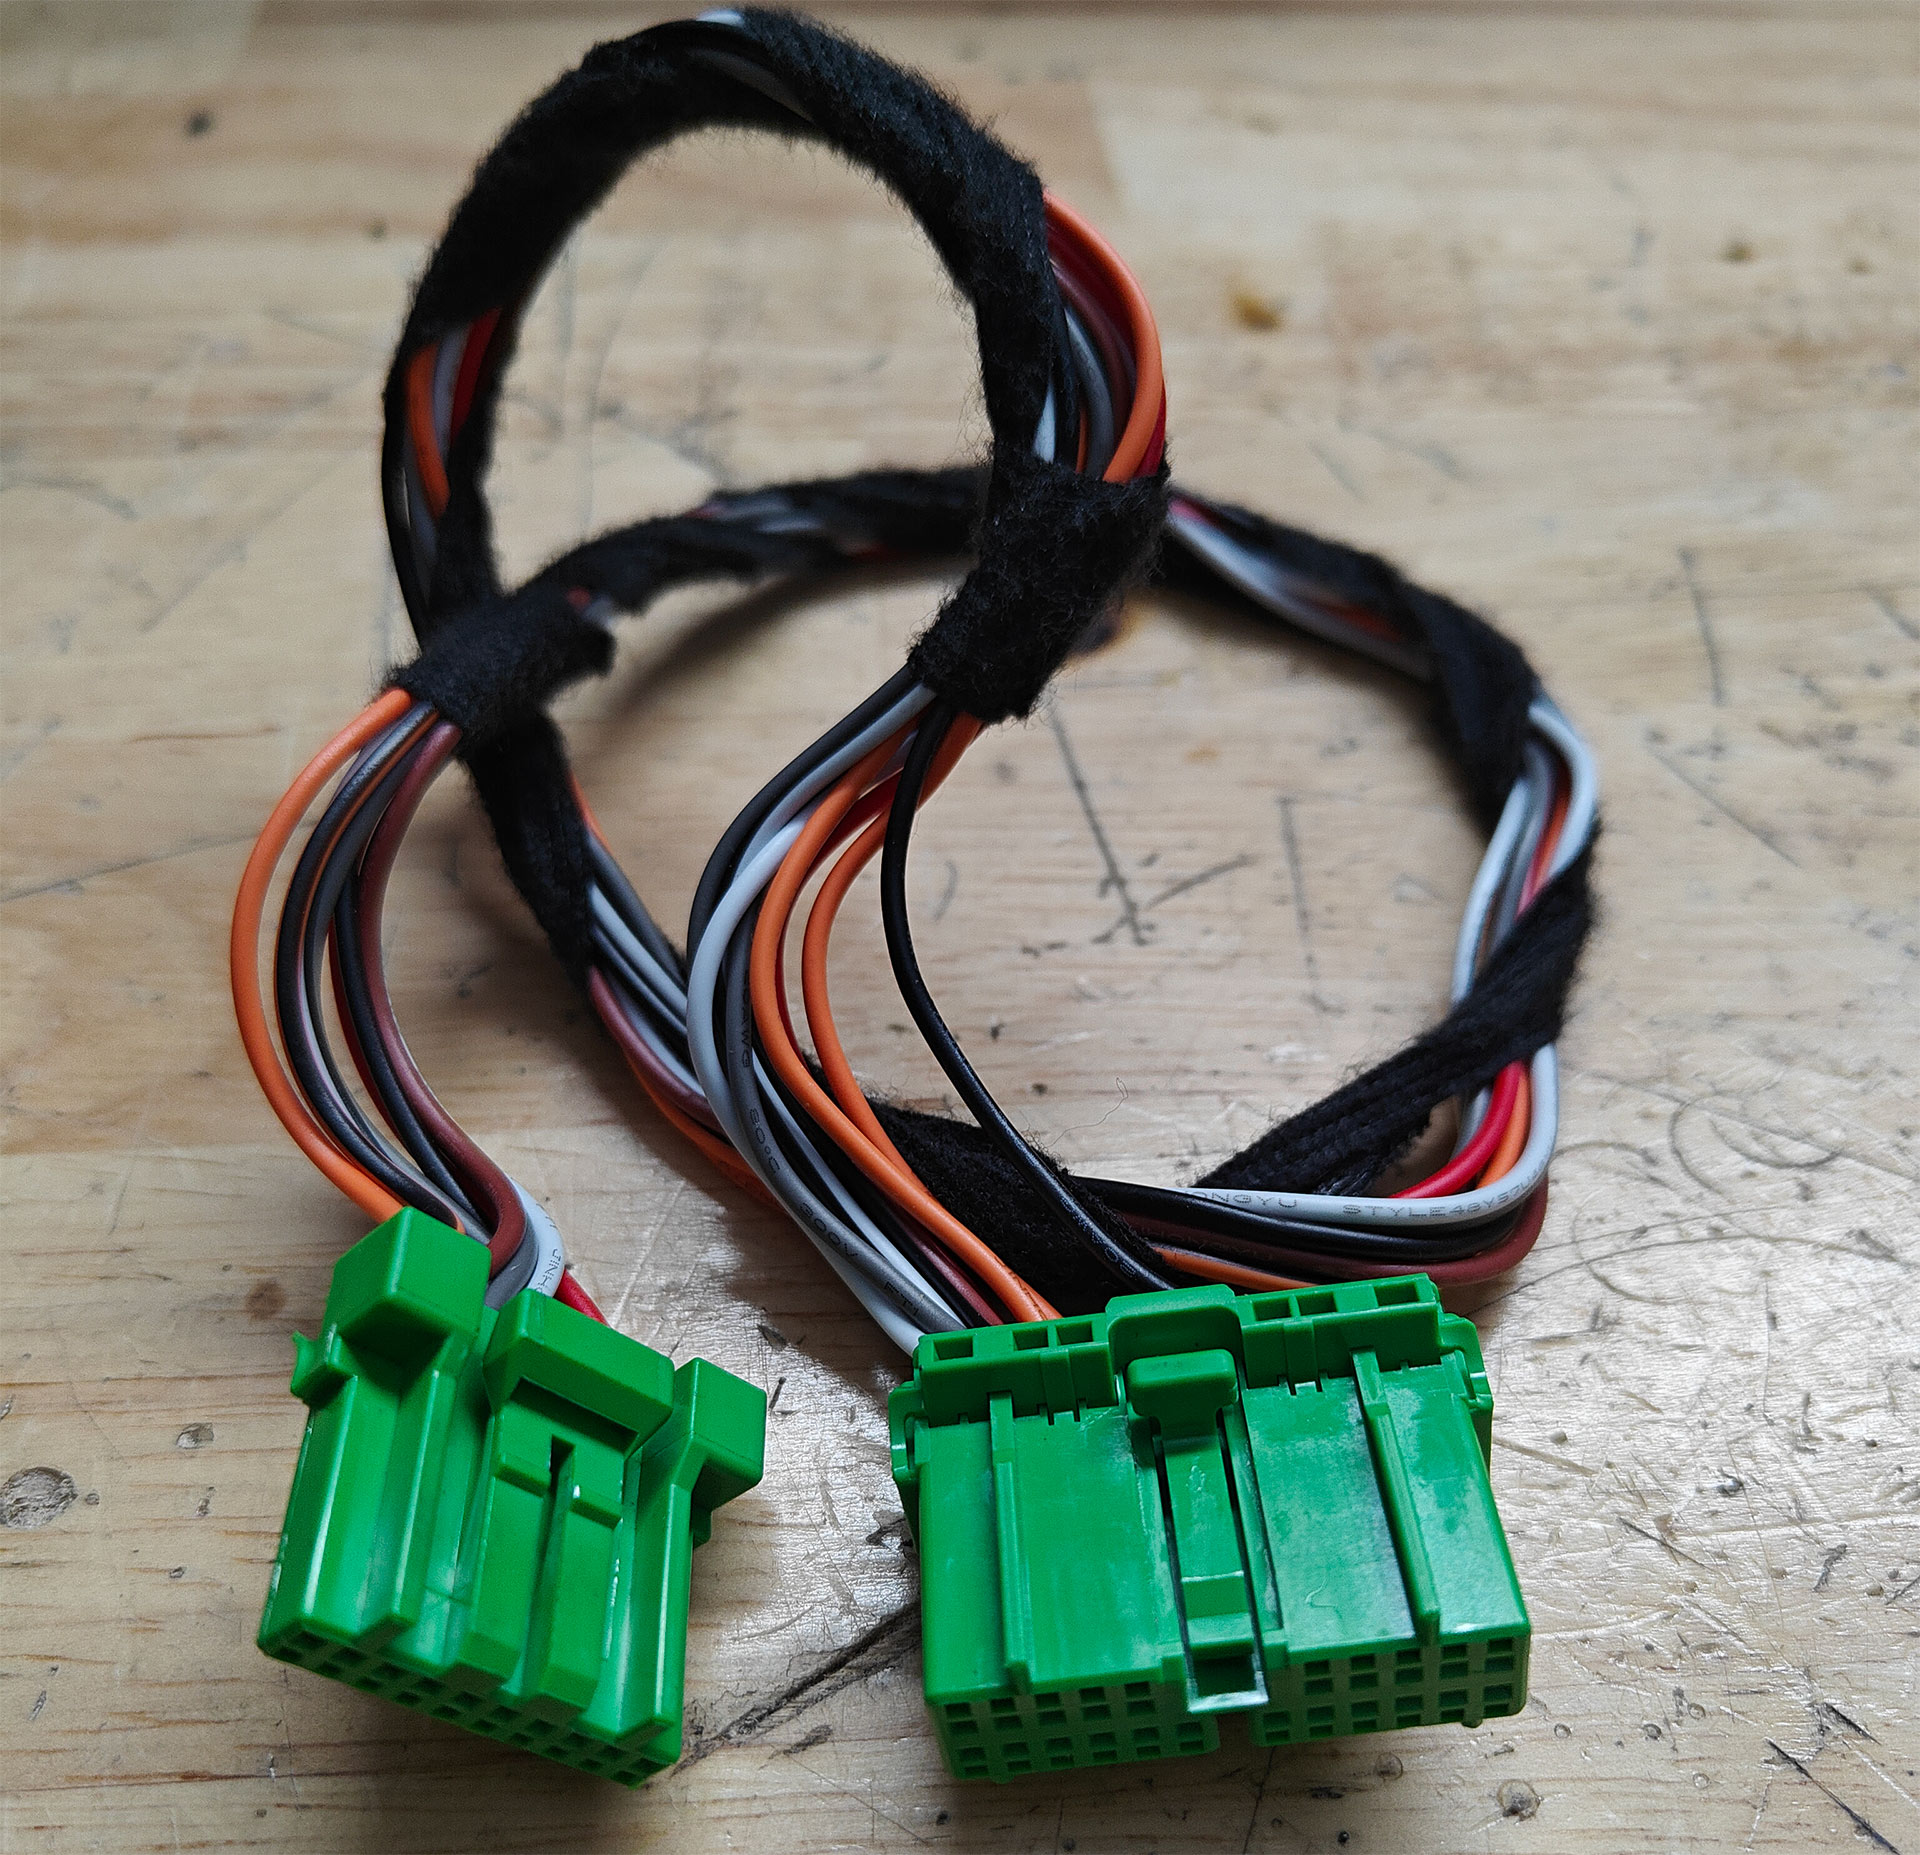
2015 2016 2017 2018 2019 2020 Acura TLX Subwoofer Upgrade

  1. Remove the rear door opening seal (weatherstripping) as needed. (A)
  2. Pull out the C-pillar trim (B).
  3. Slide the C-pillar trim is pulled forward after all clips are removed.
  4. Remove the C-pillar trim (A).
  5. Remove the upper clip (A) from the body.
  6. Fold down the rear seat-back.
  7. Remove the belt hole cap (A).
  8. Remove the rear shelf trim (B). Detach the clips with a clip remover.
    Lift the rear shelf upward and forward to release the rear hook (B).
    Slightly warp the rear shelf to release both side edges from the side curtain airbag inflators, then pull it forward.
    NOTE: Be careful not to damage the speakers.
  9. Remove the four bolts securing the subwoofer.
  10. Disconnect the factory subwoofer by pinching the connector at the sides and pulling down until it releases. You will need to pull with moderate force.
  11. Secure the new mounting bracket to the rear deck using the factory screws you just removed.
  12. Connect the new subwoofer to the factory connection using the provided harness.
  13. Mount the new subwoofer to the mounting bracket with the supplied mounting screws.
    NOTE: It is recommended to apply sound treatment material to the rear deck metal and rear deck cover to reduce unwanted rattles and noise
  14. Reinstall the covers you removed in the reverse order.
    NOTE: If the rear deck touches your new subwoofer, trim the rear deck panel so the surround of the subwoofer does not touch or buy longer retaining clips to ensure the rear deck does not touch the subwoofer.
    You can use the ones found at this link. https://www.amazon.com/Rexka-Panel-Retainer-Chrysler-6503709/dp/B07CJP3X5H/